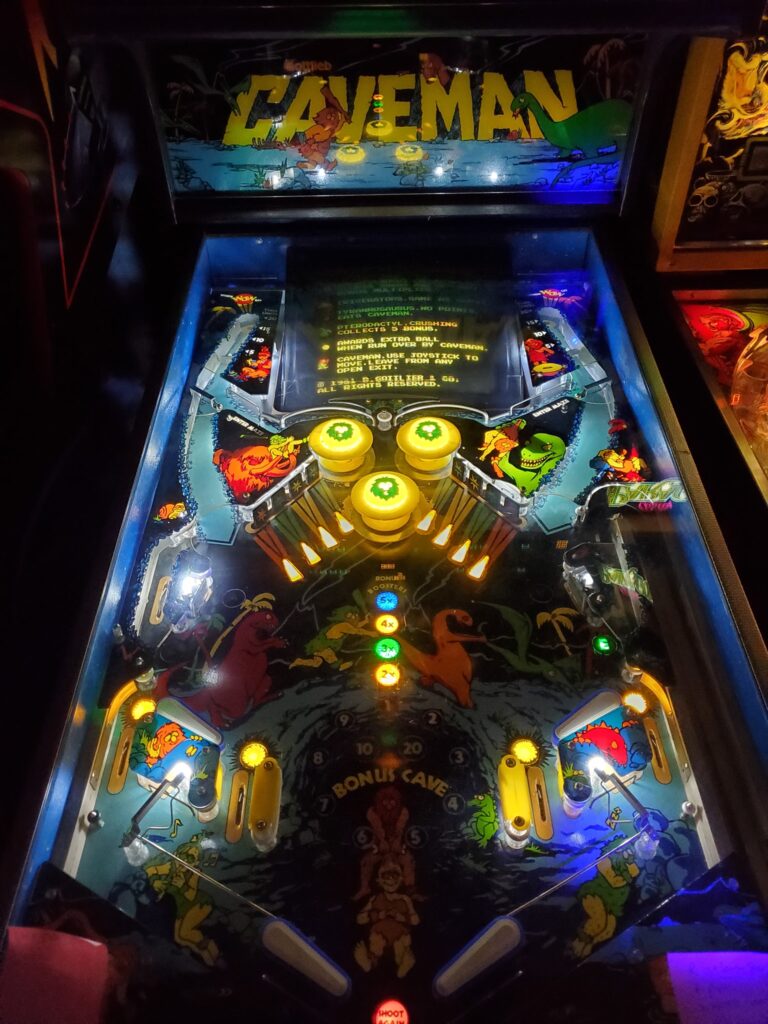
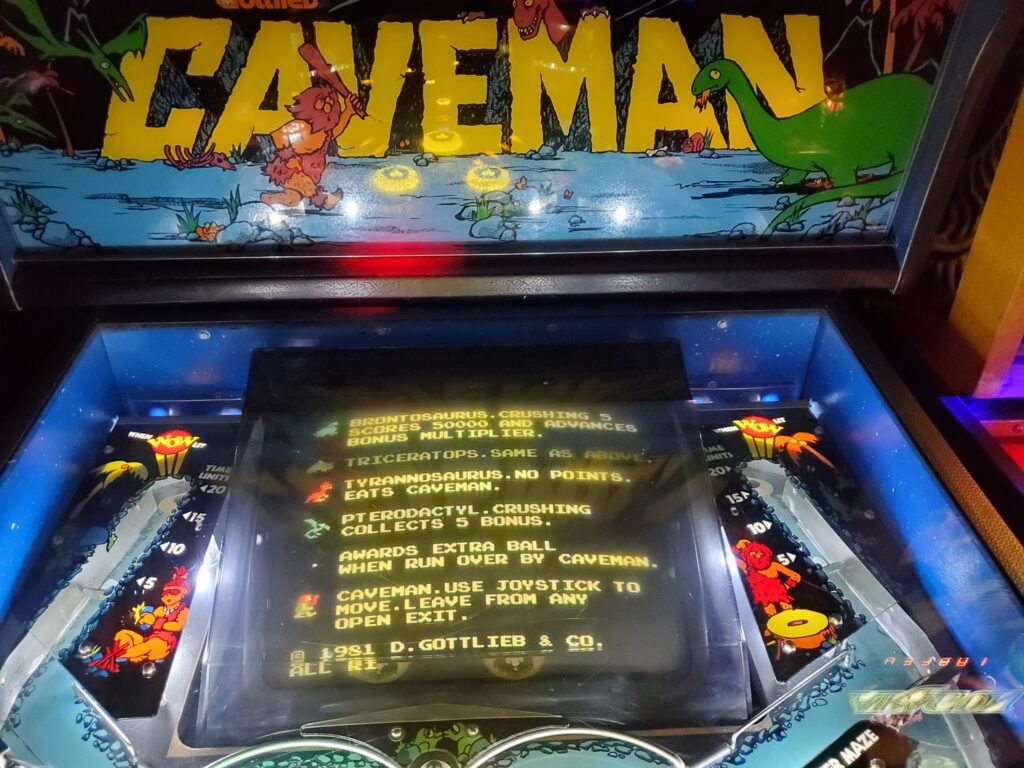
We’ve been having a lot of fun with this game lately – I’m still not qualified to do a “pinball showcase” because the ruleset is so complicated (and partially unfinished) that I’m not ready to do that, but I can comment on what I think of the game and which version is the one you might want depending upon your priorities?
Author Archives: admin
First Look: Zaccaria Farfalla – interesting restoration project
Here’s an interesting project. This game was dropped on me in partially disassembled state, and I have limited experience with this hardware platform, so I’m being extra careful to make sure I get everything in order. Watch with me as I survey this amazing cool game!
Early gameplay video of first Hot Wheels pinball prototype
Here is a short video of the first public demo of the Hot Wheels pinball machine – from a convention in New Orleans right before Covid exploded and everything was shut down. This is an early prototype of the game, that likely has unfinished code and playfield. This video has been in the archives and I thought it might be interesting to show what the game looked like the very first time it appeared in public, which was at an amusement machine expo in New Orleans.
And here is part 2:
A simple trick to easily remove/replace the hardest to reach pinball bulbs
This is a short video showing a simple trick you can use.
Rare Gottlieb “Caveman” Pinball – first look and restoration!
How to fix stripped playfield screws on your pinball machine
Many games, especially older games would have their playfield mechs screwed directly into the wood with wood screws. On areas like bumper posts, these can take quite a beating, get loose and become stripped. Here’s a simple technique to repair stripped holes to make the screws bite back into the playfield.
Working on a Jurassic Park pinball on location
After having this game on location for awhile, I thought I might report on what types of wear and tear and damage I’m running into, and what was wrong with the game. I think we’ve found a few “weak links” relating to parts that probably should last a little longer. Check it out:


