What happened to the Earthquaked Earthshaker pinball?

Over the years, probably one of the most asked questions I’ve gotten from people is, “Whatever happened to that Earthshaker you were working on?”

People are referring to this video series: Williams Pinball Earthshaker Looks Like It was in an actual Earthquake!

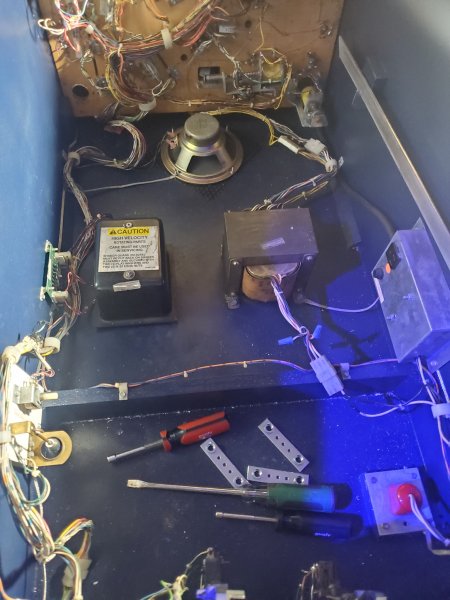
I picked up this game nine years ago. Pulled it out of a filthy house where the game had sat for years, no legs, no glass, non-operational, in a house full of cats. The game looks like it has numerous things living in it, and the cabinet became a cat scratching post.

The more I looked at it, the more problems I found. The game had been monkeyed with in more ways than I’d seen with any other machine. Nonetheless, I managed to actually, finally get the game to boot up, but it was so horribly mangled in so many ways, it would take years to acquire the necessary parts at reasonable prices, so I stored the game and would pick up parts here and there over the years, hoping one day to restore the game.

Last year a friend inquired about the game and I realized, I didn’t have the time any time soon to tackle this project. I had so much going on I decided to sell it to a friend who I knew would invest the time needed to bring this treasure back. So I gave him all the parts I’d collected, including original cabinet artwork that I got from Gene Cunningham of Illinois Pinball.

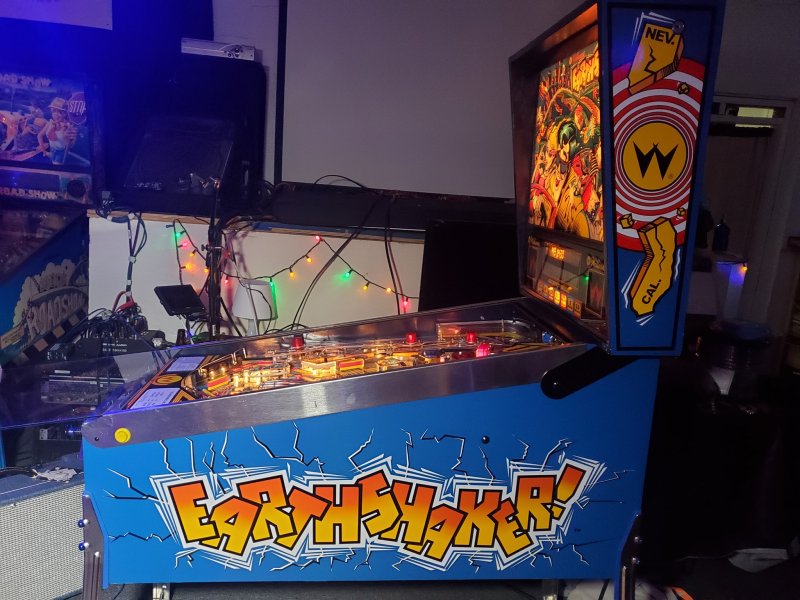
The other day, my buddy Josh contacted me to let me know he had finished the restoration and if he could bring the game to the PinChurch to share with others. I jumped at the chance to see what progress had been made with the game, and share with everybody else.

Before I show you the AFTER, take a look at these two BEFORE videos:

You can find more details on the repairs and early restoration here.

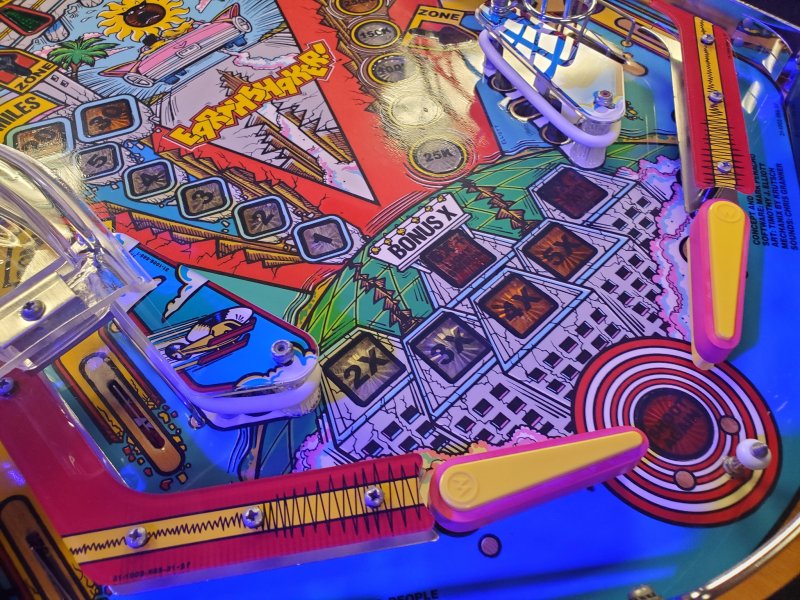
Here’s a video of the restored Earthshaker – check it out – amazing work!

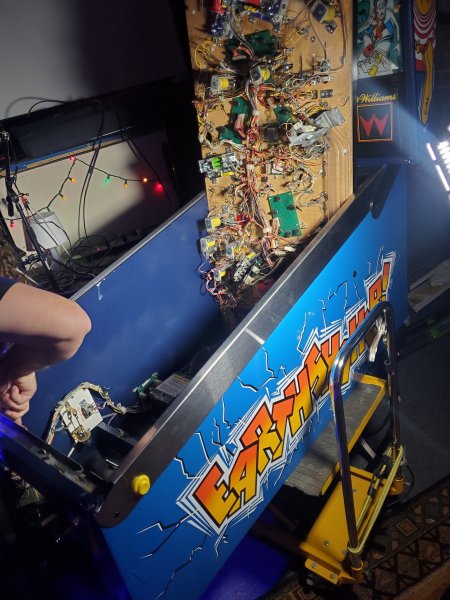
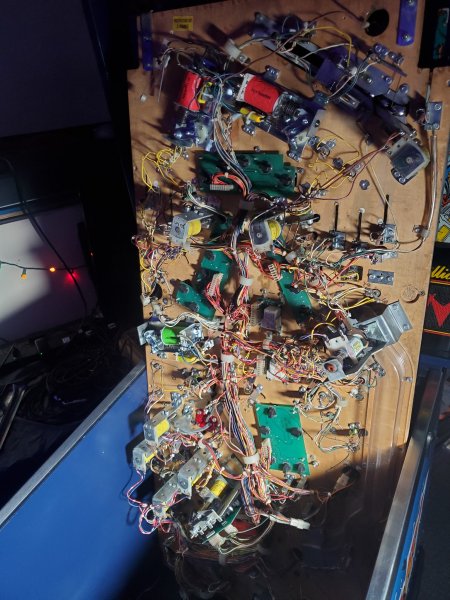
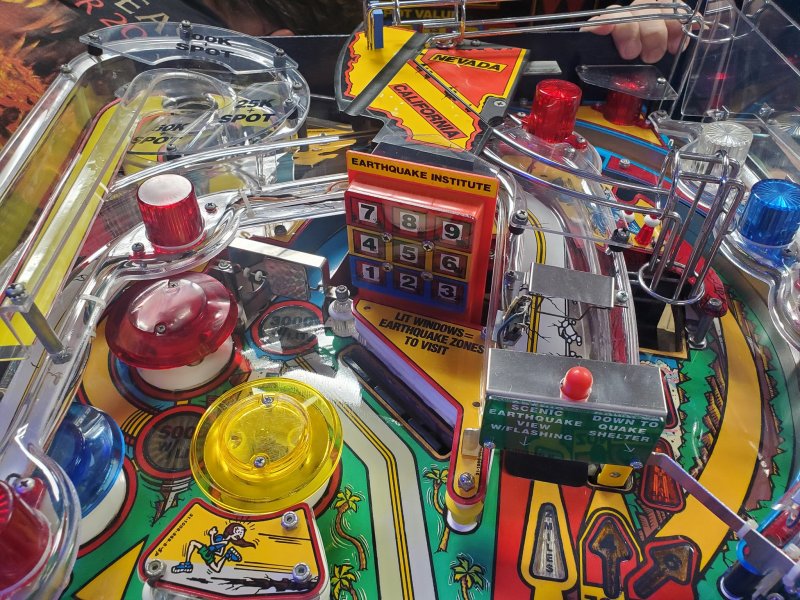
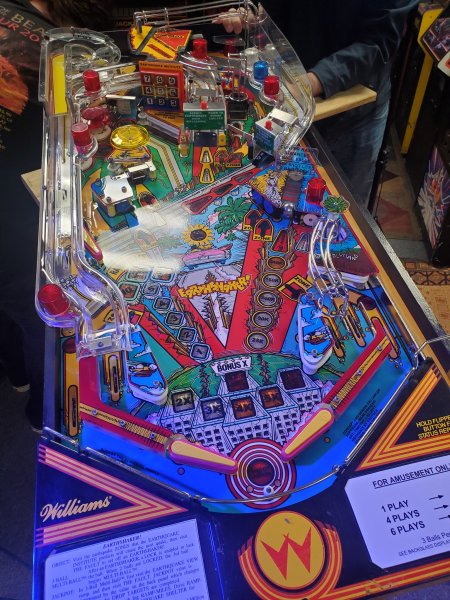
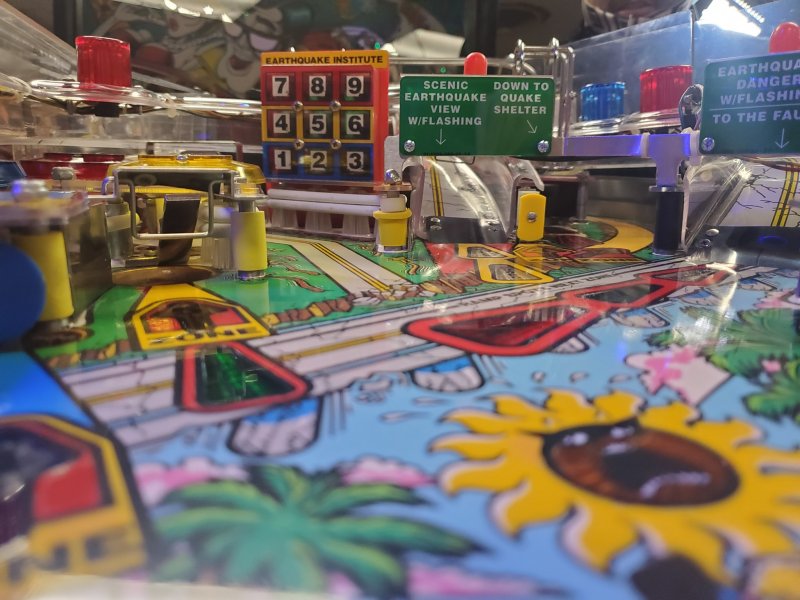
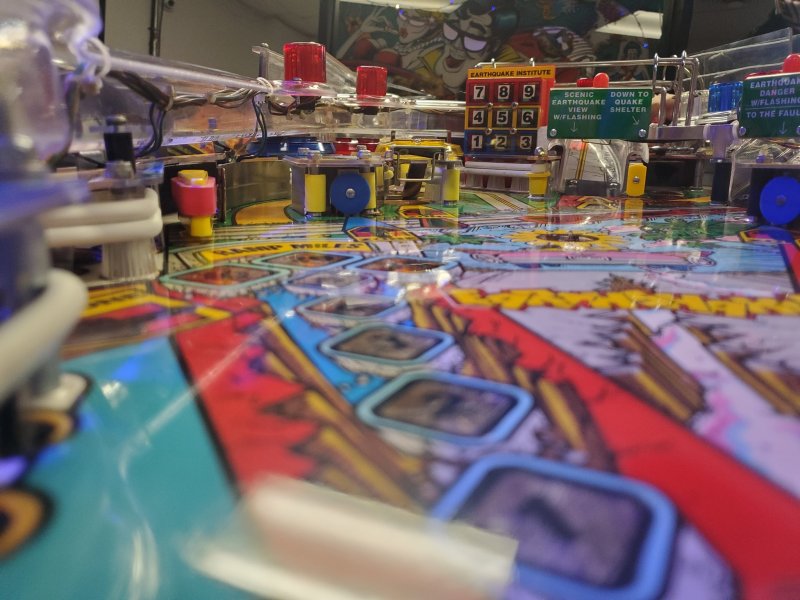
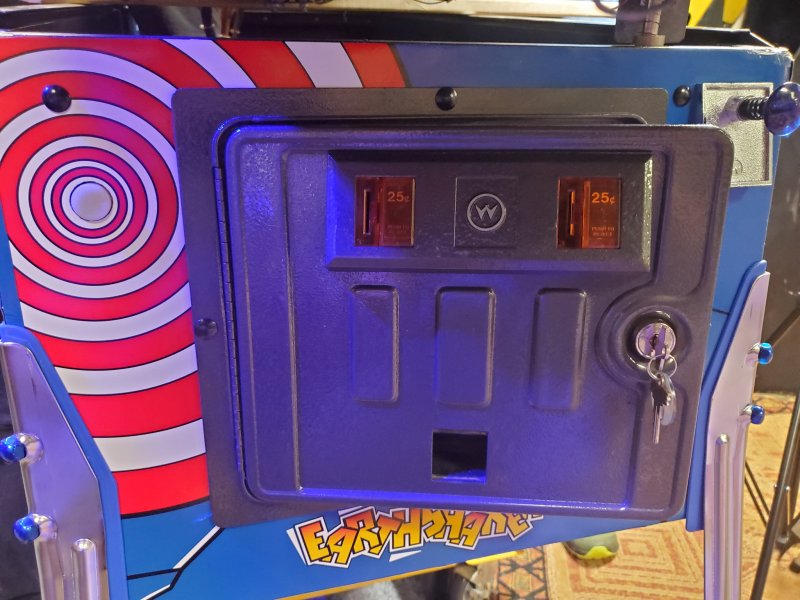
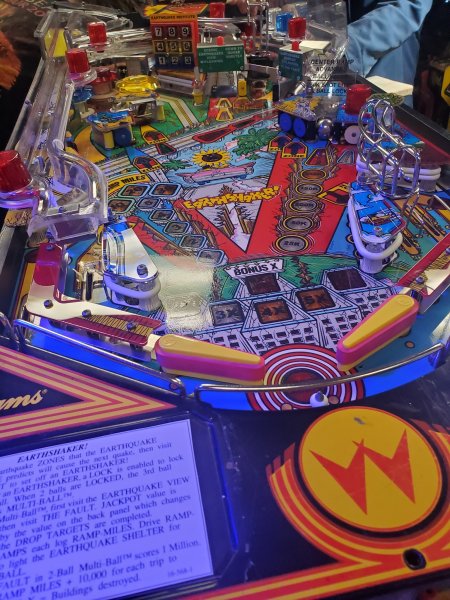
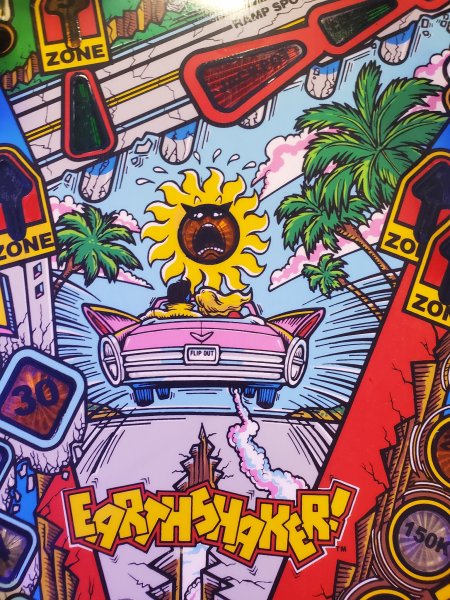
Here are some pictures:

“What Was That?” – Rebuilding Rudy on a Williams Funhouse

I recently picked up a Funhouse as part of a trade deal I did.  This game is in pretty nice shape, but it needs a little work here and there.  Rudy stopped working and someone tried to “fix” it but didn’t put things back together the right way as I later found out.  Here is the video series of me pulling the game apart and trying to make things work…

Earthshaker: Working on bad circuit boards

Let’s take a look inside the backbox of the game and see what we see…

Now that we’ve identified some issues with the aux power board, we have to deal with it, first by removing components…  Oh by the way… I’ve rightfully caught a lot of flack from the folks on rec.games.pinball about my “bridge rectifier removal technique”… Let me elaborate on that… Korn and others are 100% right in that it’s always bad to try and “force” any components from the board, and if solder is not properly melting, it’s best to re-flow new solder onto the old joint to help remove stuck pins.

I would like to say in my defense, this board was really messed up beforehand.  The traces and thru-holes were already damaged on the board, and I had carefully loosened most of the pins of the BR before turning on the camera, so it looks like I’m using more of a “gorilla” technique than in reality.  So that’s not a good example of the best way to remove components, but I knew already I was going to have to rebuild all those traces and I was a tad impatient.  My bad.

Now we begin work on the actual circuit board and show how to identify broken traces and find where they go so we can run jumpers. Looking at the schematics helps us double check everything.

Now putting the finishing touches on the jumpers and adding the bridge rectifiers…

Now comes the moment of truth, putting the repaired aux power board in the machine and turning on the power for the first time:

So far so good for my first major Sys11 repair.  While I have a few Sys11 games, I haven’t had to do a whole lot of repair work on them so this was a learning experience for me too.