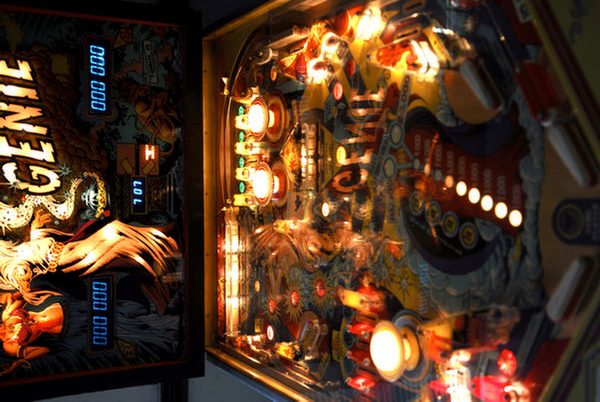
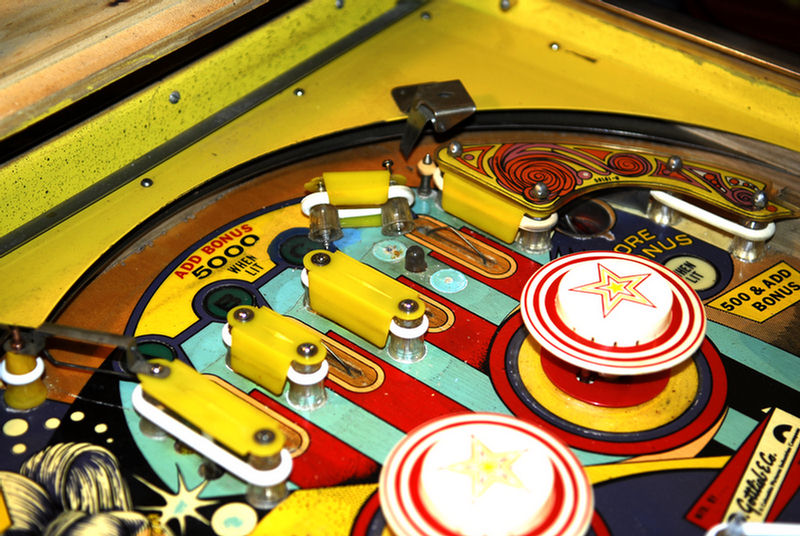
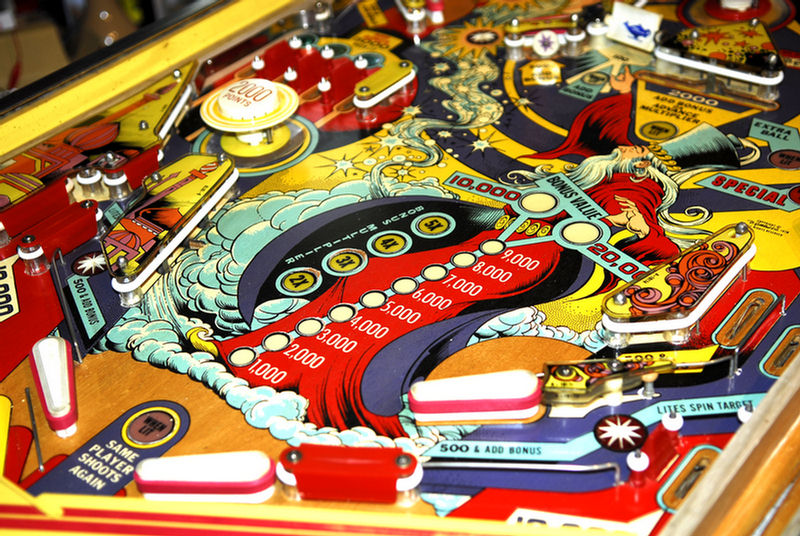
Pinball Stories #1: My first game, “Genie” by Gottlieb

One of the things us pinball enthusiasts love to do is tell stories about how we acquired games. Each game has its own unique provenance and history, and there’s almost always an interesting story behind them. This is the first episode in an ongoing series were we talk about the stories behind the games and how they came to be. I start the series off with the very first pinball machine I purchased, a Gottlieb “Genie” – before I knew anything about how to repair and restore games. It was the game that got me on this path. I hope you enjoy the story – be sure to subscribe on Youtube! Thanks for watching!

Here are some pictures from early on when I got the game and began to restore it.

Rebuilding a Gottlieb VUK (vertical up kicker)

As work continues restoring this Gottlieb system 3 pinball machine, “Waterworld”, I rebuild the broken VUK (vertical up-kicker). This is from a series of videos where I rebuild a number of the core components on this game that’s been on location for probably more than a decade.

Upgrading Gottlieb System 80 MPU board with new battery pack

One of the first things you have to do when you get an original Gottlieb System 80 game is deal with their on-board NiCad battery pack, if it has not already been addressed. Gottlieb installed these batteries on the actual MPU board itself and like on other games, it’s a common cause of serious problems with the game. The batteries begin to leak after awhile, releasing electrolytes that corrode the MPU board and the components on it. This can happen even if you don’t see any obvious leaks. The batteries need to be replaced. There are a few options you have to do this: a remote battery pack (3 AA batteries along with a blocking diode to keep them from being charged if they’re not rechargeable batteries), a 2032 lithium coin cell, or my favorite, a 5.5v 1.5F memory capacitor. The memory cap will last the longest and will not destroy any components on the board. It will keep a charge for at least a month or more without power. Here’s a video of me adding this fix to a Gottlieb System 80B MPU


First Look: 1968 Gottlieb Target Pool – looking over a new game before turning it on

This is a first look at a 1968 Gottlieb wedgehead electro-mechanical pinball machine “Target Pool”. I unloaded it and what you see is what I see in real time as I take a look at the machine and what needs to be done with it. This video goes over a few things that I typically do before I even try to turn a game on.

First Look: 1968 Gottlieb Domino Pinball

Here’s a quick video of a new machine that entered the club today. It’s pretty rare to find this machine especially one in such good condition, so it’s a treat to bring this to you.. check out this early Gottlieb Wedgehead, Domino.

Re-pinning System 80 edge connectors – Gottlieb Mars God of War

I finally found some time to take a look at the Mars God of War I pulled out of a hurricane katrina-damaged house in New Orleans last year. The batteries on the MPU board had hosed the connectors as well as the main board and I am set to replace it with Pascal Janin’s PI80x4 board. In preparation for that, I have to re-pin some of the damaged connectors… as this video shows, things are never as easy as they seem…..

How to level inserts in old pinball machine playfields

Nowadays, it’s hard to find any pinball machine made before 1980 that don’t have certain issues with the plastic inserts in the playfield, shrinking and becoming concave and affecting gameplay. Almost all electro-mechanical games suffer from this, as the forces of time, heat and other factors have caused the plastic inserts to change shape. In this series of videos I go over a process of fixing this to make your playfield level and play like new. In this case working with a Gottlieb Jet Spin (aka “Super Spin”)

First step is safely removing the inserts:

Now that they’re out, let’s go over what’s involved in getting them smoothed over:

While the inserts are out, now is the time to touch up parts of the playfield and the black rings around the inserts:

Now we are ready to put the inserts back in the playfield:

And here’s a look at the end result: