What happened to the Earthquaked Earthshaker pinball?

Over the years, probably one of the most asked questions I’ve gotten from people is, “Whatever happened to that Earthshaker you were working on?”

People are referring to this video series: Williams Pinball Earthshaker Looks Like It was in an actual Earthquake!

I picked up this game nine years ago. Pulled it out of a filthy house where the game had sat for years, no legs, no glass, non-operational, in a house full of cats. The game looks like it has numerous things living in it, and the cabinet became a cat scratching post.

The more I looked at it, the more problems I found. The game had been monkeyed with in more ways than I’d seen with any other machine. Nonetheless, I managed to actually, finally get the game to boot up, but it was so horribly mangled in so many ways, it would take years to acquire the necessary parts at reasonable prices, so I stored the game and would pick up parts here and there over the years, hoping one day to restore the game.

Last year a friend inquired about the game and I realized, I didn’t have the time any time soon to tackle this project. I had so much going on I decided to sell it to a friend who I knew would invest the time needed to bring this treasure back. So I gave him all the parts I’d collected, including original cabinet artwork that I got from Gene Cunningham of Illinois Pinball.

The other day, my buddy Josh contacted me to let me know he had finished the restoration and if he could bring the game to the PinChurch to share with others. I jumped at the chance to see what progress had been made with the game, and share with everybody else.

Before I show you the AFTER, take a look at these two BEFORE videos:

You can find more details on the repairs and early restoration here.

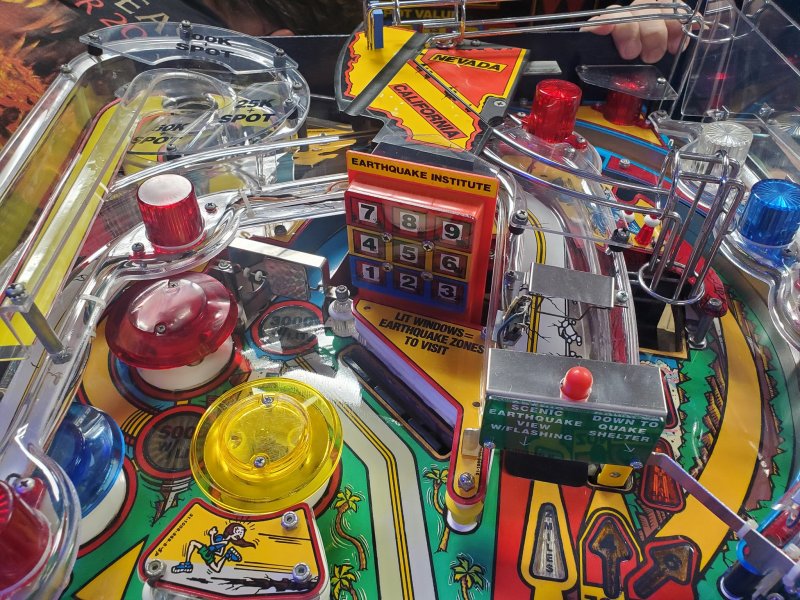
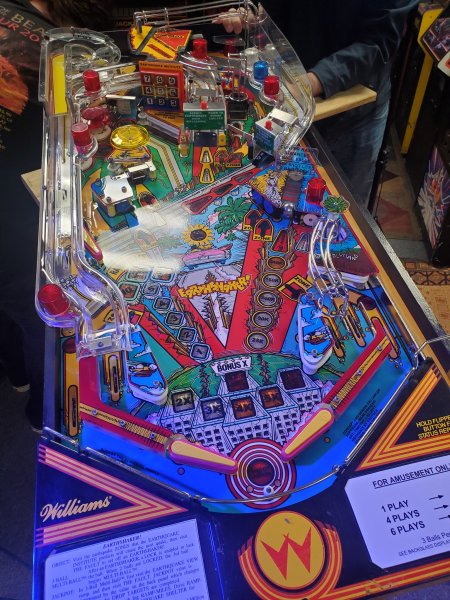
Here’s a video of the restored Earthshaker – check it out – amazing work!

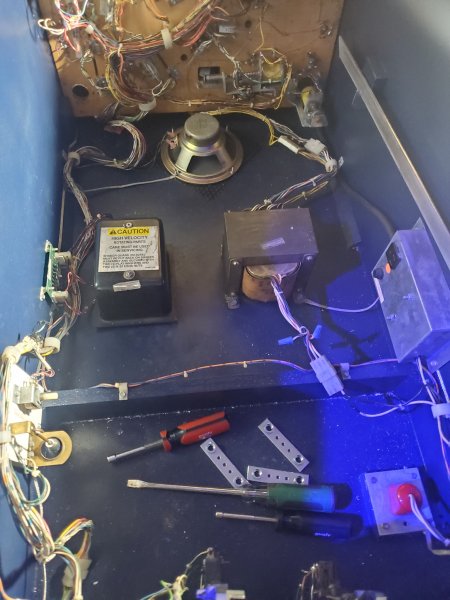
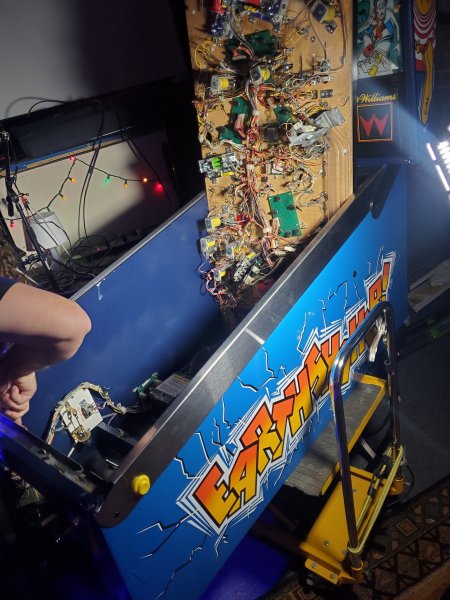
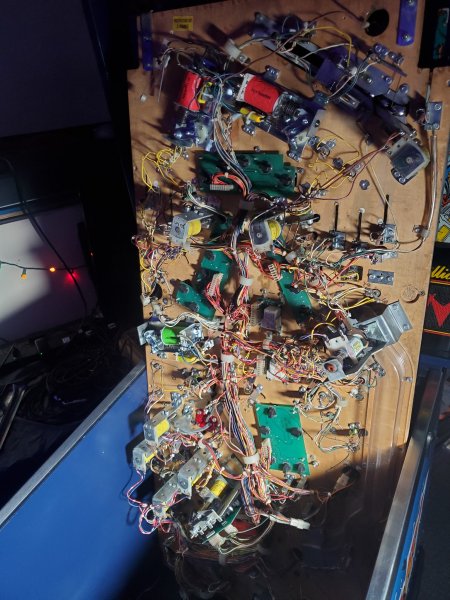
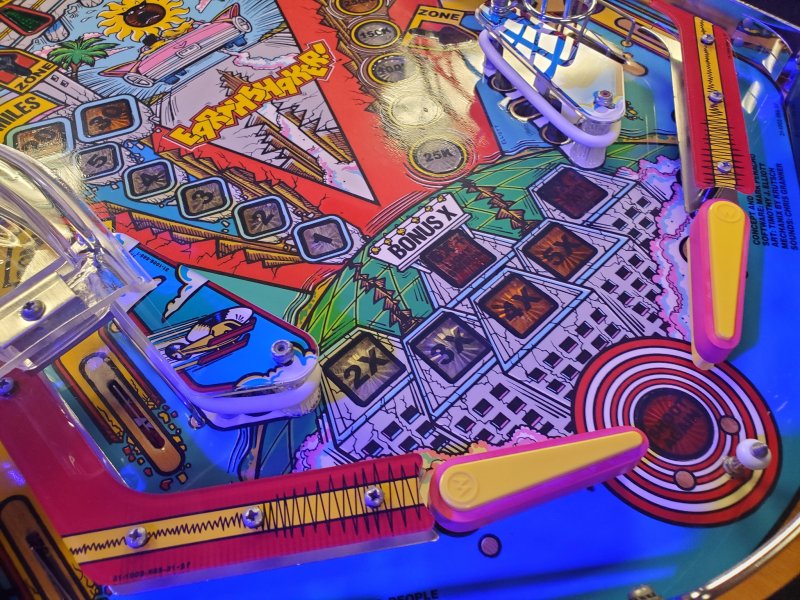
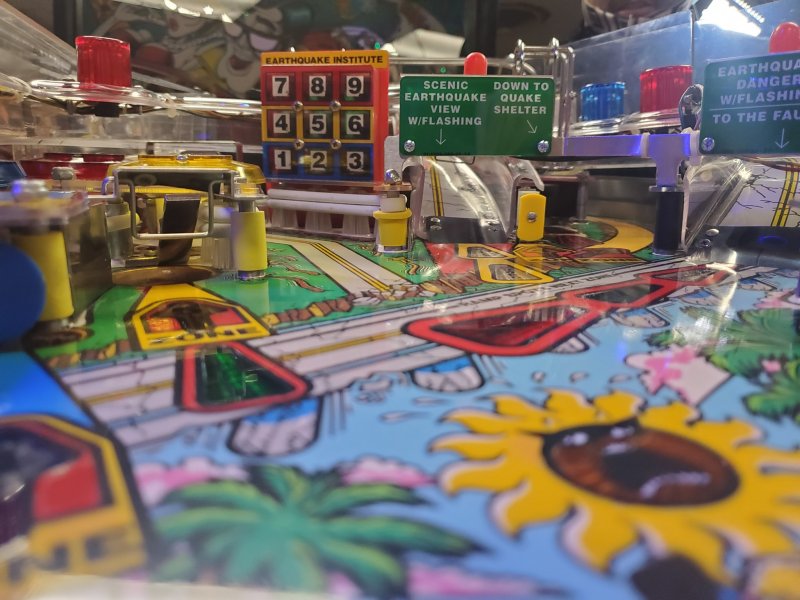
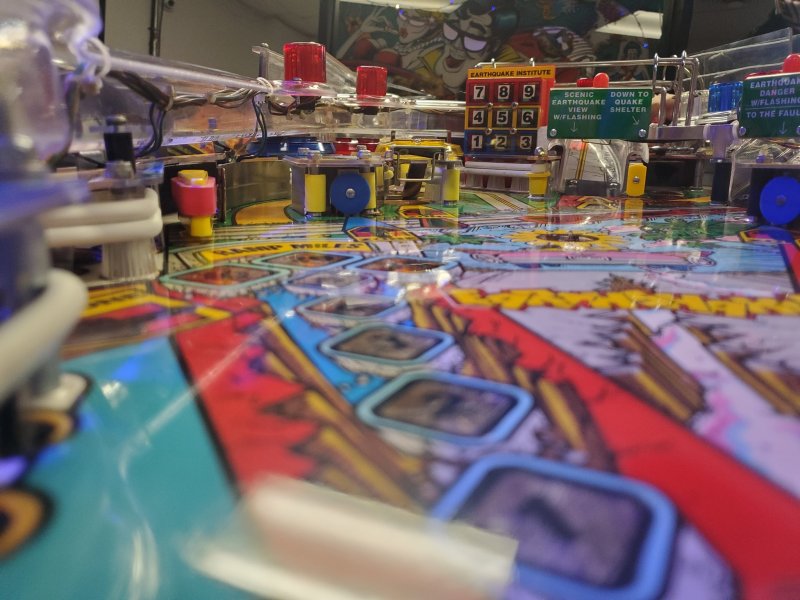
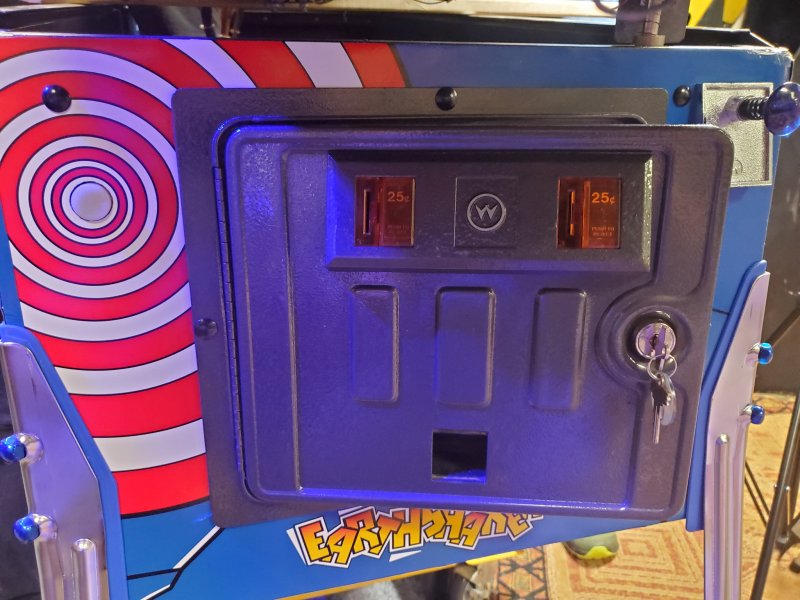
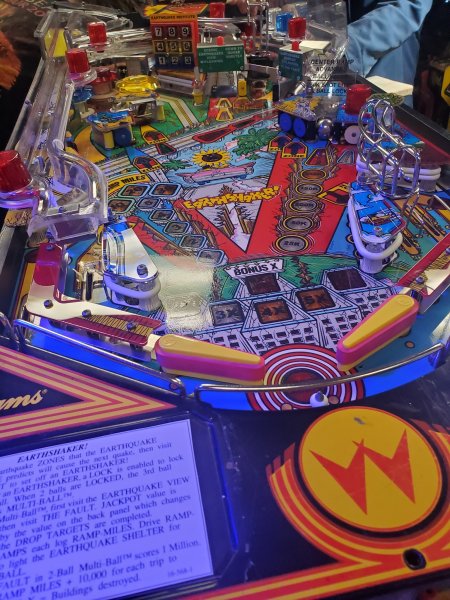
Here are some pictures:

Protecting and sealing pinball backglasses

Continuing the ongoing saga of restoring a Williams Earthshaker, in this episode, I take a look at the backglass and go over some basic ideas on how to preserve and secure an old backglass from further flaking and damage..

After waiting awhile, let’s take a look…

Ok… we wait awhile and check it, and add some more coats..

So what do you do about clear areas on the backglass? You need to avoid creating any kind of “haze” that obscures score reels or other things that need to be viewed behind the backglass/translight. Here is how we deal with that:

Some additional tips:

  • When you work on the backglass, make sure the humidity and temperature levels are moderate.   It should neither be too dry nor too humid, but err on the dry side where possible.

  • Avoid cleaning either side of the backglass until after it has been treated, especially the screen-printed side.  Even if the screen-side is dirty, it’s best to seal in the dirt, rather than clean it and run the risk of causing the backglass to flake or crack.  However if you want to dust it with something like a Swiffer, you can try to do that, but again, be very careful that the Swiffer doesn’t hook on to any flaking and pull it off.  Ultimately it’s best to seal the screen-side before even trying to wipe down the front – you don’t want to risk getting any moisture on the screen side until it’s sealed.

  • Make your first 2-3 coats relatively thin.  Don’t slather on the Triple Thick unless you do it after several coats have dried and started to seal the backglass well.  There’s a lot of evidence that moisture if subjected to certain types of screens, can cause the backglass to wrinkle and peel off catastrophically.   So take your time and put a few very light coats on at first and see how the backglass reacts.

  • If you may have any loose flakes on the backglass, be very careful with the first few coats of Triple Thick.  Watch your spray angle and spray downward instead of across or you might risk blowing flakes of backglass around.

  • Spray in a well-ventilated area, or immediately leave the area after spraying

  • Avoid subjecting the backglass under any conditions, to freezing temperatures.  This may cause the various materials (containing different amounts of moisture) to expand and contract at different rates and cause cracking and flaking.