This is a short video going over the steps to repair/rebuilt/refurbish early solid state pinball flipper assemblies, such as those on Stern and Bally games (but this also basically applies to most pinball machines). I go over the process specifically on a Stern Trident and show the specific style of plunger and assembly they’re using, but most games use similar parts. You can use these techniques to rebuild/refurbish pinball flippers on most games.
Also, there’s another thing I don’t cover on the video that may also be a cause for stuck/sticky flippers, and that’s crud around the flipper button. Sometimes the flipper button assembly can be dirty and the button may stick – that can also cause the flippers to not behave properly, so be sure to check and clean the flipper button regularly too!
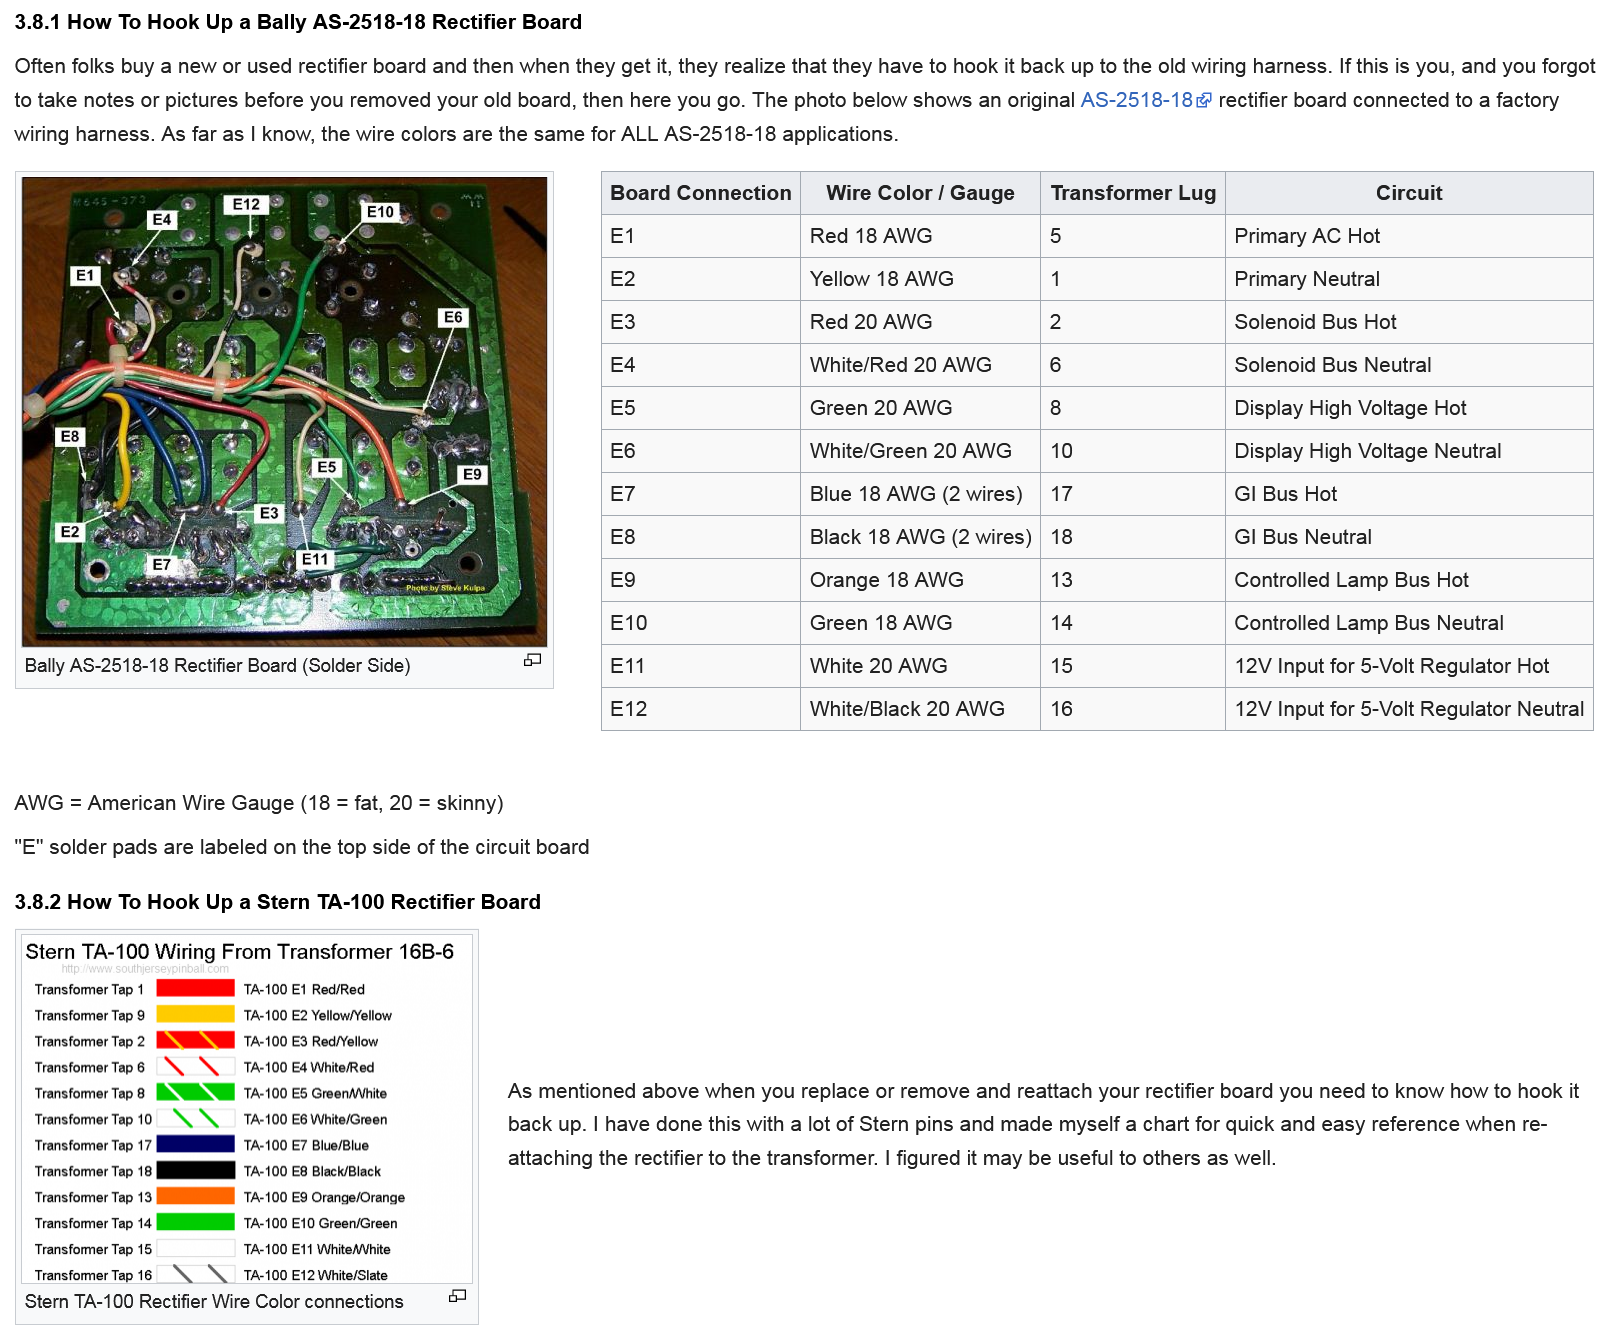
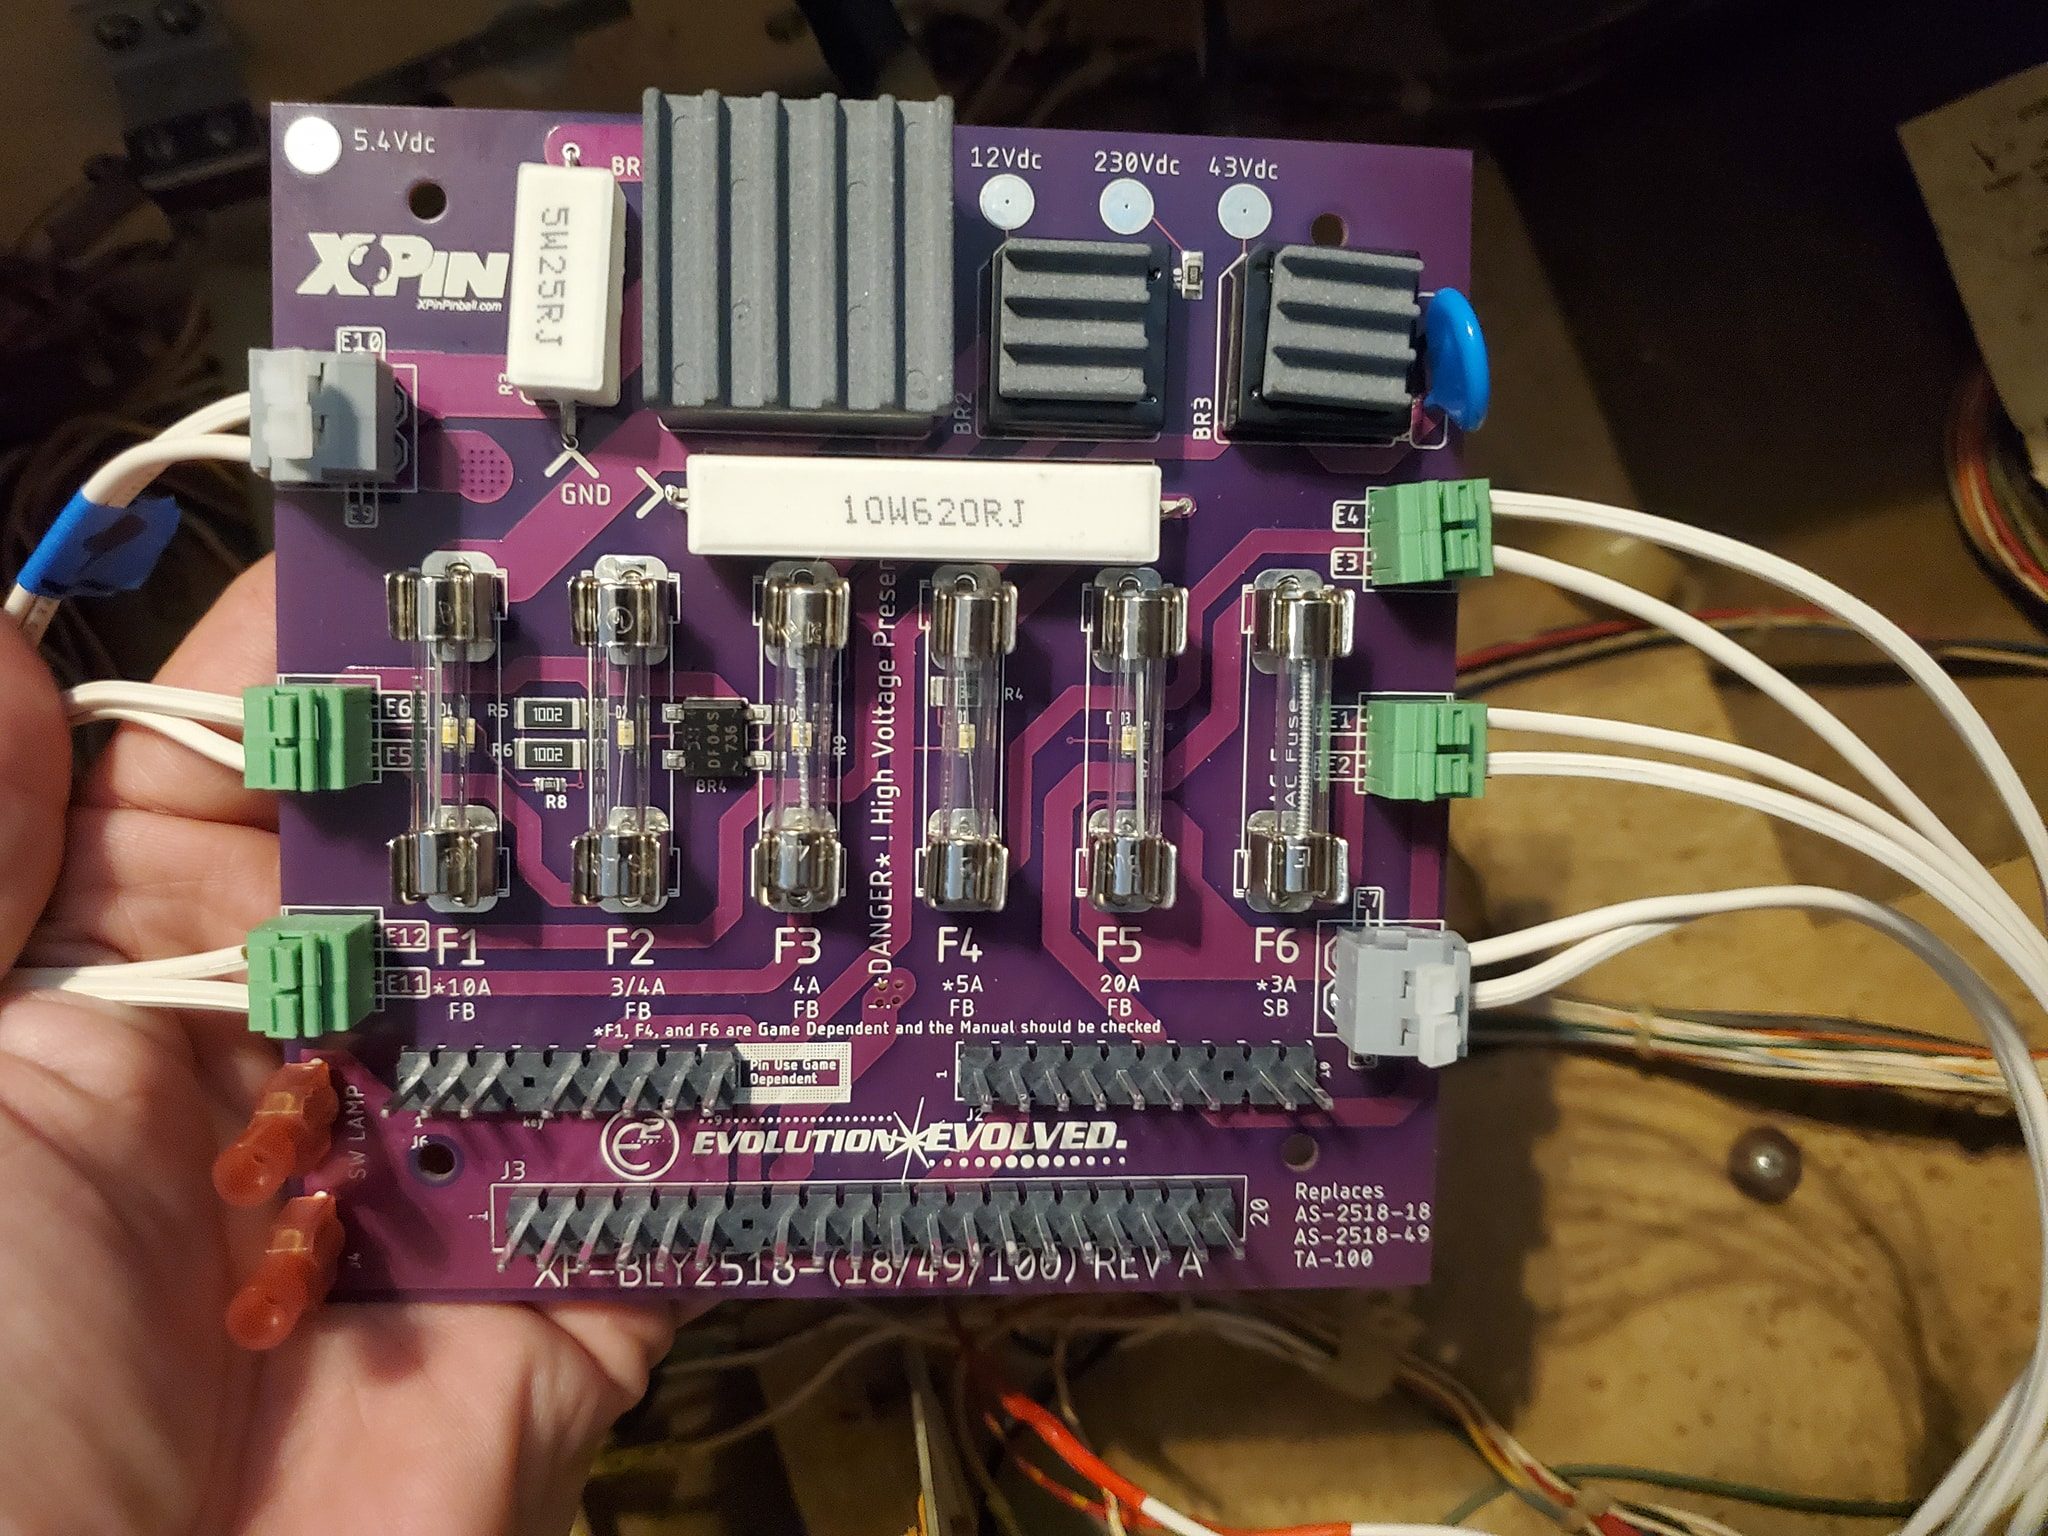
As part of the ongoing restoration of a 1979 Stern “Trident” pinball machine, here’s a series of videos outlining how to replace the rectifier board on these games. This varies a bit between Stern and Bally due to wire color codes. References are here.
This is a common problem that happens with old electro-mechanical pinball machines. One minute it’s playing fine, then the next there’s a loud buzz and/or the scoring runs continuously or doesn’t score properly. What’s the deal with that? I’m going to show you one of the most common causes.
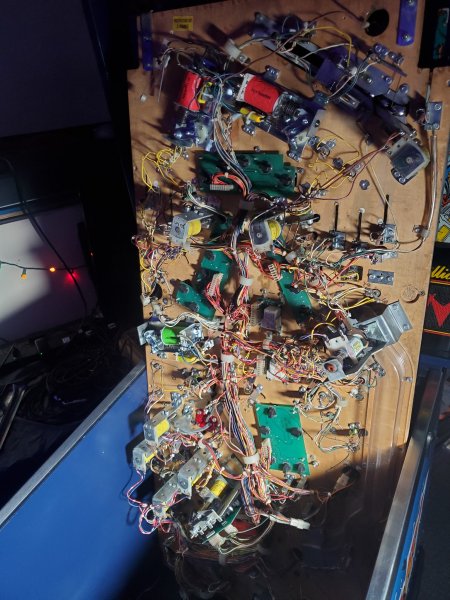
I picked up this game nine years ago. Pulled it out of a filthy house where the game had sat for years, no legs, no glass, non-operational, in a house full of cats. The game looks like it has numerous things living in it, and the cabinet became a cat scratching post.
The more I looked at it, the more problems I found. The game had been monkeyed with in more ways than I’d seen with any other machine. Nonetheless, I managed to actually, finally get the game to boot up, but it was so horribly mangled in so many ways, it would take years to acquire the necessary parts at reasonable prices, so I stored the game and would pick up parts here and there over the years, hoping one day to restore the game.
Last year a friend inquired about the game and I realized, I didn’t have the time any time soon to tackle this project. I had so much going on I decided to sell it to a friend who I knew would invest the time needed to bring this treasure back. So I gave him all the parts I’d collected, including original cabinet artwork that I got from Gene Cunningham of Illinois Pinball.
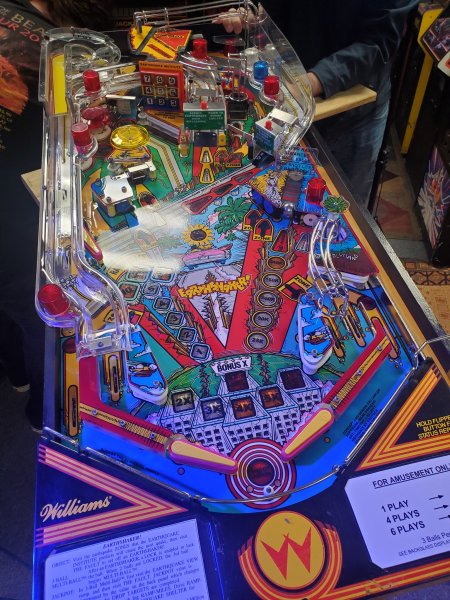
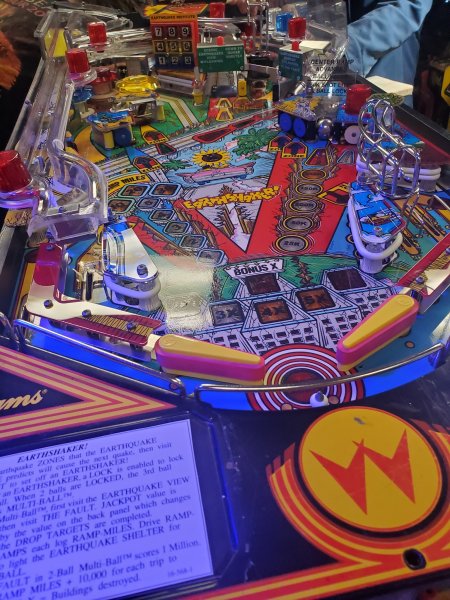
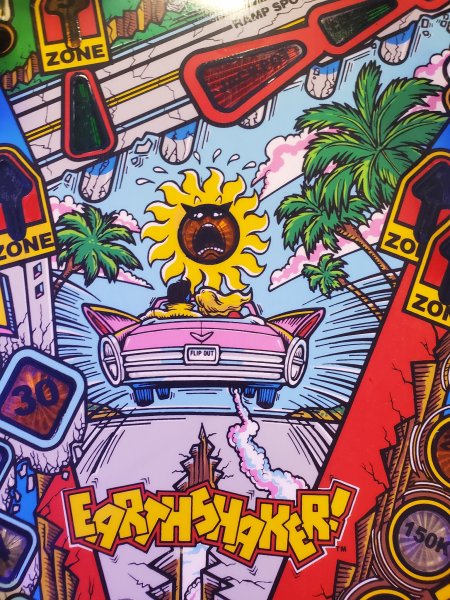
The other day, my buddy Josh contacted me to let me know he had finished the restoration and if he could bring the game to the PinChurch to share with others. I jumped at the chance to see what progress had been made with the game, and share with everybody else.
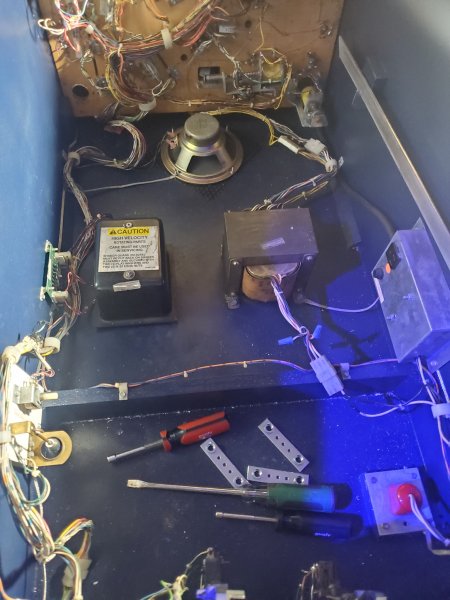
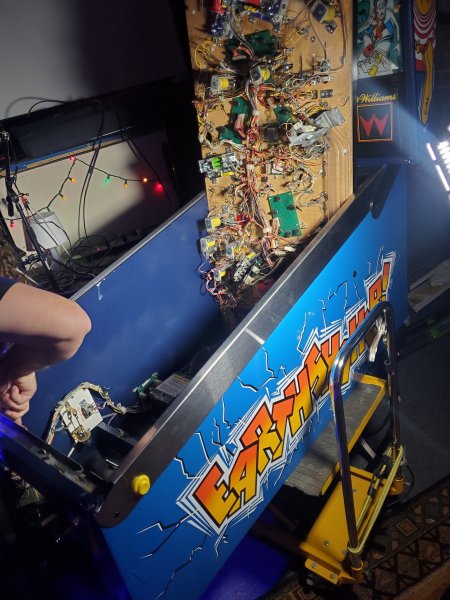
Before I show you the AFTER, take a look at these two BEFORE videos:
You can find more details on the repairs and early restoration here.
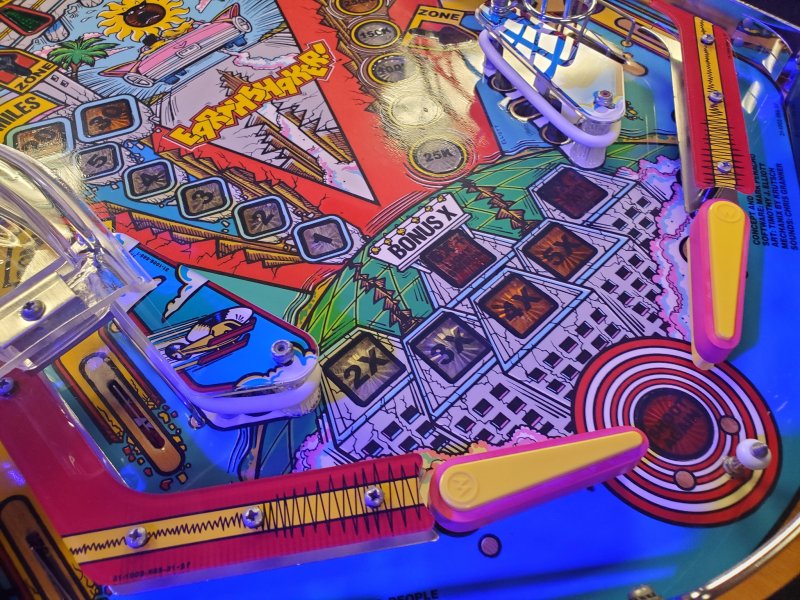
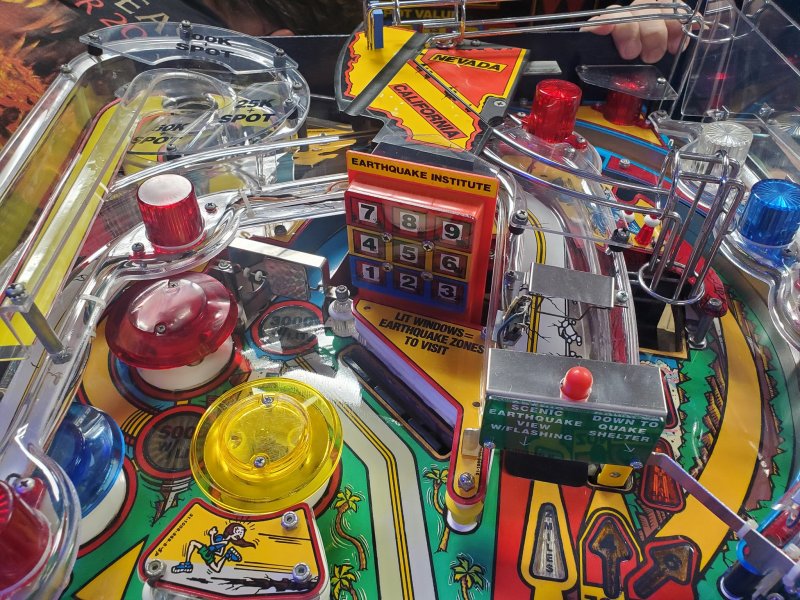
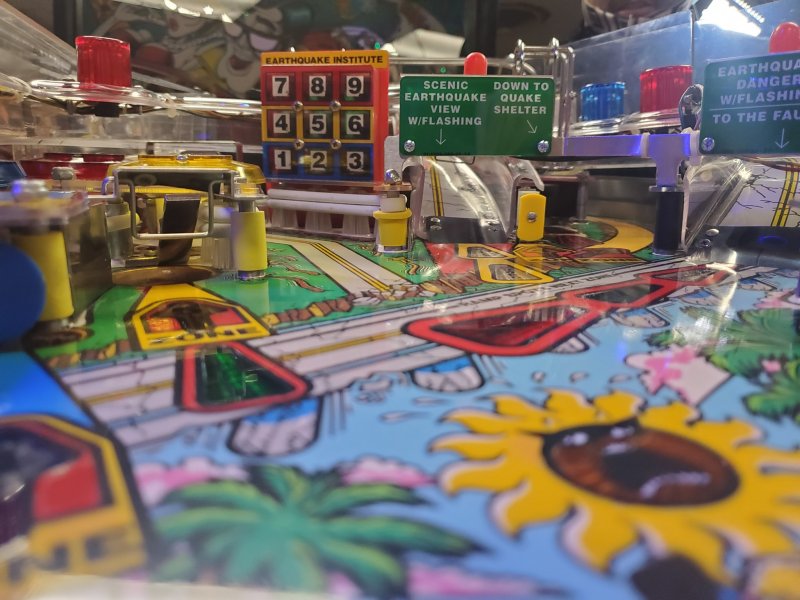
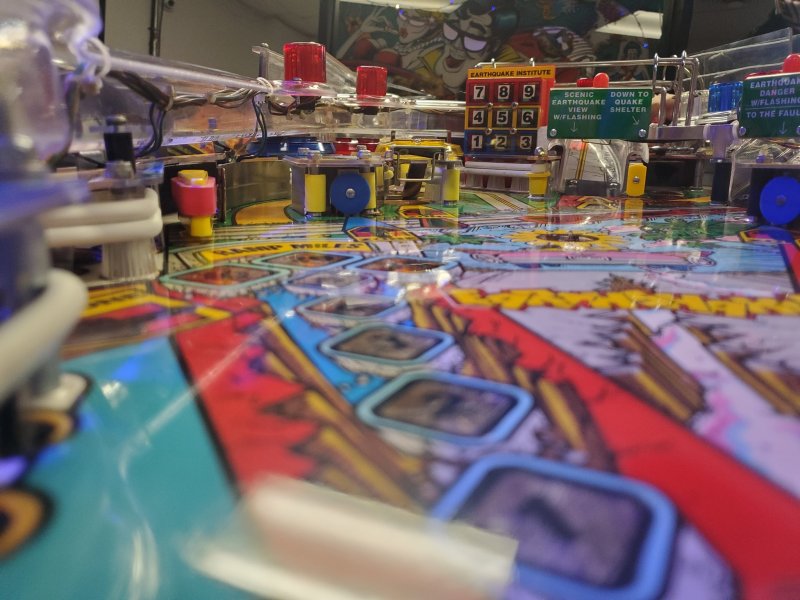
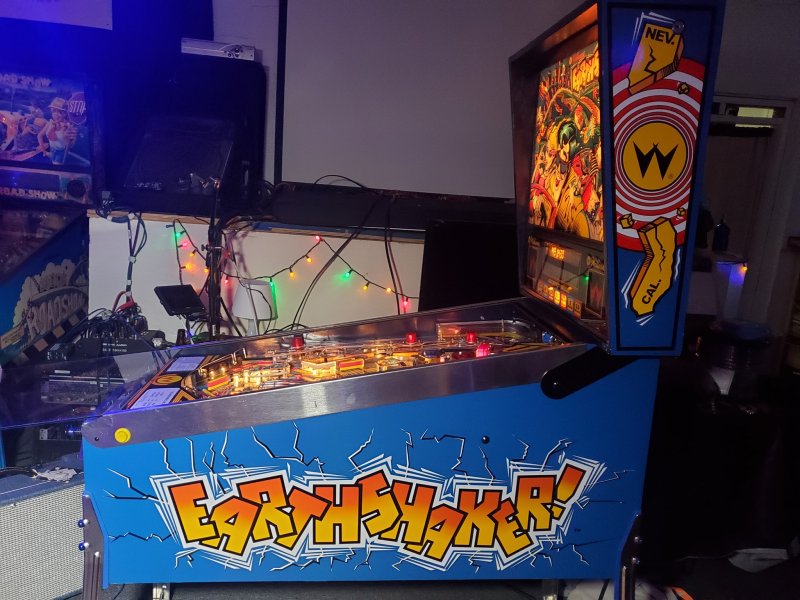
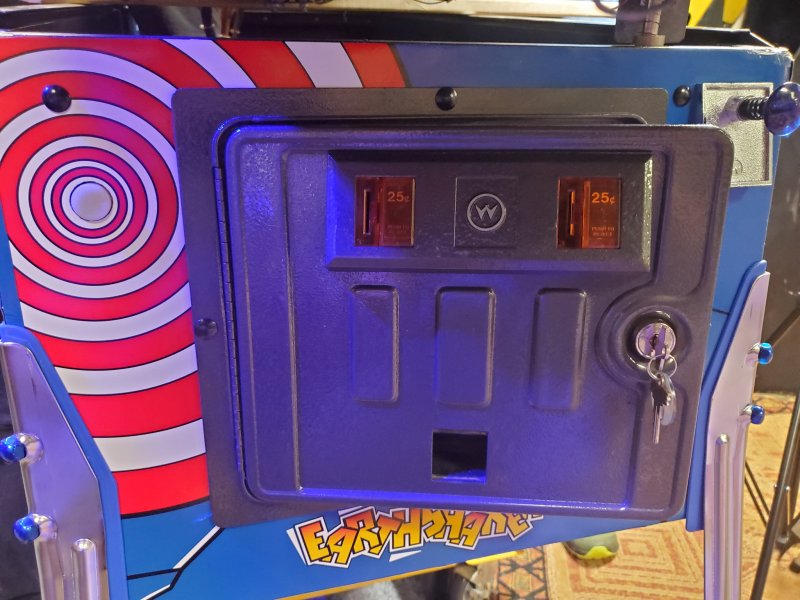
Here’s a video of the restored Earthshaker – check it out – amazing work!
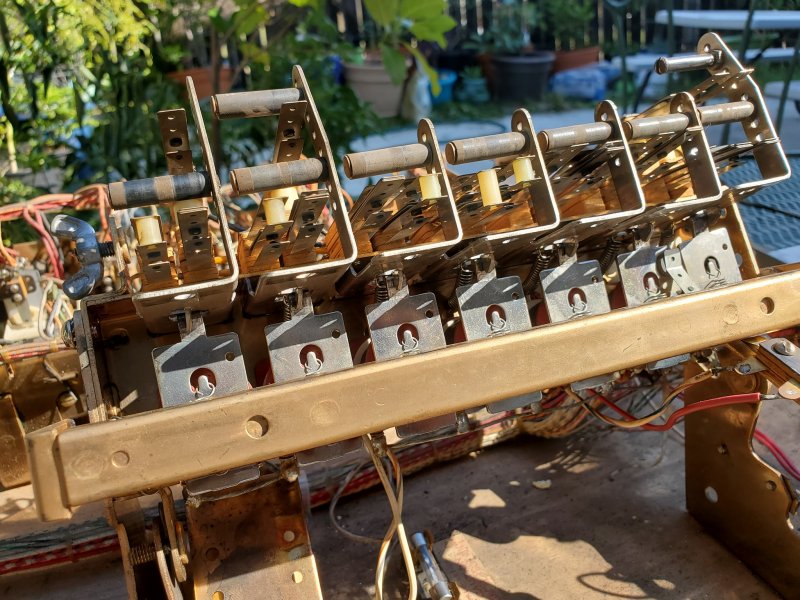
Switch stacks are the primary parts of electro-mechanical pinball machines, triggering game activity. I go over in this video, how they work, the different types of switch configurations, and how to clean and maintain them so they work reliably.
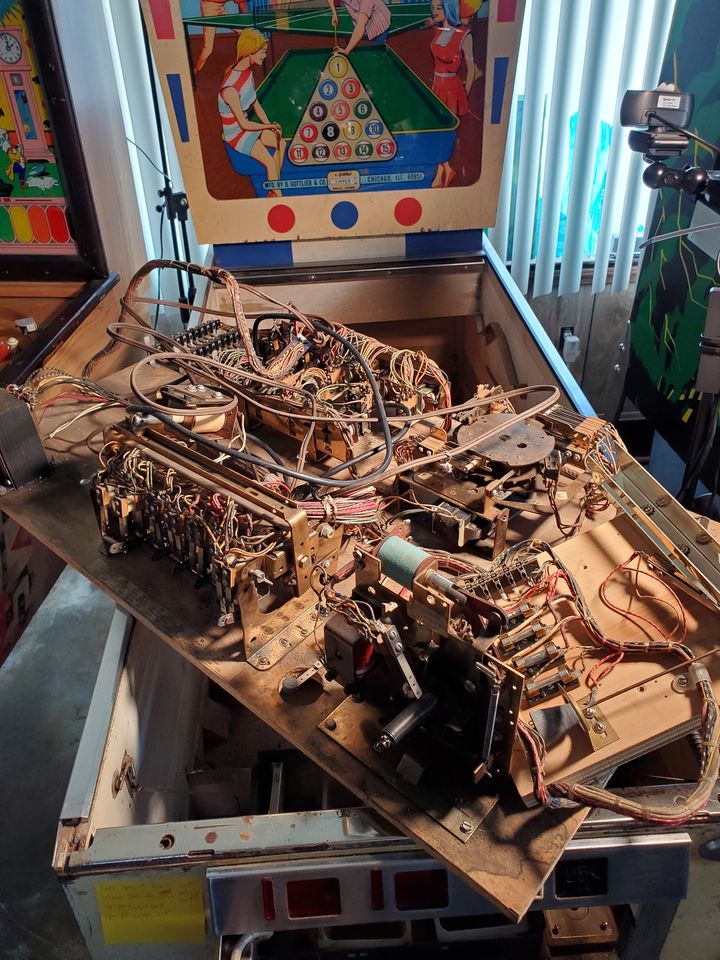
It was a nice day, so I decided to take a pinball backplane, bottom board and bring it outside and dissect the basic components there and discuss how they work.
Ok, that’s a mouthful huh? This is a continuation of a previous series of videos I’ve done on fixing deep ruleset issues in EM games, and now that we’ve found what’s wrong, let’s fix it!
First, here’s a video on how to replace the latch relay – there’s another post where I demonstrate how to remove the backplane from the game so it’s easier to work on.
And in this next video, if you don’t have a replacement part, I show how with a little ingenuity and a #4 tap, you can fabricate your own roller for the articulating arm.