This is a game that’s been sitting in the back for awhile at my place that I keep meaning to get to, so I finally jumped back into to figure out what was wrong. It’s weird to go over notes you made 6+ months ago and try to pick back up where you left off — remind me not to do that.. LOL But the issue was relatively simple: The center bank of drop targets was not resetting.
In this series of videos, I go over, step-by-step the process of how to figure out what’s causing this problem, how to read schematics and manual diagrams, and the various points of failure, and once again, we are reminded of “Ockham’s Razor” which suggests the most obvious cause is the most likely… OR IS IT?
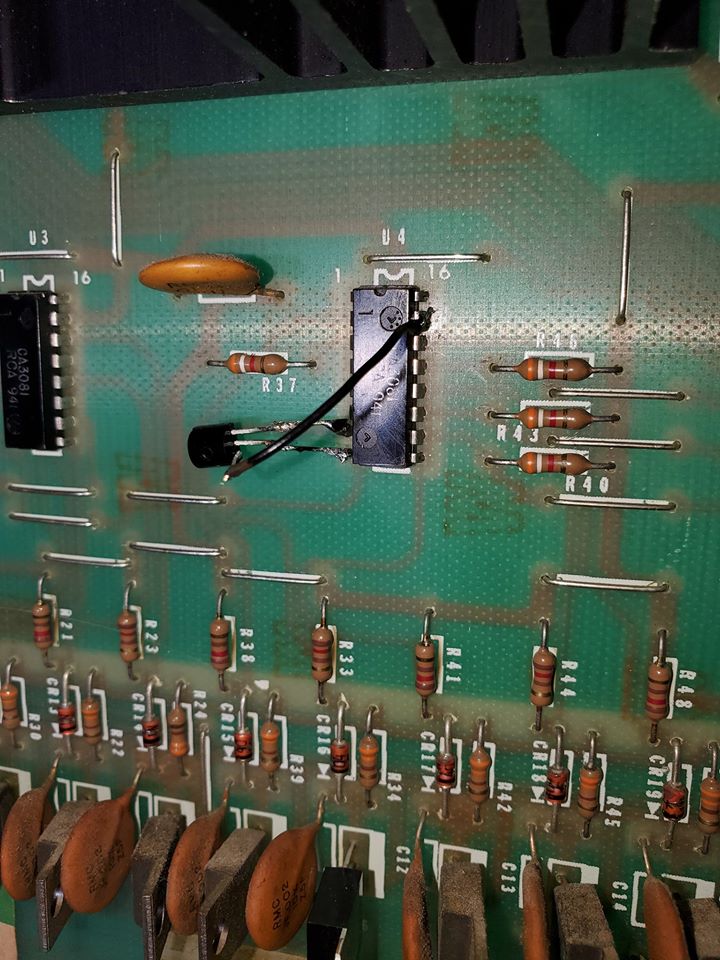
Interestingly enough, once I figured out where the problem was, rather than solve it the traditional way, I choose to do a “hack”… basically just to see if I could do it. The choice was, do you replace an entire 16-pin IC that’s only using one small part of it (involving adding a socket and a new chip that is pretty expensive and hard to find) or do you “hack” the damaged chip and piggyback a new component on top of it? Normally I don’t do these kinds of MacGuyver stuff on system boards, but it was a fun trick to try and it cost a few cents and about 10 minutes verses a lot more time than would have been used to replace a whole IC.
One reason why this hack job is particularly sloppy is because I had to work on the board in the game due to the previous owner having hard-soldered some wires to one of the connectors – that’ll be another future project to clean up all that mess, but for now, I needed to get this back working.
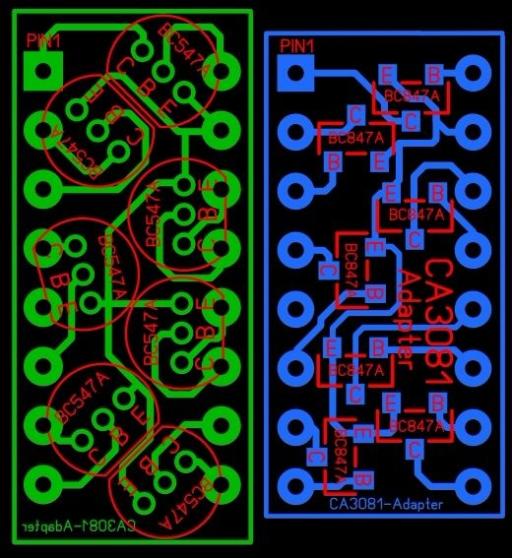
To understand what I did, here is a substitute circuit board showing the position of various individual 2N4401 transistors overlaid on the CA3081 IC package. Using this you can figure out where to insert a transistor manually on the IC pinouts if one of them fails: