Fixing / Rebuilding Stuck Pinball Flippers on Early Ball/Stern Solid State Games

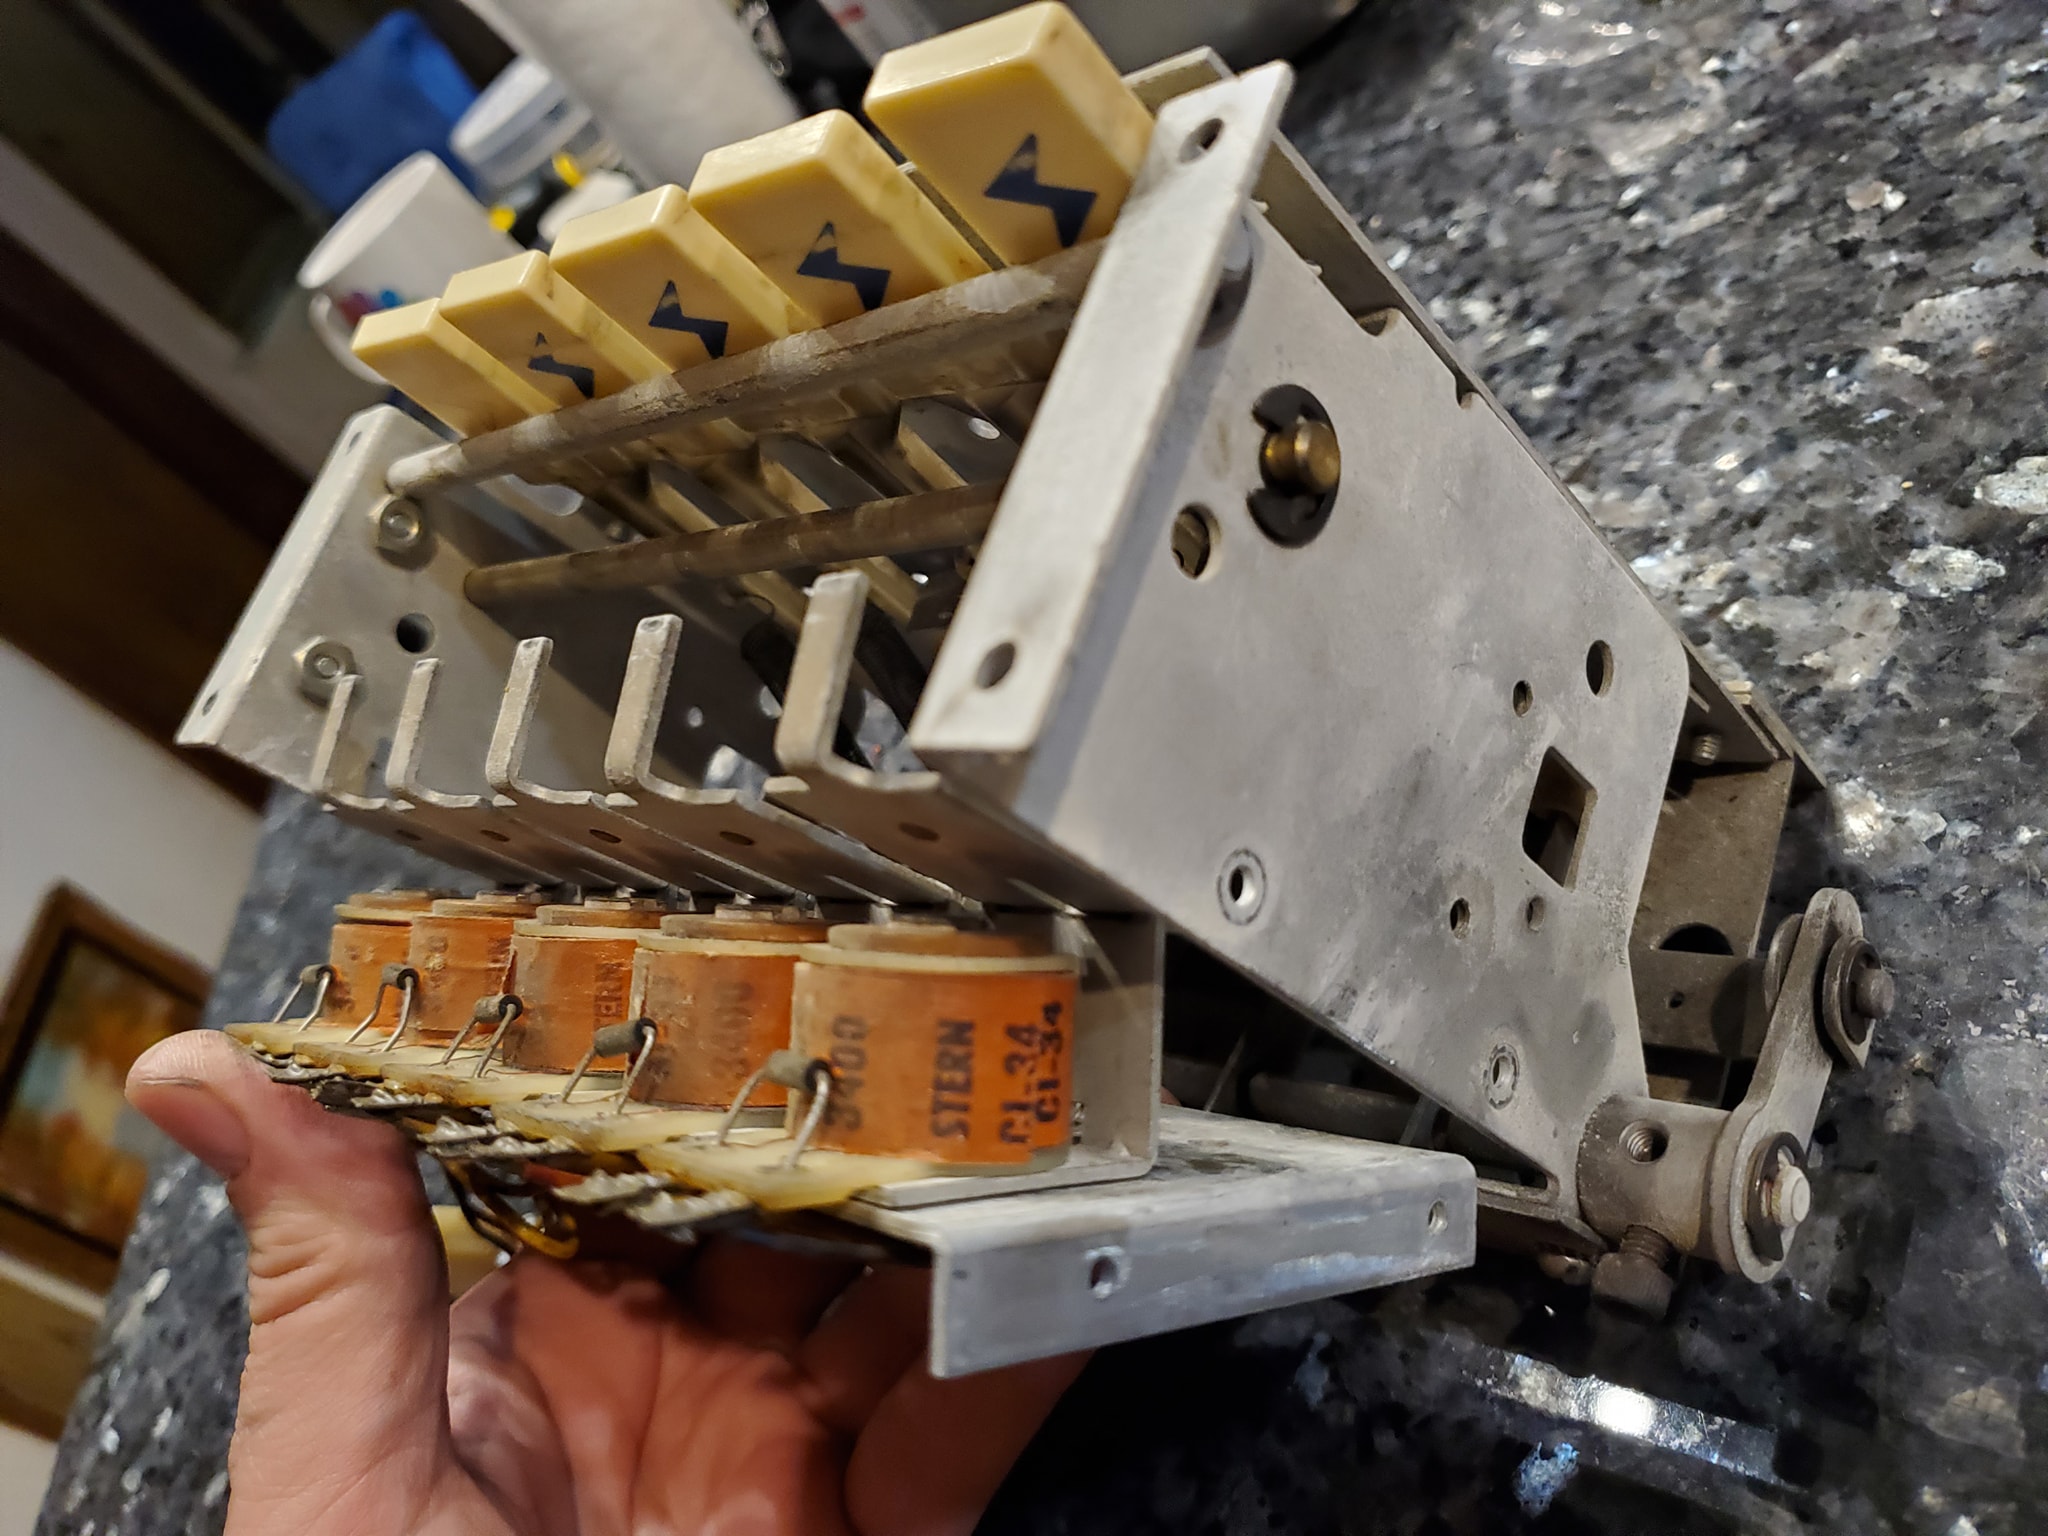
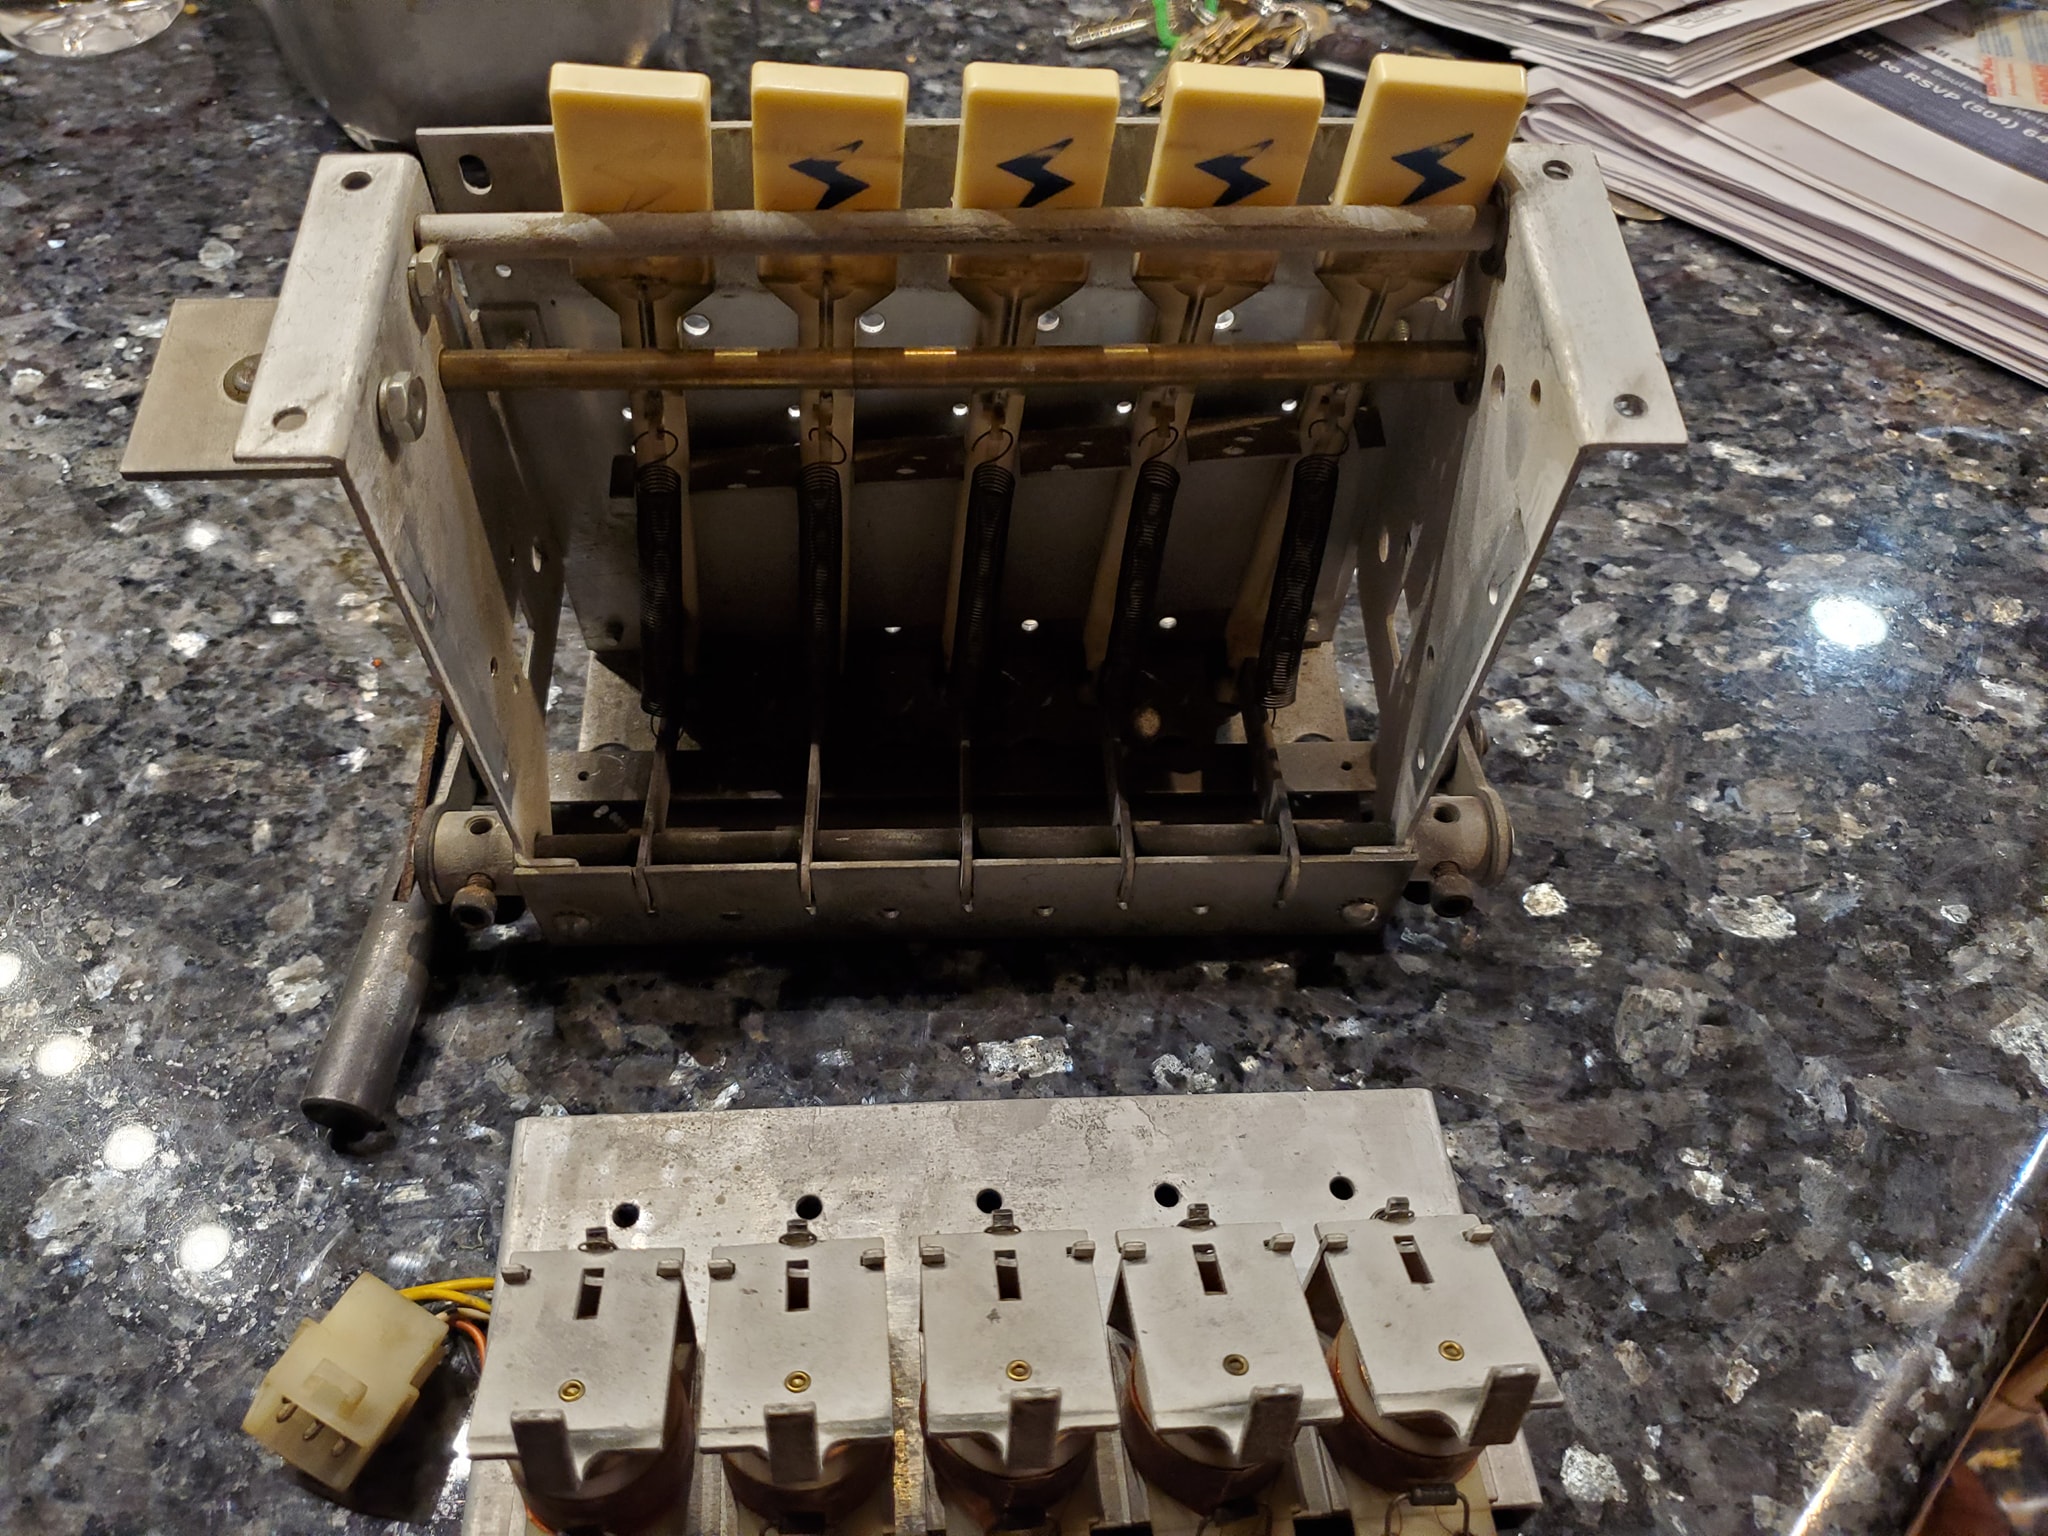
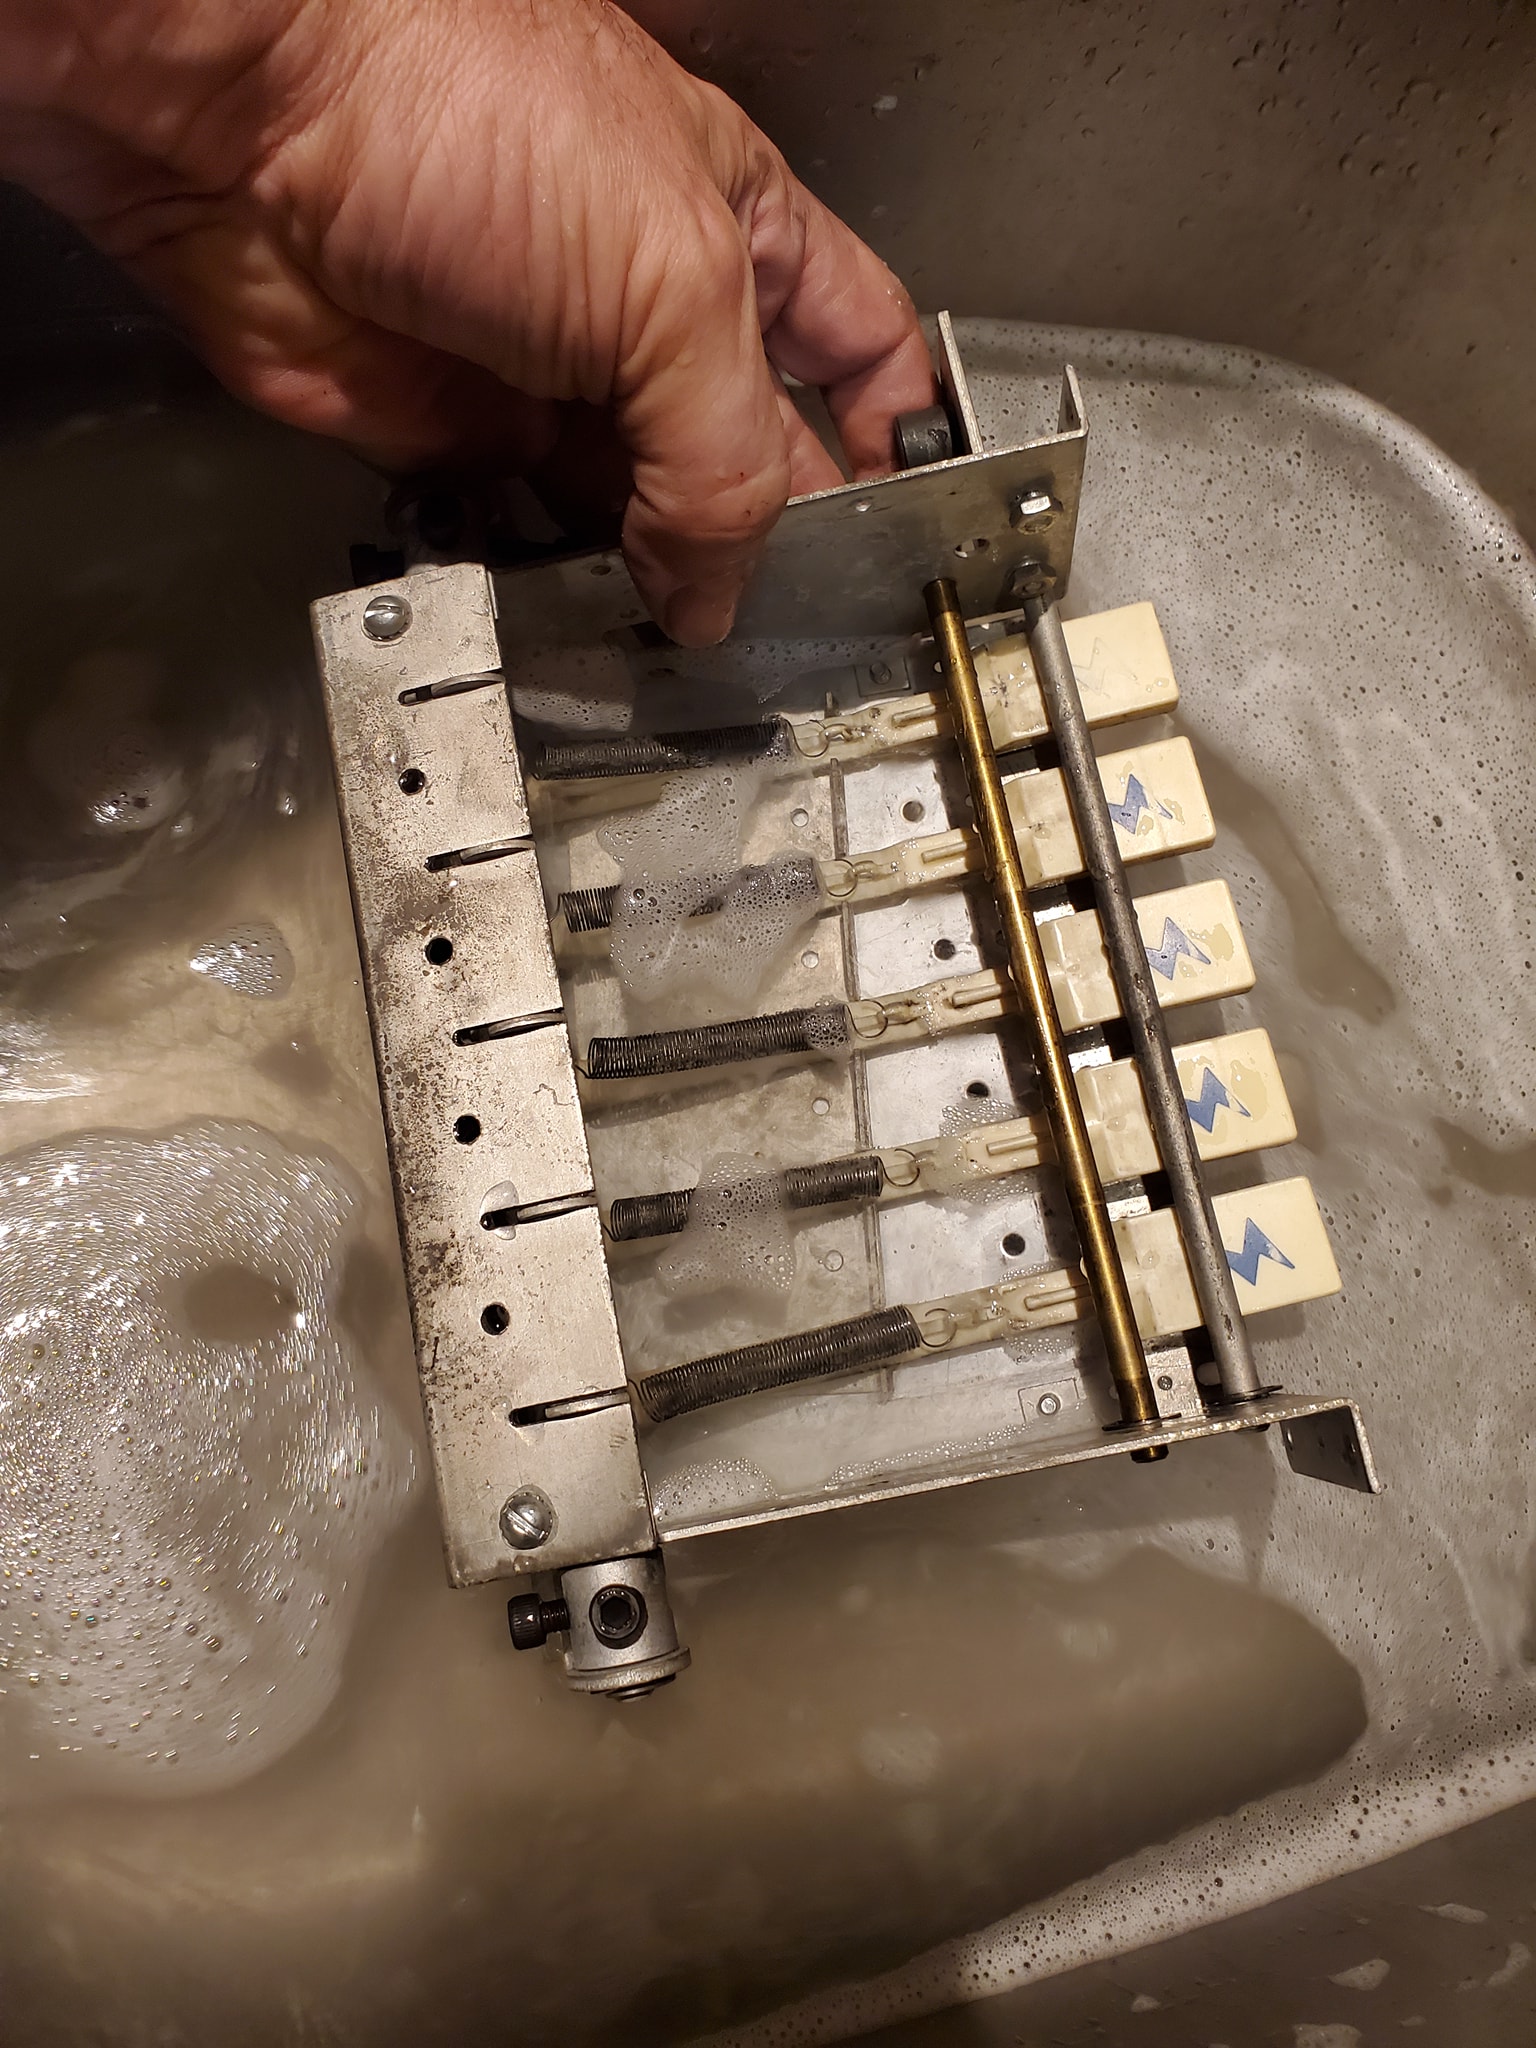
This is a short video going over the steps to repair/rebuilt/refurbish early solid state pinball flipper assemblies, such as those on Stern and Bally games (but this also basically applies to most pinball machines). I go over the process specifically on a Stern Trident and show the specific style of plunger and assembly they’re using, but most games use similar parts. You can use these techniques to rebuild/refurbish pinball flippers on most games.

Also, there’s another thing I don’t cover on the video that may also be a cause for stuck/sticky flippers, and that’s crud around the flipper button. Sometimes the flipper button assembly can be dirty and the button may stick – that can also cause the flippers to not behave properly, so be sure to check and clean the flipper button regularly too!

Rebuilding Drop Target Assemblies on Early Stern/Bally Solid State Games

Here is a series of three short videos covering the process of removing and refurbishing the drop target assembly on early Stern/Bally games. This is done on the Trident I’m working on restoring.

After unscrewing the switch stack and the reset coil, you can remove the drop target assembly from the game. Then you an remove the individual drop target coils from the assembly by unscrewing four small screws.
Note the inner plate behind the drop targets that has slid down – this is what the switch stacks screwed into, so you’ll want to connect them back to the assembly first, before putting the individual drop coil bank back in place.
Since I wasn’t replacing the targets, I simply soaked the assembly in hot soapy water, then made sure to dry it completely before applying some dry spray lubricant. I also shortened the springs by just a tiny amount to make them work better. If you have replacement targets, they should be removed and replaced, which is done by removing the retaining clip and axle holding the assembly together at the bottom.

Behind the scenes: How much work goes into making the arcade games you enjoy playable?

It’s not easy maintaining a collection of games – there are always things to repair…. I thought I might take a quick walk through our arcade space and discuss what I usually do after a party and what happens to the machines and what needs to be done to the games to get them working for the next event. Some machines hold up; some break down. Take a walk with me and see what work needs to be done?

Rebuilding flipper plunger links. Is it worth it?

In this video I show how you can replace a broken linkage in a flipper or slingshot or other plunger assembly. These are notorious for breaking. You can purchase the entire assembly with a link, or you can punch out the roll pin and install your own link. Is it worth it to DIY this? I’ll let you decide.

Repair, don’t replace that broken pinball coil!

Pinball coils (aka solenoids) are windings of insulated copper wire that create electromagnets that make things move on the playfield. If you have a coil that is no longer working, and doesn’t have any obvious signs it has “melted down”, there’s a very good chance you can repair it instead of replacing it. In this video I go over how this is typically done. This works on all types of pinball machines from the EMs to Stern, Bally, Williams, etc.

First Look: 1968 Gottlieb Domino Pinball

Here’s a quick video of a new machine that entered the club today. It’s pretty rare to find this machine especially one in such good condition, so it’s a treat to bring this to you.. check out this early Gottlieb Wedgehead, Domino.

Fixing Bally/Williams Pinball Reset Issues

Probably one of the most common problems people experience with the modern Bally/Williams DMD machines are random resets of the game in progress.  Sometimes it appears these resets happen at certain times (like when you hit a flipper or during multiball) and you think it may be directly related to that.  Most of the time, that’s not the case, although heavy activity like firing certain solenoids might cause a drain which exposes a weakness in the game’s power system.  We’re going to go over the standard procedure to deal with this issue.

After the board is removed, I go over the process to desolder and remove components.

Now time to solder the new components on the board. You have to be very careful to not mess up the traces. There are also some recommended jumpers you can run around the bridge rectifiers to double-up on the traces. I don’t go into that in the video but you can look at Clay’s guide for more details on that.

Another thing you might want to do if you do not replace all the caps, is to mark on the top of the cap the month/year you replaced them.  This way in case there’s any confusion, you’ll know which components are newer and which ones may still be original.

And now the moment of truth!