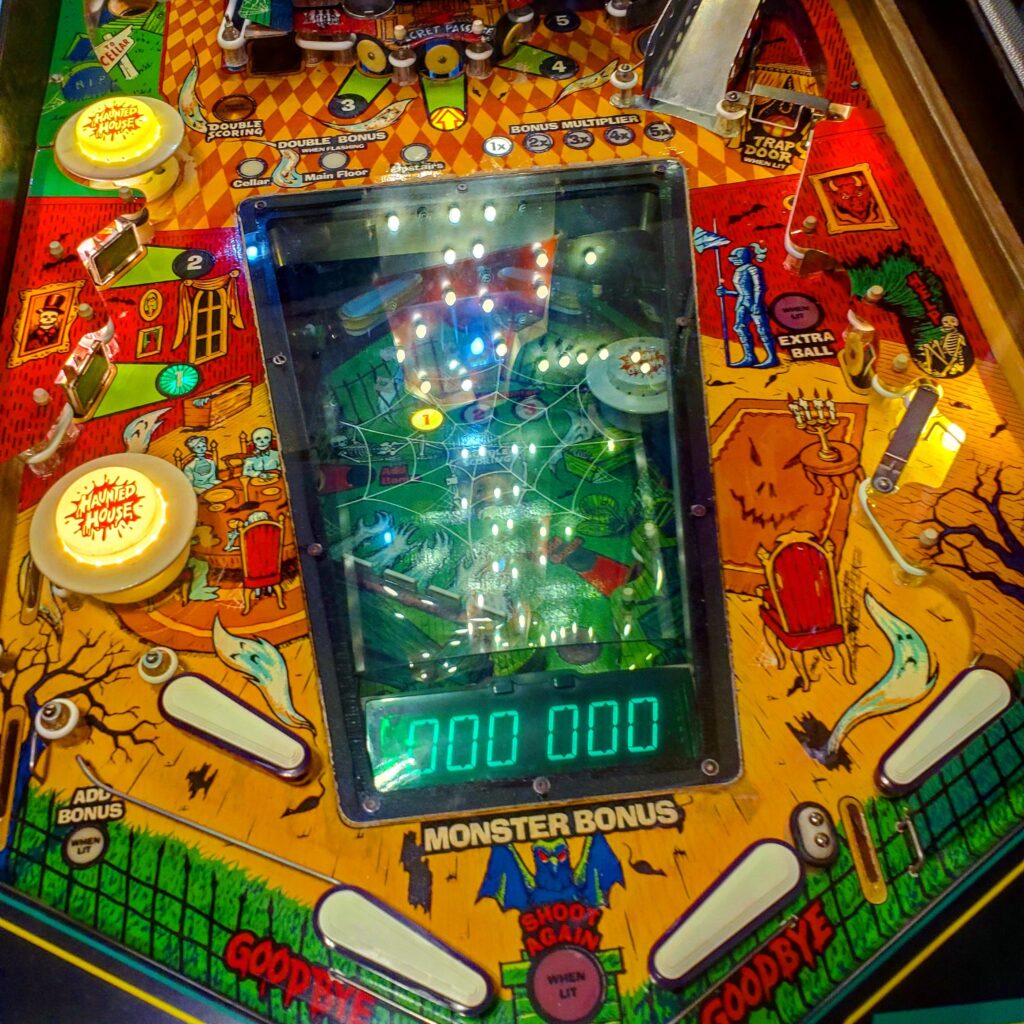
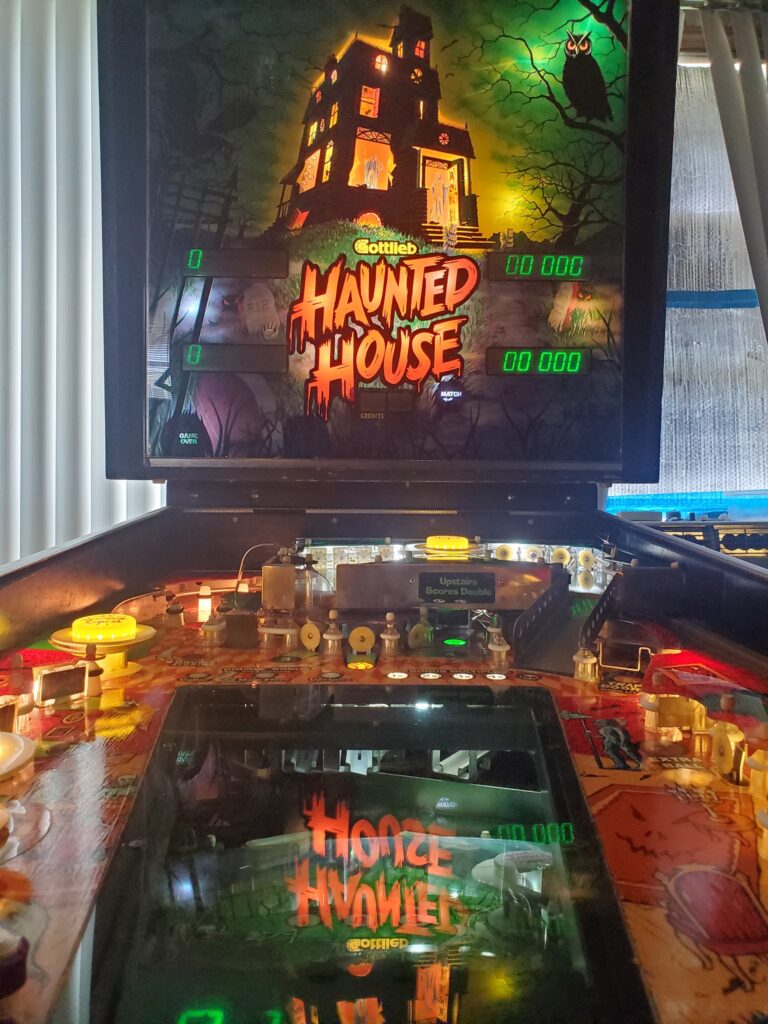
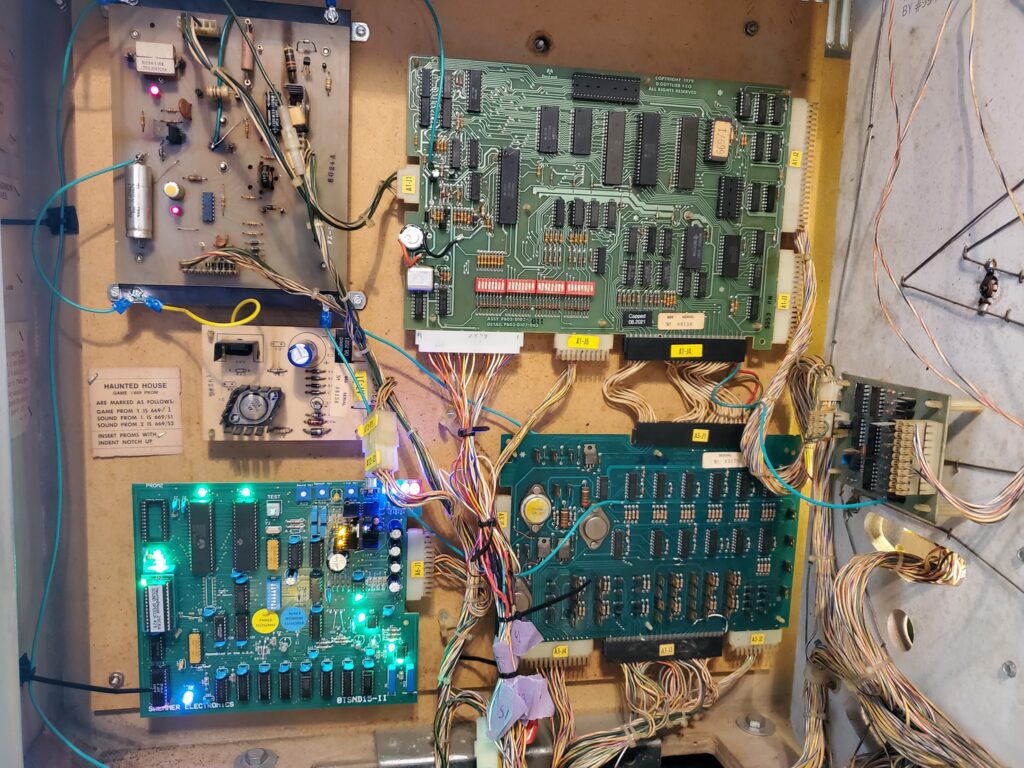
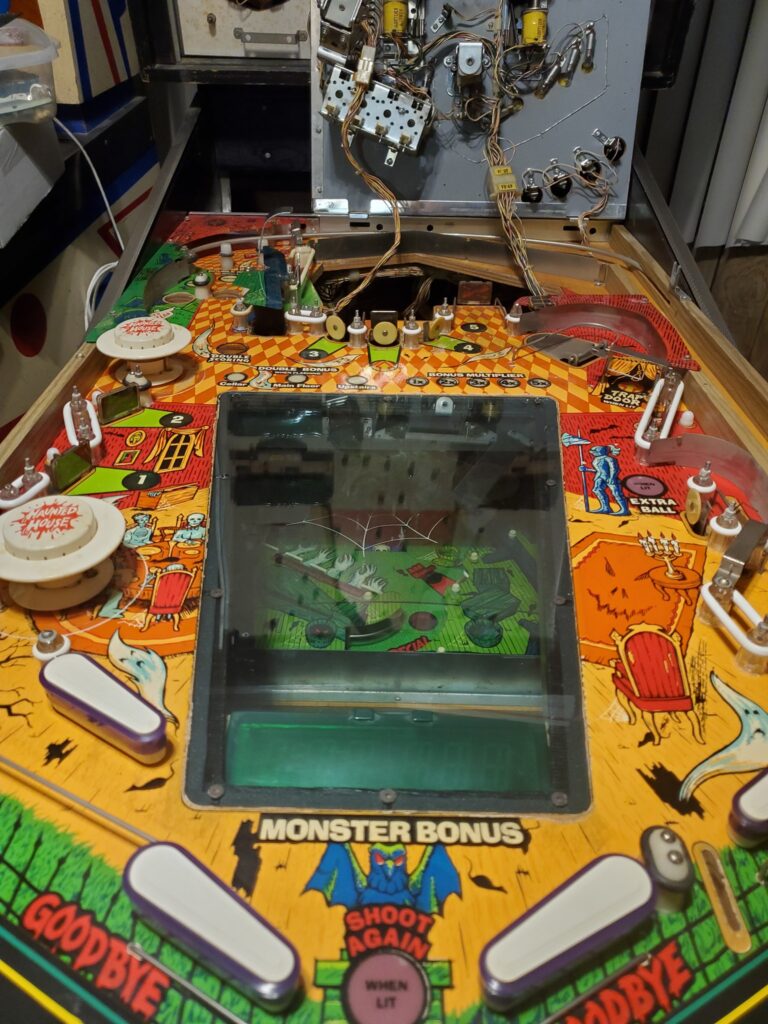
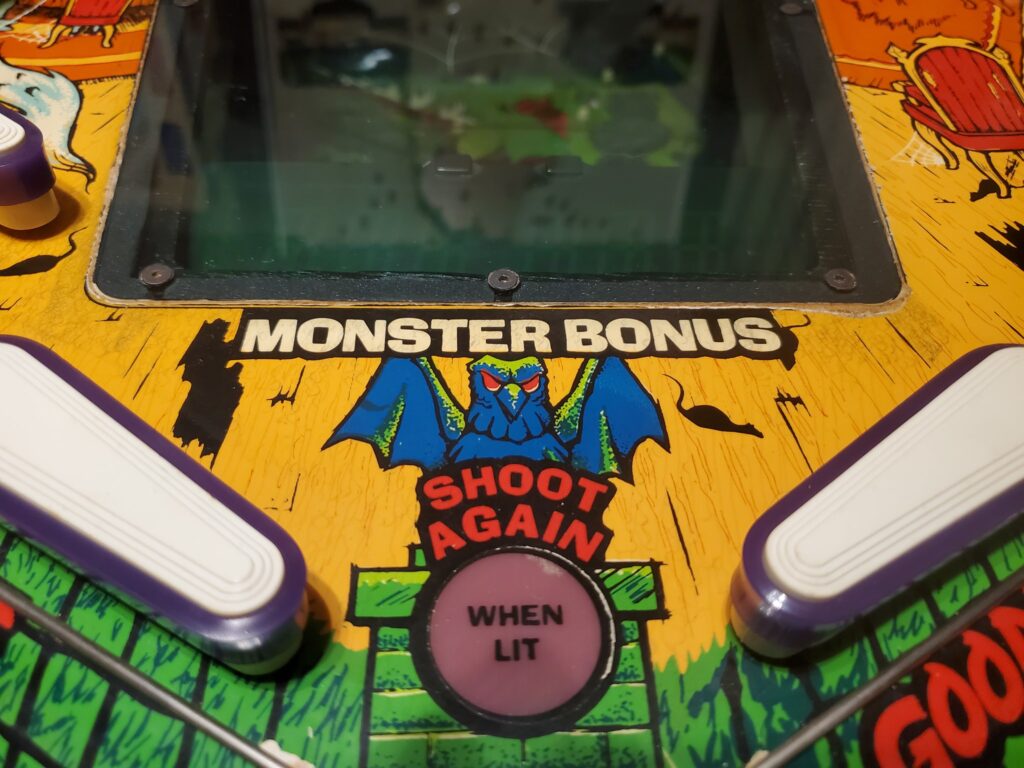
Now that the Haunted House is all restored, let’s do a video showcasing the gameplay and ruleset!
Category Archives: Pinball Showcase
Pinball Showcase: Bally 1979 “Paragon”
How to play Paragon, the scoring, the ruleset and strategy. This is the original 1979 classic solid state game.
Quick demo of fully-modded Stern “Trident” pinball with new rules and sound
After getting my Trident operational, I installed the BSOS system and have been working on fine-tuning the custom code and sounds. Here’s a short demo of what the new Arduino-based controller does to a standard Bally 18/35/Stern early solid state game.
Resources (courtesy Dick Hamill):
The code is all available on GitHub. It’s broken down into a base library and then machine-specific implementations. Rewriting other games requires a moderate knowledge of C/C++.
https://github.com/BallySternOS
Here’s a suggested parts list. If you bought all these things, you could create 6 of these boards. If you don’t need that many boards, you might find cheaper ways to source smaller quantities. I haven’t done any work to figure out if this is the cheapest way to source any of this stuff.
Cheap Arduino knockoff x6 ($20.99) – needs CH340 driver for programming / has to be ATmega328P
https://www.amazon.com/ATmega328P-Controller-Module-CH340G-Arduino/dp/B08NJNJCTX/
0.1″ 40-pin connector (40 pieces for $7.99)
https://www.amazon.com/Honbay-Single-Female-Connector-Arduino/dp/B06Y4S6G29/
32-pin Prototype PCB (2 pack for $9.99) – this won’t work for Alltek or MPU-200 because they have a 34-pin connector
https://www.amazon.com/Prototype-Snappable-Arduino-Electronics-Gold-Plated/dp/B081QYPHHP/
Wire ($7.99) – tons of wire
https://www.amazon.com/REXQualis-Breadboard-Assorted-Prototyping-Circuits/dp/B081H2JQRV/
74125 – ($1.95) https://www.jameco.com/z/74125-Major-Brands-IC-74125-Quad-Tri-State-Bus-Buffer_49373.html
Boot switch – x2 ($8.99) this switch will work for activating the Arduino board and toggling the speaker (see the writeup here to find out why: https://ballysternos.github.io/install.html)
https://www.amazon.com/gp/product/B07XMH174C/
OR
@RoyGBev has created a PCB and kit (doesn’t include the Arduino) here:
https://pinside.com/pinball/market/shops/1304-roygbev-pinball/04736-arduino-nano-adapter-for-classic-bally-stern
Let’s play our fixed Gottlieb Target Pool!
Yay… we got the game working again…. let’s go over the basic gameplay and see how it plays shall we?
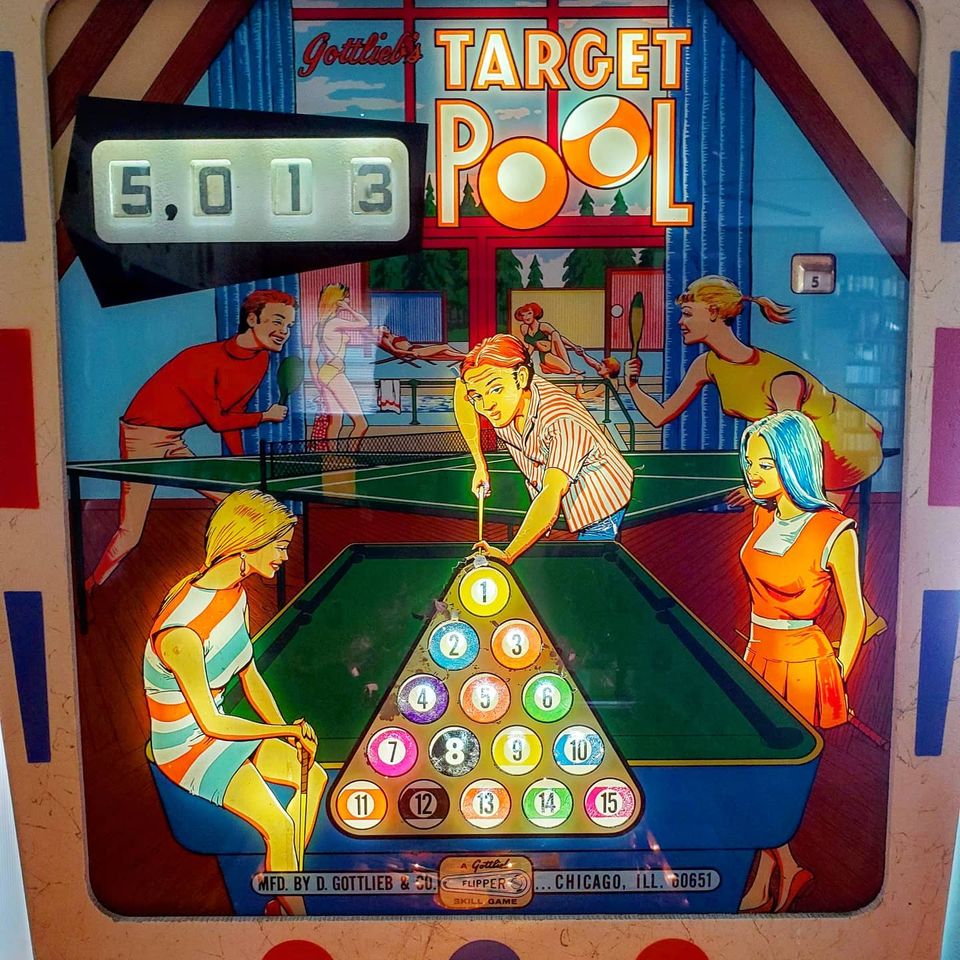

Pinball Showcase: 1969 Gottlieb “Target Pool”
This is a very fun game that I recently dragged back to my house to work on. It was being a bit cranky and I finally got a chance to fiddle with it and get it working. I’m still tweaking it but wanted to do some gameplay videos. I forgot how really fun this game is. It’s all about nudging. This is one of the best games to learn the subtle art of nudgng on and widely regarded in pinball collection circles. Come see what the fuss is about..



Pinball Showcase: 1967 Gottlieb Hi-Score
This is a game I featured in episode #17 of pinball stories. A recent game I picked up and was sitting in my living room that I’ve been working on restoring. I finally got the game playable and wanted to do a test-stream of my camera rig so why not do a Pinball Showcase? What you have here is a portion of the live stream of me demo’ing the 1967 Gottlieb Hi-Score pinball machine. A surprisingly fun game to play, albeit a rather simple and shallow rule set.
In the video I explain the rule set but I wasn’t immediately able to figure out under what conditions the reward scale for the roulette wheel resets. After playing a few more times I figured it out. If you hit the max payout for A, B or C, it then resets, otherwise it will remember and carry over the current payoff scale from ball to ball AND player-to-player. So this means it’s possible for a player to steal the progress of another player for a larger roulette payout. That’s pretty cutthroat!
Thanks for watching and be sure to subscribe to my YouTube channel!

The 10 Commandments of Pinball Repair and Maintenance
(in no particular order of importance)
1. Thou shalt turn thy machine off when moving parts of it.
One of the most common “gotchas” when working on pinball machines is the tendency to pick up the playfield while the game is powered on. Most of the time this can be harmless, but there’s always that off-chance that a wire or solder joint can brush against a siderail, or a screw, nut or other playfield piece comes loose and shorts an electrical connection. if you need to pull the playfield up, power down the machine, lift the playfield, then turn the power on.
2. If it isn’t broken, don’t fix it.
Some enthusiasts new to pinball repair often try to clean or work on the entire machine when addressing one specific issue. The unfortunate end result can be one-step-forward, three-steps-back. This is especially true with EM games. If you find one switch that may need adjustment or cleaning, resist the impulse, while you’re there, to go through and clean them all. Until you become very familiar with a game’s architecture, it’s best to not poke around in areas that appear to be working properly.
3. Use the right tools.
Spend the money and take the time to use proper tools and techniques when working on games. From crimping and riveting to files and types of sandpaper, paints and soldering/desoldering tools, don’t skimp. Good quality tools will save you time and money. Cheap tools will give you headaches and cause damage. Invest in a reliable jack to raise and move your games. Have a comfortable, well-lit work area. Have parts well-organized and easy to find. Have plenty of spare storage bins and a system to label and store parts on works in progress.
4. Document your work!
Take lots of pictures, before, during and after your work. If you unplug connectors or disassemble parts, take pictures of the way they were before from multiple angles. I like to keep a little book with each game that chronicles what I’ve done to the machine and its history. I will also stick a post-it note on the top glass where I can make notes on items that need work with each game. This way when it comes time to perform maintenance on problem X, I’ll also note that while I have the machine apart, I should fix items A, B and C that are on my little post-it note. It’s frustrating to pull a game apart to fix a sluggish flipper, put it back together and then realize there are a few lights out I should have replaced at the time.
5. Keep batteries off the MPU boards and regularly replace them.
For solid-state machines, if you are lucky enough to have a vintage machine with no acid damage from batteries, don’t take any further chances. Install a remote battery pack, memory capacitor or other solution which will eliminate the problem. Change your batteries in the machine once-a-year just to be safe. Many of us also believe not all battery brands are equal. (I will not put Engergizers in my machines)
6. Replace the balls and keep the playfield clean.
The #1 cause of damage to playfields is the result of aging pinballs that start to get scuffed or corroded and end up acting like sandpaper, tearing up playfield art, mylar, clear coat and everything else in their way. Balls are cheap. Regularly replace them if they begin to look even the slightest-bit rough. Also make a point of routinely dusting/cleaning the playfield. Swiffers work very well for getting into tight places and removing grit that could cause wear or balls to get stuck. Waxing (with 100% Carnuba wax) is always a good thing to do too, but be careful about getting wax residue in places you can’t clean it away.
7. Look for simple solutions first.
A 14th century philosopher, William of Ockham is credited with the maxim, “Occam’s Razor” which states, “Simpler explanations are, other things being equal, generally better than more complex ones.” Don’t make an issue more complicated than it needs to be. If your machine suddenly says 7 different playfield switches are no longer working, don’t assume you have 7 different switches broken; instead perhaps there is a common wire that has failed which is affecting all 7 switches? Look around for anything unusual and if you see something odd, use your eyes and experience to deduce where it needs to be.
Usually when things go wrong, beginners will get bogged down in seemingly more-direct “solutions” when the problem is the result of something even more simple than they imagine: a flipper not working? Beginners might start replacing coils and rebuilding things before checking to see if a fuse is blown, wire broke off or a connector isn’t plugged in all the way. You can often save time by pursuing the most common/easiest-to-fix cause of an issue, as opposed to the most obvious potential failure point. Along these lines, it’s safe to first check things like: fuses (noting that on most games there are fuses all over the place, even under the playfield itself – don’t assume a fuse is OK unless you physically remove it and check it), connectors (loose connectors or bad pins on connectors are a major cause of most problems), bad grounding (again, loose wires or boards not properly screwed into a grounding backplane).
8. Inspect a game before powering on, after moving it.
Any time you’ve transported or picked up a new game, resist the urge to quickly plug it in. Even if it was working 100% before you put it in your vehicle, transporting a game can cause things to shake loose, especially connectors, and you don’t want to run the risk of damaging the machine. Before turning the game on, go through the entire machine and make sure all the connectors are properly seated and nothing looks out of place. If you turn a game on and a high power coil is locked on, power it down before the coil burns out.
9. Know how to pack, move and store a game properly
A lot of times games are damaged or even destroyed as a result of people not knowing how to pack and move a game. NEVER transport a game with head upright (for modern games the head can be folded down; older games the head should be unplugged and detached from the cabinet). If you don’t have 2+ people to move a game, do not try to do it yourself, or break the game down and move it in parts. It may be a pain to pull the playfield out and detach/re-attach things, but it’s much better than screwing up your back or damaging parts trying to move everything all at once.
Also be aware that there are many fragile parts to these games. Be extra careful with any tempered glass and backglasses. They can easily get scratched. Tempered glass, while designed to be impact resistant, is also very sensitive to “exploding” if damage is caused along the edges, or is exposed to rapid temperature changes. Also remember that moisture is a killer! Some backglass artwork can instantly delaminate if gotten wet. Some cabinets are made out of medium-density-fiberboard and will puff up and start to disintegrate if exposed to water. Extra care needs to be taken. When moving machines, always tighten down the cabinet, BUT NOT TOO TIGHT or you can break glass or ding the head and siderails. Always remove the balls from the machine and any other parts (or coins) inside the cabinet that could bounce around in transit.
10. Use your eyes!
The best way to find out what’s wrong with a pinball machine is use your eyes. Examine the game in detail and look for anything out of the ordinary. Even if it seems unrelated to a problem you’re having, like a light not going on or a switch not registering, and you find some odd, loose wire at the other end of the playfield, there’s a good chance they’re related.


