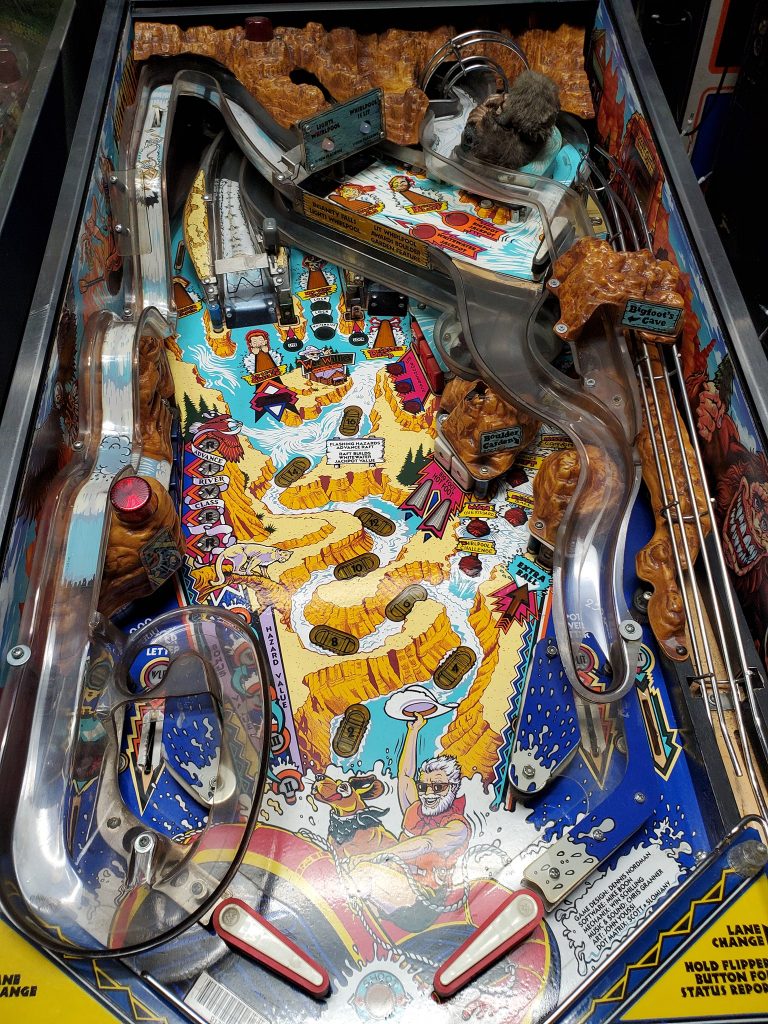
Quick demo of fully-modded Stern “Trident” pinball with new rules and sound

After getting my Trident operational, I installed the BSOS system and have been working on fine-tuning the custom code and sounds. Here’s a short demo of what the new Arduino-based controller does to a standard Bally 18/35/Stern early solid state game.

Resources (courtesy Dick Hamill):

The code is all available on GitHub. It’s broken down into a base library and then machine-specific implementations. Rewriting other games requires a moderate knowledge of C/C++.
https://github.com/BallySternOS

Here’s a suggested parts list. If you bought all these things, you could create 6 of these boards. If you don’t need that many boards, you might find cheaper ways to source smaller quantities. I haven’t done any work to figure out if this is the cheapest way to source any of this stuff.

Cheap Arduino knockoff x6 ($20.99) – needs CH340 driver for programming / has to be ATmega328P
https://www.amazon.com/ATmega328P-Controller-Module-CH340G-Arduino/dp/B08NJNJCTX/

0.1″ 40-pin connector (40 pieces for $7.99)
https://www.amazon.com/Honbay-Single-Female-Connector-Arduino/dp/B06Y4S6G29/

32-pin Prototype PCB (2 pack for $9.99) – this won’t work for Alltek or MPU-200 because they have a 34-pin connector
https://www.amazon.com/Prototype-Snappable-Arduino-Electronics-Gold-Plated/dp/B081QYPHHP/

Wire ($7.99) – tons of wire
https://www.amazon.com/REXQualis-Breadboard-Assorted-Prototyping-Circuits/dp/B081H2JQRV/

74125 – ($1.95) https://www.jameco.com/z/74125-Major-Brands-IC-74125-Quad-Tri-State-Bus-Buffer_49373.html

Boot switch – x2 ($8.99) this switch will work for activating the Arduino board and toggling the speaker (see the writeup here to find out why: https://ballysternos.github.io/install.html)
https://www.amazon.com/gp/product/B07XMH174C/

OR

@RoyGBev has created a PCB and kit (doesn’t include the Arduino) here:
https://pinside.com/pinball/market/shops/1304-roygbev-pinball/04736-arduino-nano-adapter-for-classic-bally-stern

How to make a test bench rig for Bally-18/35 MPU boards using a PC power supply

I found this old video the other day and realized I didn’t have a post on my main site showcasing this video so I wanted to add it (also, this was before I learned the proper pronunciation of “Bally” LOL…. bah-lee).

How to add a switched power outlet to your pinball machine

These days modding games is all the rage: adding fancy toppers, custom lighting, subwoofers and powered speakers and more. But many pinball machines don’t have a facility for you to plug in extra stuff in your game. Many games do have a “service outlet” inside the game, but this is what’s called “un-switched” meaning it’s on all the time – mainly so technicians can use a soldering iron on the game with the power off. In this video I go over the process to tap into the switched power lines of the game to add your own extra outlet(s) that come on when you turn the game on.

Fixing / Rebuilding Stuck Pinball Flippers on Early Ball/Stern Solid State Games

This is a short video going over the steps to repair/rebuilt/refurbish early solid state pinball flipper assemblies, such as those on Stern and Bally games (but this also basically applies to most pinball machines). I go over the process specifically on a Stern Trident and show the specific style of plunger and assembly they’re using, but most games use similar parts. You can use these techniques to rebuild/refurbish pinball flippers on most games.

Also, there’s another thing I don’t cover on the video that may also be a cause for stuck/sticky flippers, and that’s crud around the flipper button. Sometimes the flipper button assembly can be dirty and the button may stick – that can also cause the flippers to not behave properly, so be sure to check and clean the flipper button regularly too!

Rebuilding Drop Target Assemblies on Early Stern/Bally Solid State Games

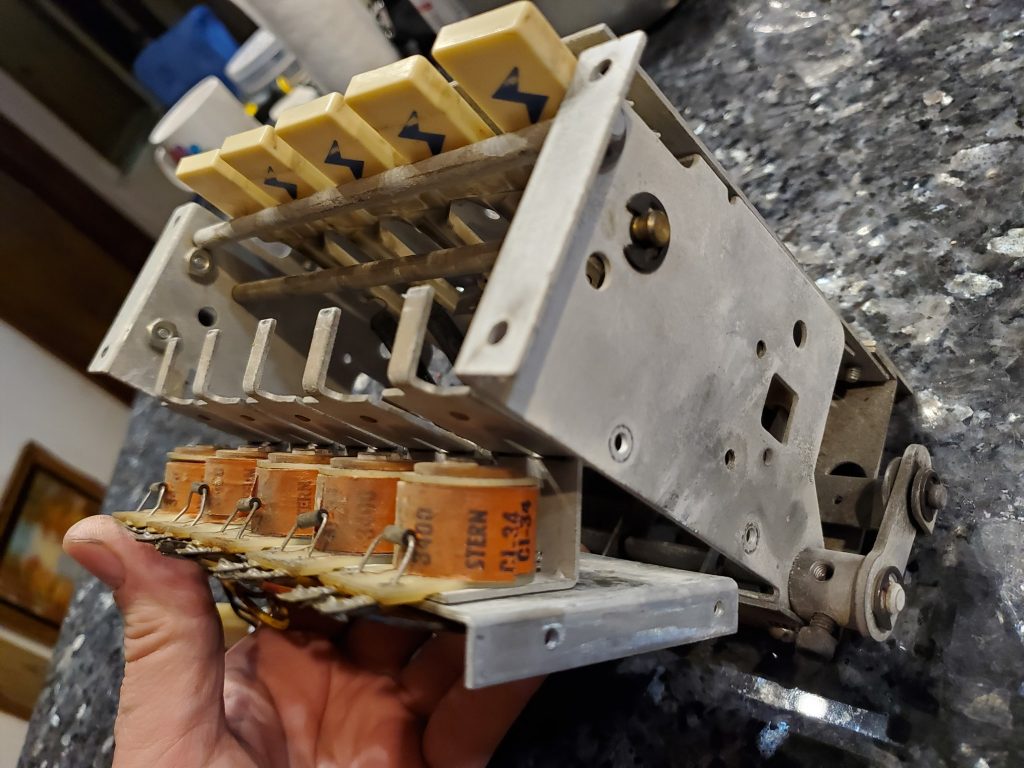
Here is a series of three short videos covering the process of removing and refurbishing the drop target assembly on early Stern/Bally games. This is done on the Trident I’m working on restoring.

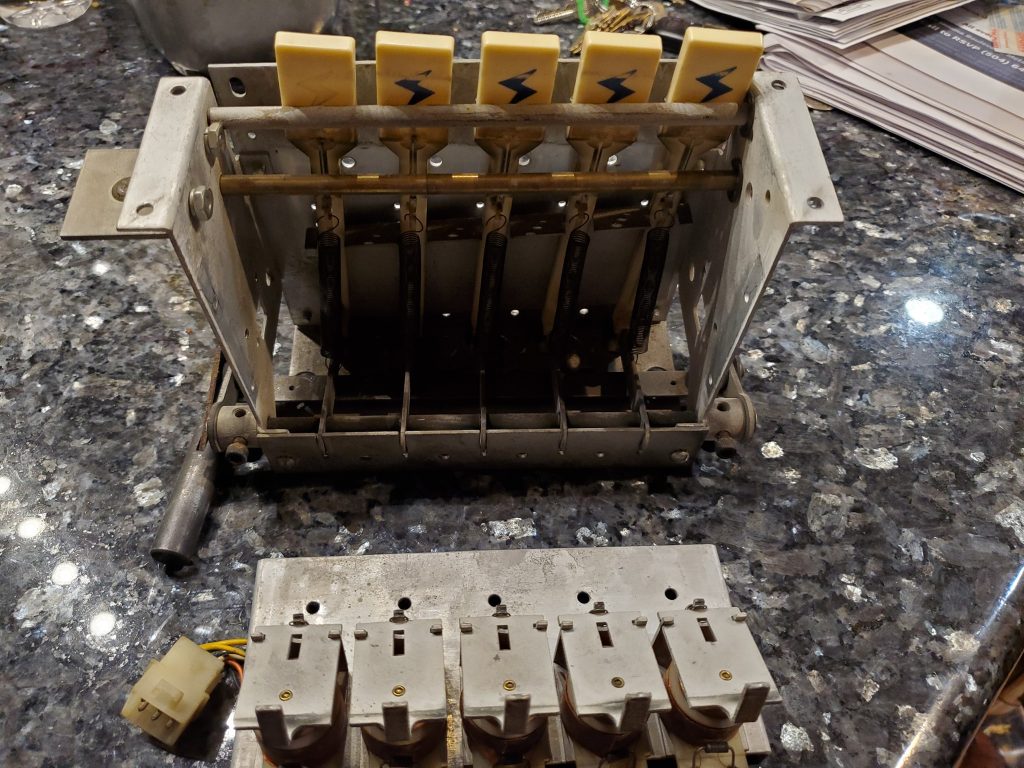
After unscrewing the switch stack and the reset coil, you can remove the drop target assembly from the game. Then you an remove the individual drop target coils from the assembly by unscrewing four small screws.
Note the inner plate behind the drop targets that has slid down – this is what the switch stacks screwed into, so you’ll want to connect them back to the assembly first, before putting the individual drop coil bank back in place.
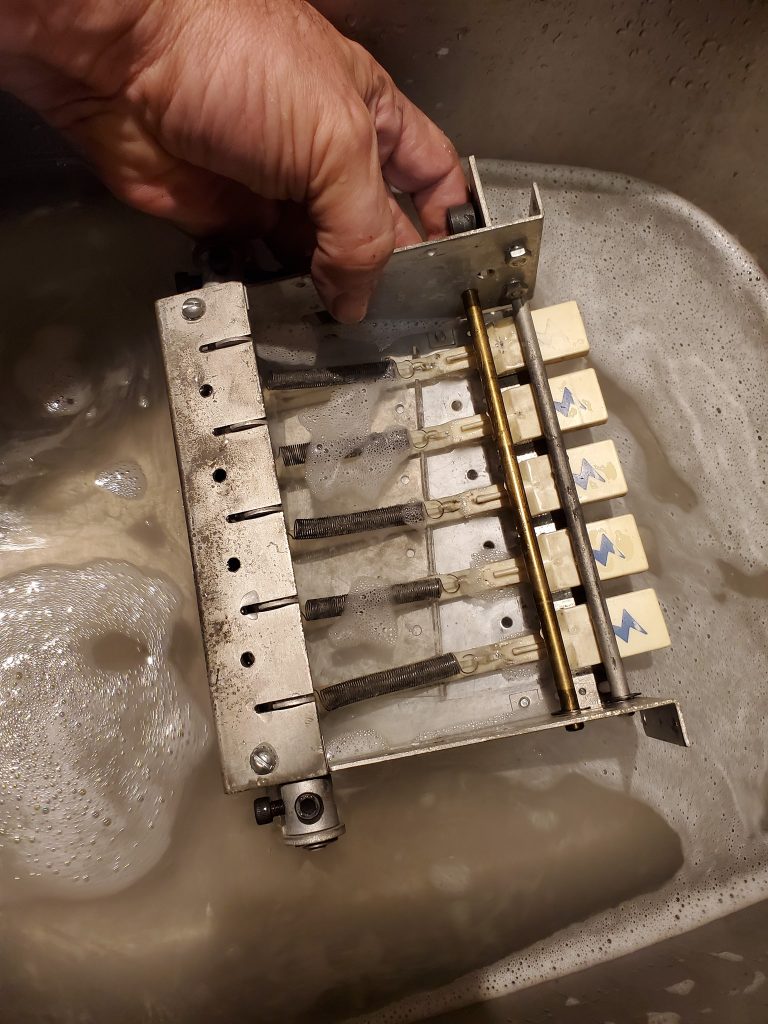
Since I wasn’t replacing the targets, I simply soaked the assembly in hot soapy water, then made sure to dry it completely before applying some dry spray lubricant. I also shortened the springs by just a tiny amount to make them work better. If you have replacement targets, they should be removed and replaced, which is done by removing the retaining clip and axle holding the assembly together at the bottom.

Pinball Feature: Custom Side Art Blades

This is a neat way to add extra art and visual appeal to your pinball machine using what are called side art blades. This is an area where many third party artists & entrepreneurs are finding clever and creative ways to mod pinball machines to increase their value and appeal. I talk about this and show you some examples.

Before
after