Bulbs Vs LEDs Which is Best? YOU decide!

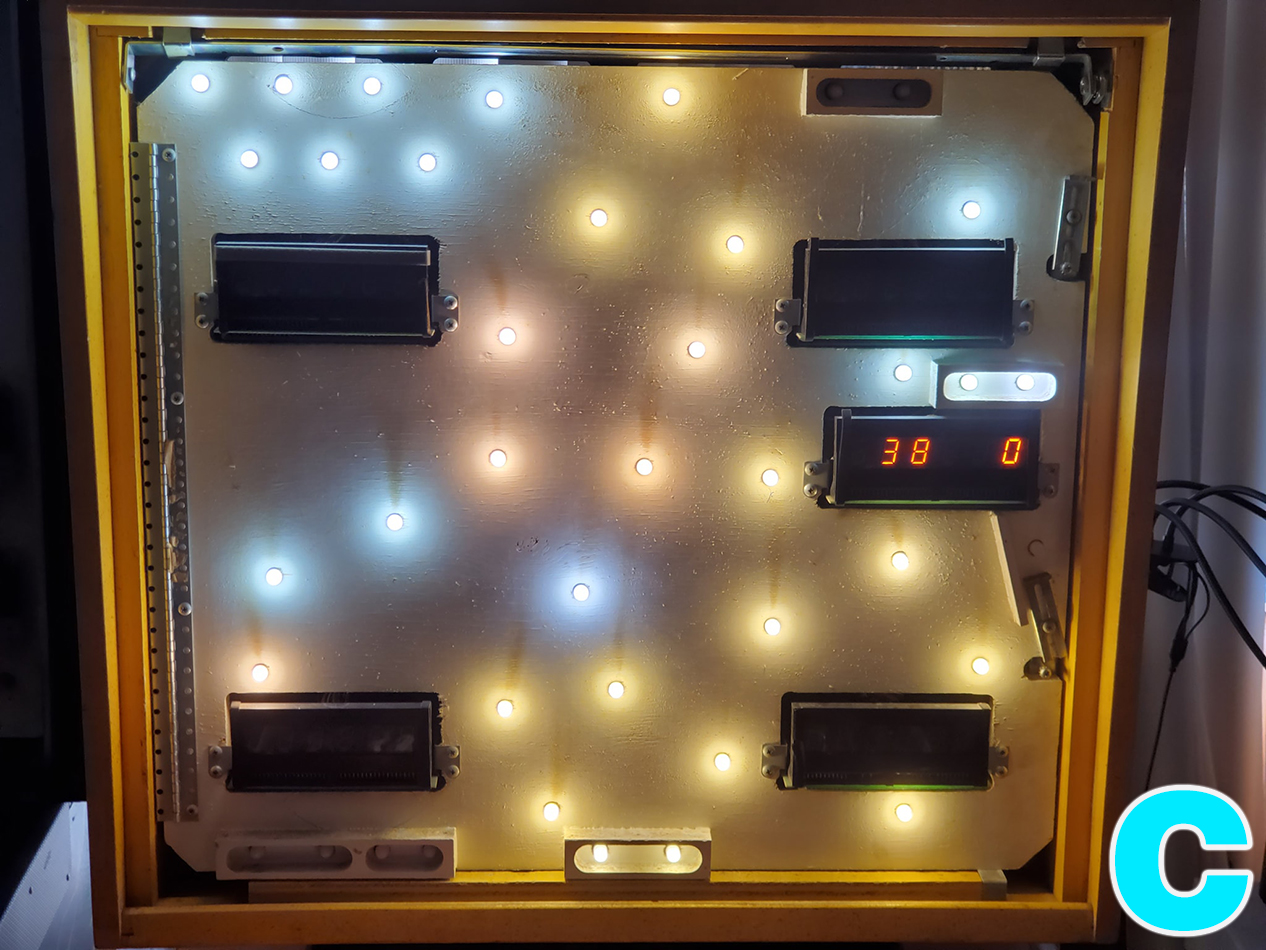
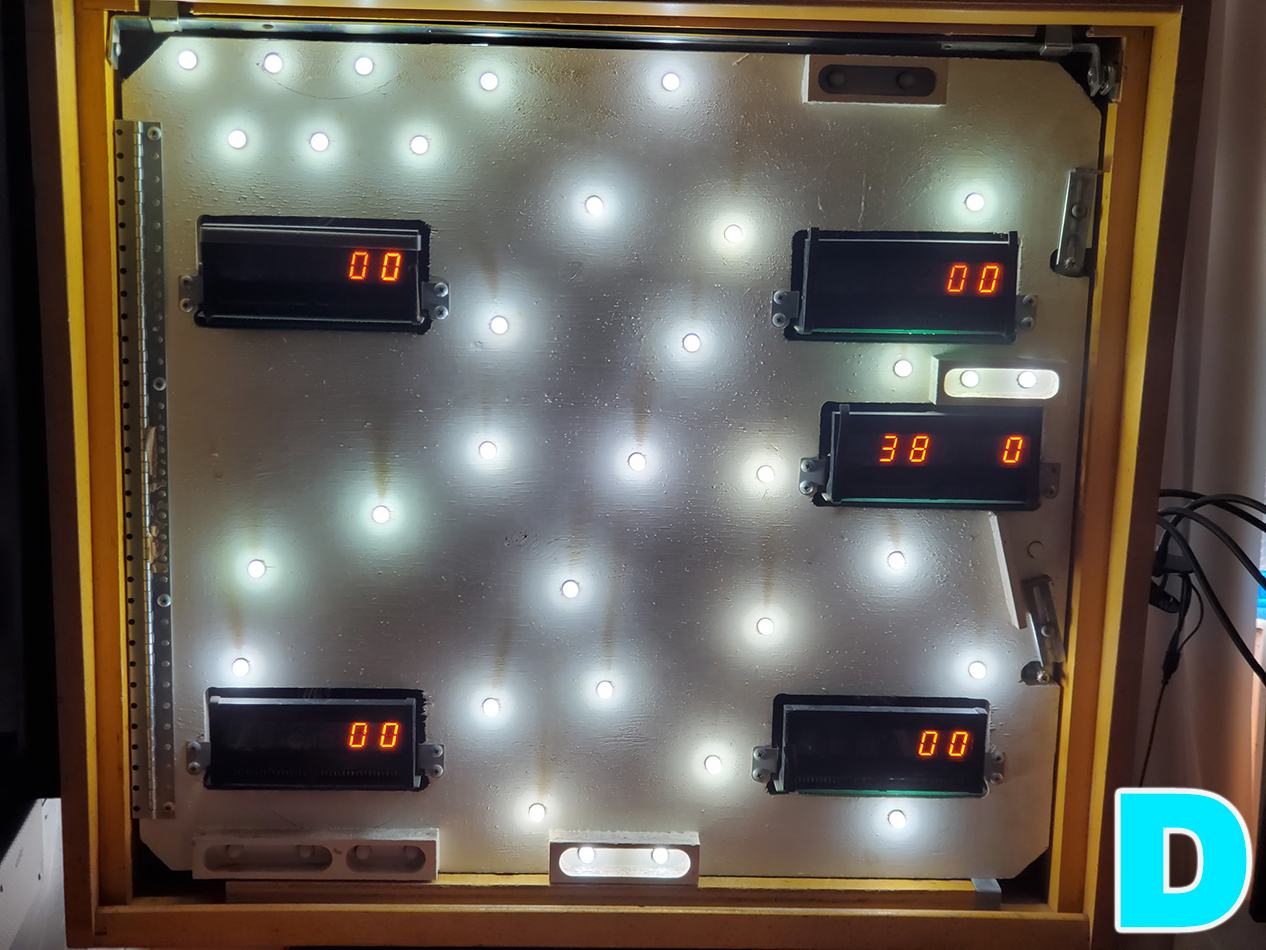
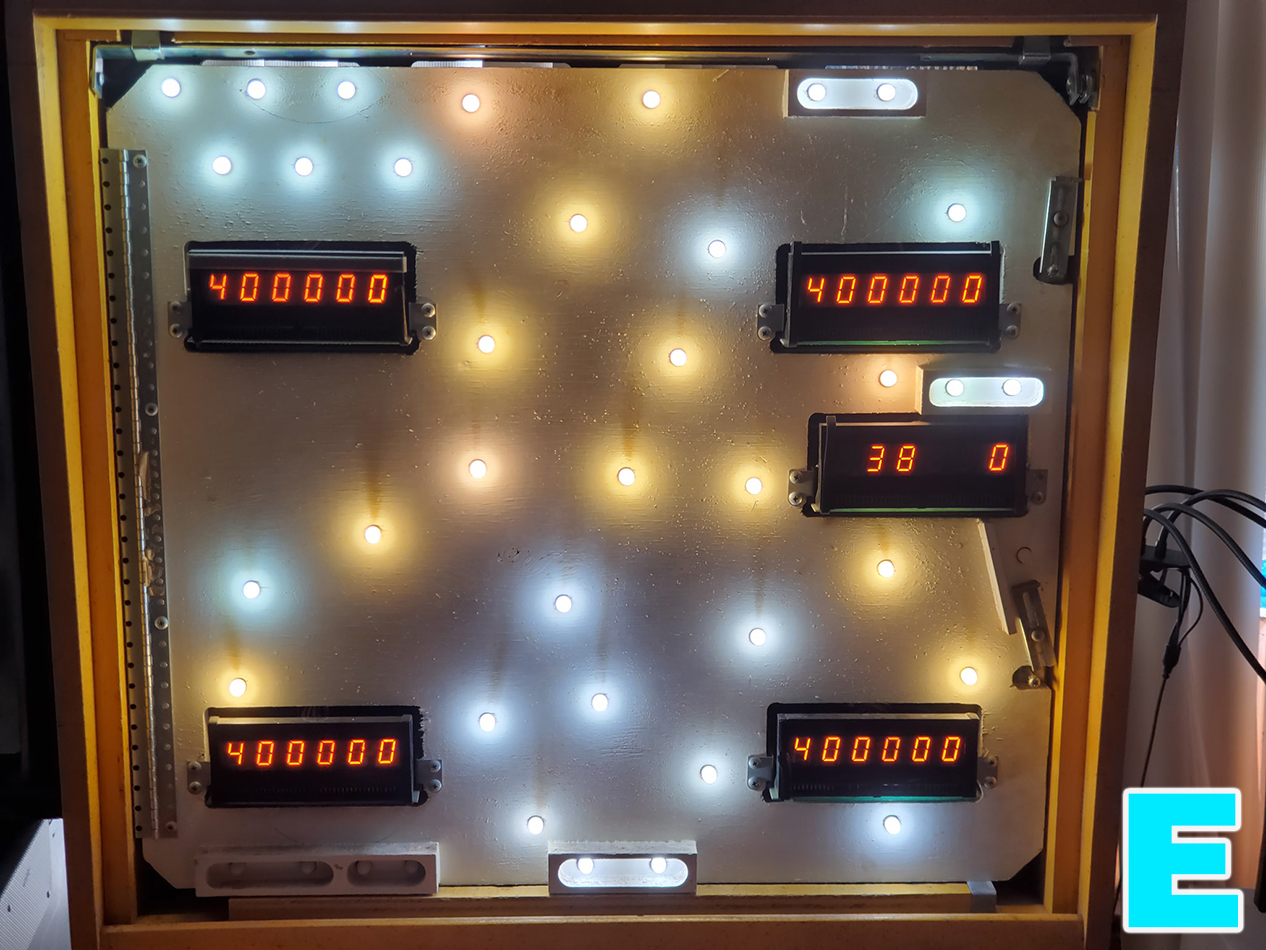
I talk a lot about LEDs and their pros/cons (mostly pros in my book) but obviously this is a heated discussion among enthusiasts. I decided to try an experiment and do different configurations of stock incandescent bulbs, along with a warm white and cool white LEDs and even a mixture. Can you tell the difference? What do you think looks best?

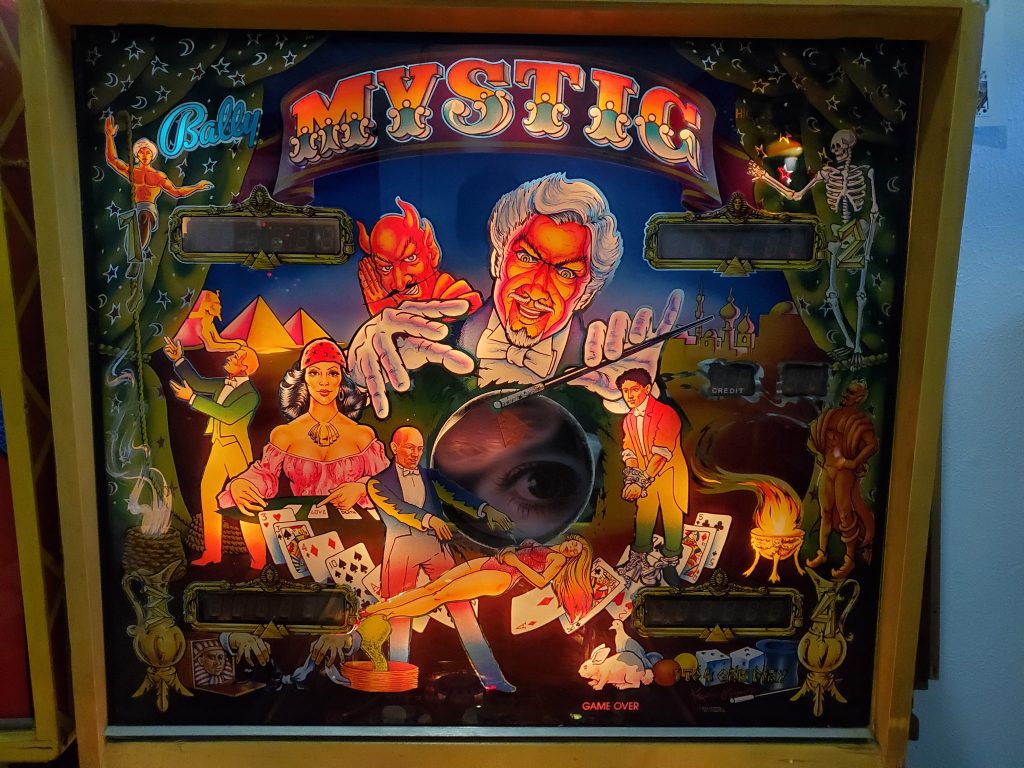
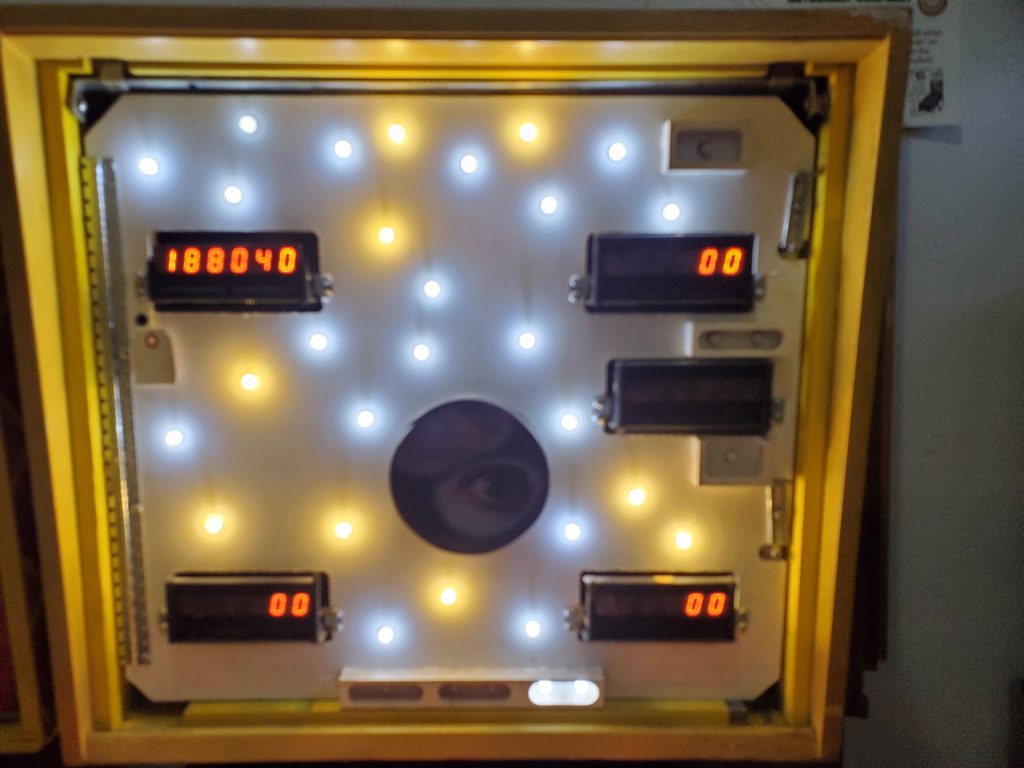
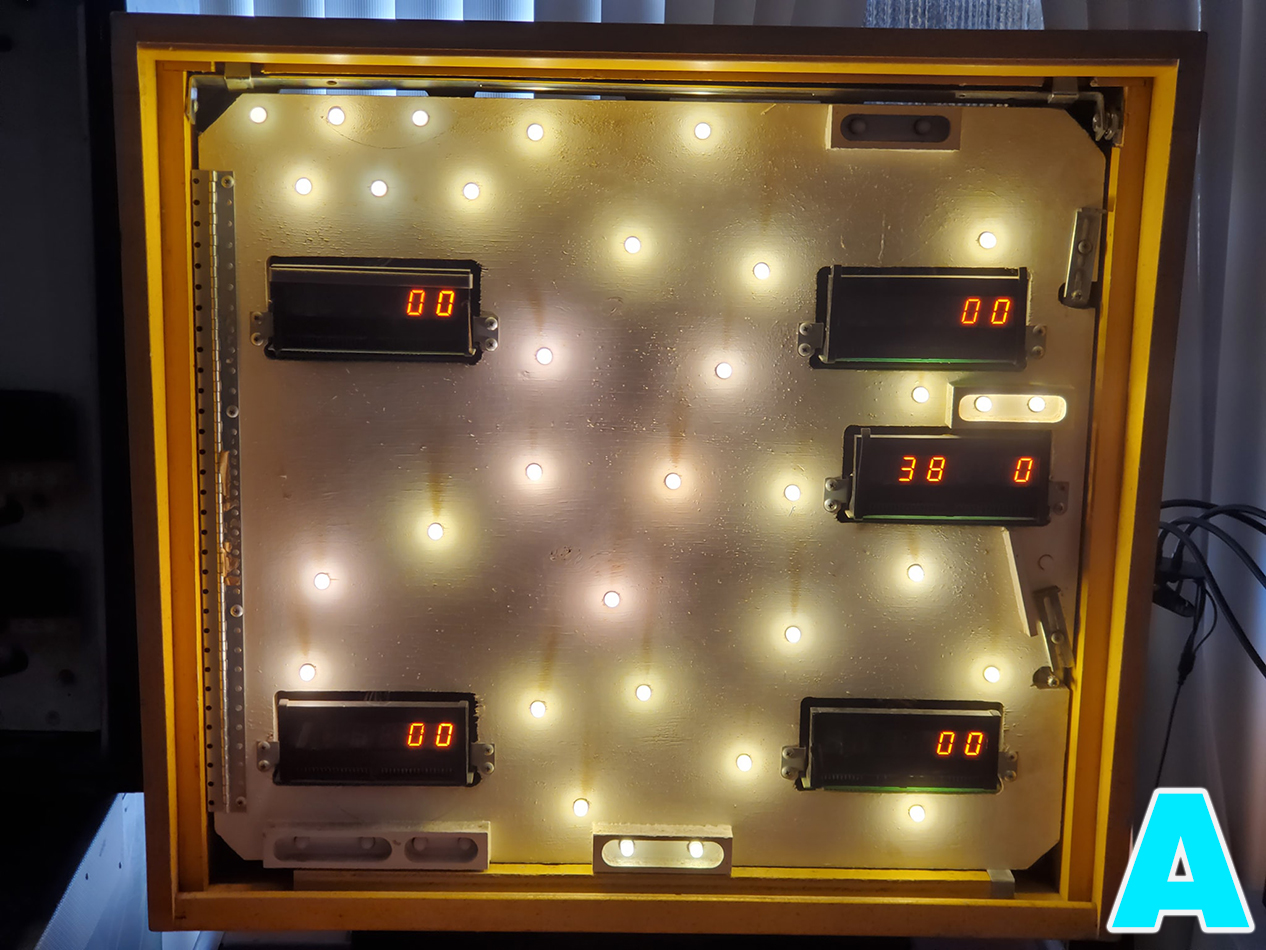
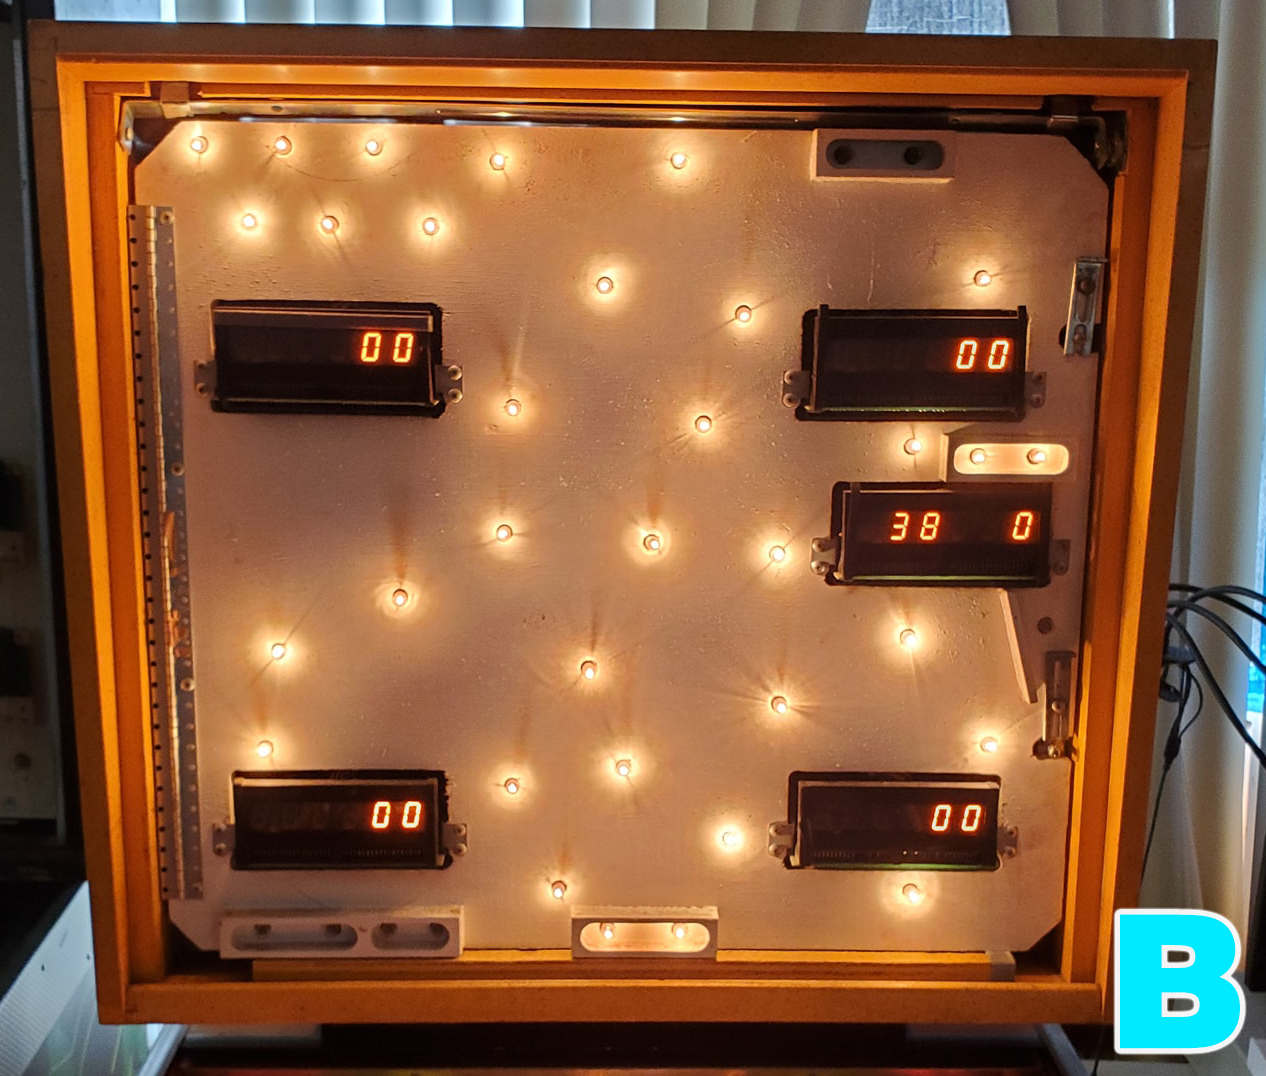
Before I show you a video of the process, here are random pictures of the backglass of Paragon with different lighting configurations. If you don’t want to know which is which, don’t scroll down too far…

Ok, below is the same experiment done on video.. and if you scroll down farther, you will see the lighting configurations revealed… NOTE that the order of the light configuration in the video is not in the same sequence as the A, B, C pictures. I mixed them up for the pictures so people could try and guess first without knowing.

What do YOU think? You can also leave comments on Youtube here: https://youtu.be/Rjl4fi7t8I4

Upgrading to LED lighting: Bally Mystic

The other day as I was working on my Bally Mystic, I decided to upgrade the lighting in the backbox to LED and document what I consider to be a “tasteful” way to migrate from traditional incandescents to LED lighting. Some people complain about this but I think if you do it right, it’s a dramatic improvement, and in some ways is hard to tell from older style lighting. Let’s take a look!

Here’s the game as it was before work. Traditional bulbs in the playfield and the backglass. You will notice that this is not your typical game. This is an early production/prototype that has a different cabinet color and a special 3-dimensional version of the center eye/pyramid imagery for the crystal ball.
Here’s a close up of the original backglass lit with incandescent 44/47 type lights. Really beautiful artwork. NOTE that there’s more light shining ON the backglass in this picture, when compared with the last one below. This is probably due to the LEDs being brighter and my camera compensating by reducing the aperature or shutter speed.
After removing the backglass I replaced the incandescent bulbs with LEDs. I used a combination of cool and warm white frosted 2SMD LEDs from Comet pinball. I put cool white over areas with the following colors: white, blue, green, and warm white over areas dominated by: red, yellow, amber. In this case I went more heavy on cool because they make the image “pop” a little more as you’ll see…
And here’s the finished product. The whites are much whiter. The blues are bluer. I choose cool white for the crystal ball eye, and warm white for the pyramid (not pictured). NOTE that this is a mirrored glass, so there are only a few non-opaque areas so this isn’t the best example of how vivid and bright these LED-backed images can get. But IMO, a noticeable yet tasteful improvement.

Retrofitting Warm White and Cool White LEDs in Pinball Games

As I work on restoring another game (Bally EM “Air Aces”), I demo my approach towards making the game more reliable and stable by replacing many of the old bulbs with newer LEDs. I also show the difference between the warm and cool white LEDs and how they work.

The art of pinball (part 1)


Pinball is many things: Commerce, gambling, history, reflections on social times, science and technology as well as art. In this episode, we take a look at some of the art. These are pictures I’ve taken of various games featured at the Lone Star Pinball Museum near Houston. Special thanks to Dan Ferguson for his hospitality. I hope you enjoy them!

.

Protecting and sealing pinball backglasses

Continuing the ongoing saga of restoring a Williams Earthshaker, in this episode, I take a look at the backglass and go over some basic ideas on how to preserve and secure an old backglass from further flaking and damage..

After waiting awhile, let’s take a look…

Ok… we wait awhile and check it, and add some more coats..

So what do you do about clear areas on the backglass? You need to avoid creating any kind of “haze” that obscures score reels or other things that need to be viewed behind the backglass/translight. Here is how we deal with that:

Some additional tips:

  • When you work on the backglass, make sure the humidity and temperature levels are moderate.   It should neither be too dry nor too humid, but err on the dry side where possible.

  • Avoid cleaning either side of the backglass until after it has been treated, especially the screen-printed side.  Even if the screen-side is dirty, it’s best to seal in the dirt, rather than clean it and run the risk of causing the backglass to flake or crack.  However if you want to dust it with something like a Swiffer, you can try to do that, but again, be very careful that the Swiffer doesn’t hook on to any flaking and pull it off.  Ultimately it’s best to seal the screen-side before even trying to wipe down the front – you don’t want to risk getting any moisture on the screen side until it’s sealed.

  • Make your first 2-3 coats relatively thin.  Don’t slather on the Triple Thick unless you do it after several coats have dried and started to seal the backglass well.  There’s a lot of evidence that moisture if subjected to certain types of screens, can cause the backglass to wrinkle and peel off catastrophically.   So take your time and put a few very light coats on at first and see how the backglass reacts.

  • If you may have any loose flakes on the backglass, be very careful with the first few coats of Triple Thick.  Watch your spray angle and spray downward instead of across or you might risk blowing flakes of backglass around.

  • Spray in a well-ventilated area, or immediately leave the area after spraying

  • Avoid subjecting the backglass under any conditions, to freezing temperatures.  This may cause the various materials (containing different amounts of moisture) to expand and contract at different rates and cause cracking and flaking.