This is one of those pinball pickups that we all dream about. It took me awhile but I finally had one of those experiences. A top-5 grail game, in HUO condition? Way below market value? Sign me up!!
This is also one of those games I’ve toyed with selling on and off because it’s so beautiful and desirable, but so far, we’ve kept it.
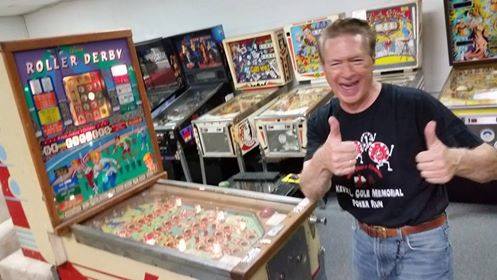
Here are some pictures of the game showing its condition: