I found this old video the other day and realized I didn’t have a post on my main site showcasing this video so I wanted to add it (also, this was before I learned the proper pronunciation of “Bally” LOL…. bah-lee).
Category Archives: Bally
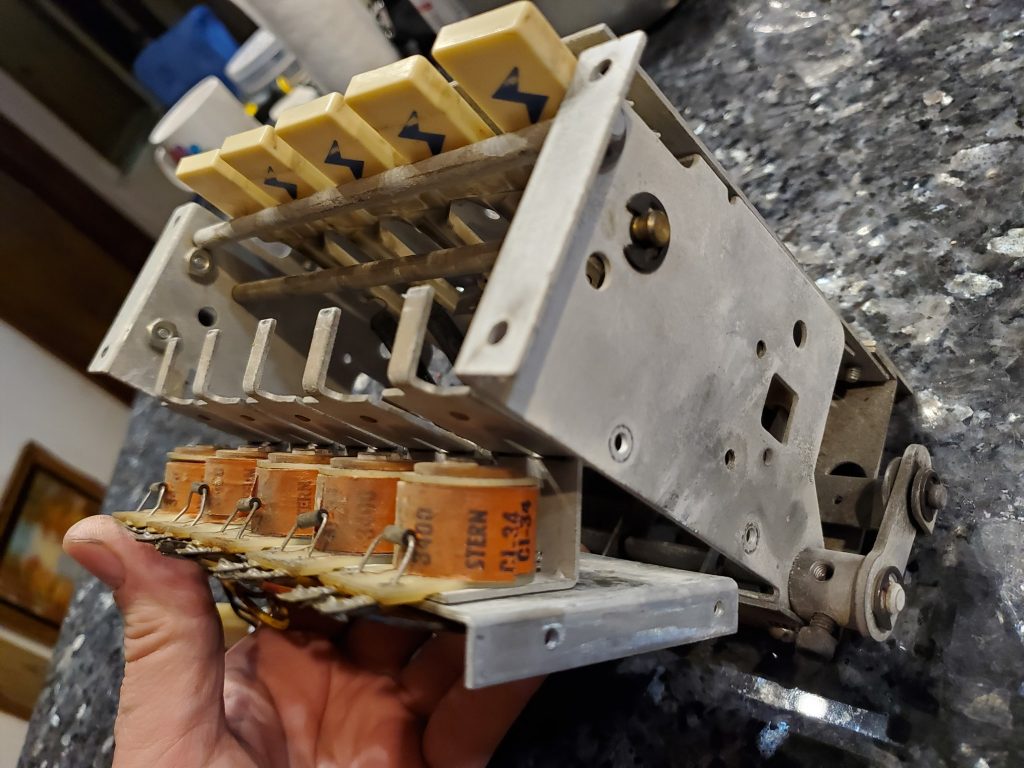
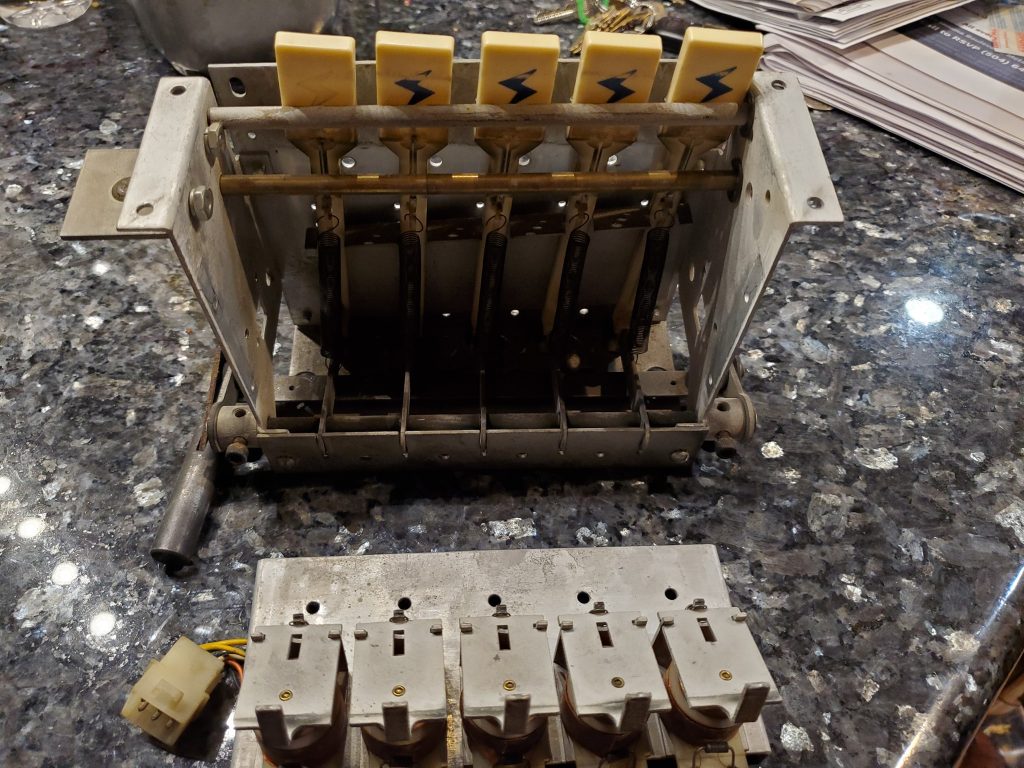
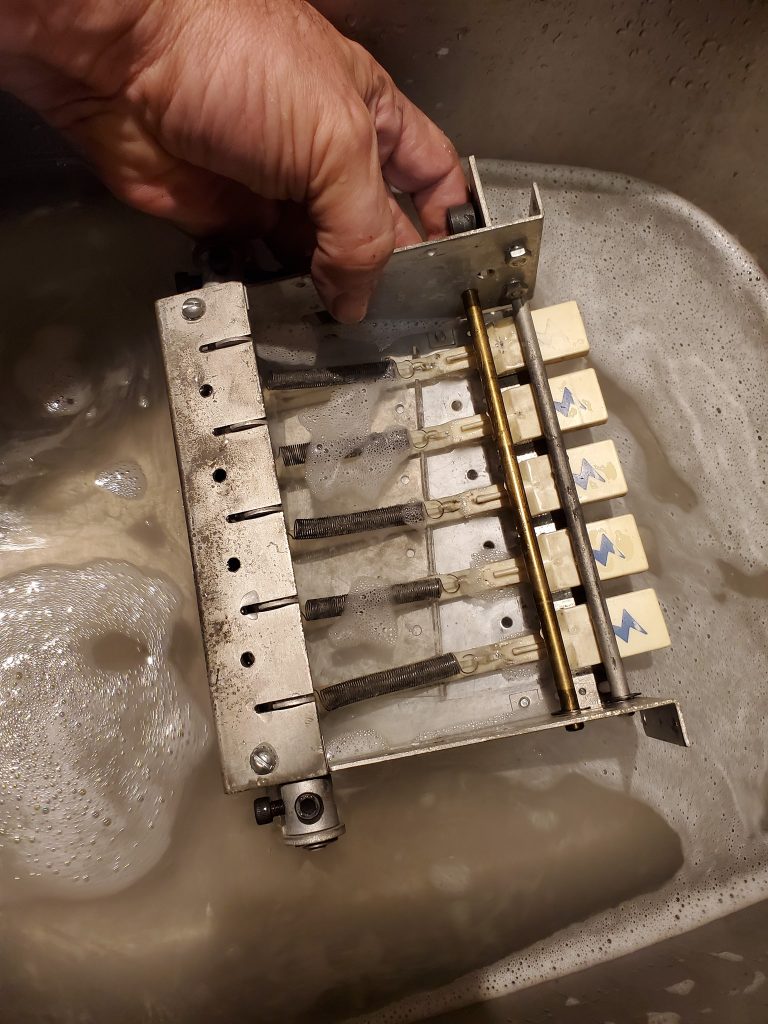
Fixing / Rebuilding Stuck Pinball Flippers on Early Ball/Stern Solid State Games
This is a short video going over the steps to repair/rebuilt/refurbish early solid state pinball flipper assemblies, such as those on Stern and Bally games (but this also basically applies to most pinball machines). I go over the process specifically on a Stern Trident and show the specific style of plunger and assembly they’re using, but most games use similar parts. You can use these techniques to rebuild/refurbish pinball flippers on most games.
Also, there’s another thing I don’t cover on the video that may also be a cause for stuck/sticky flippers, and that’s crud around the flipper button. Sometimes the flipper button assembly can be dirty and the button may stick – that can also cause the flippers to not behave properly, so be sure to check and clean the flipper button regularly too!
Rebuilding Drop Target Assemblies on Early Stern/Bally Solid State Games
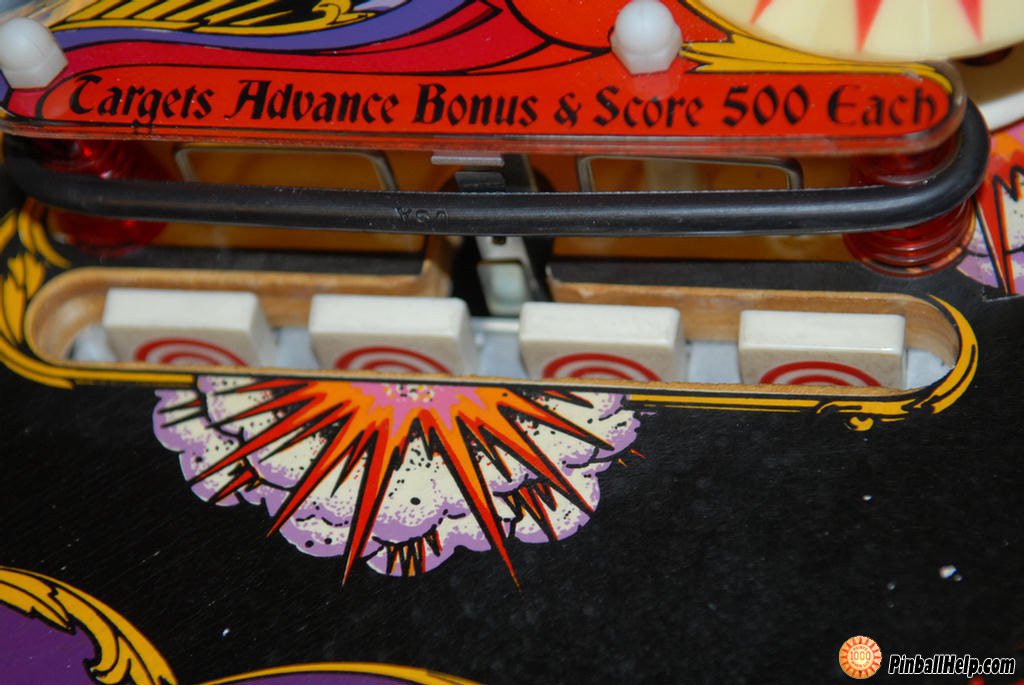
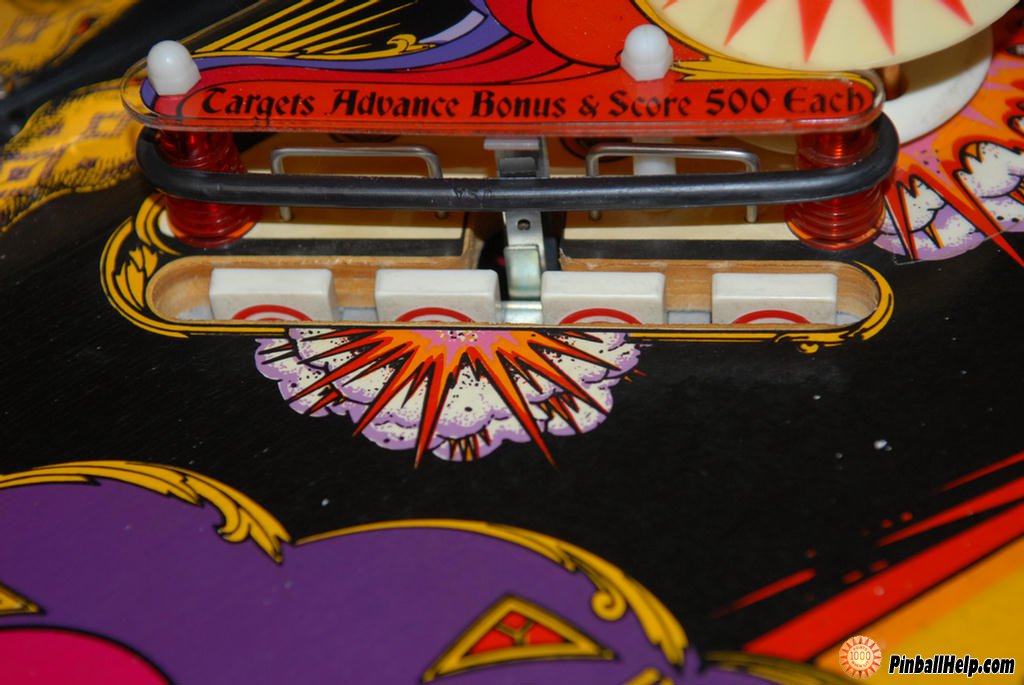
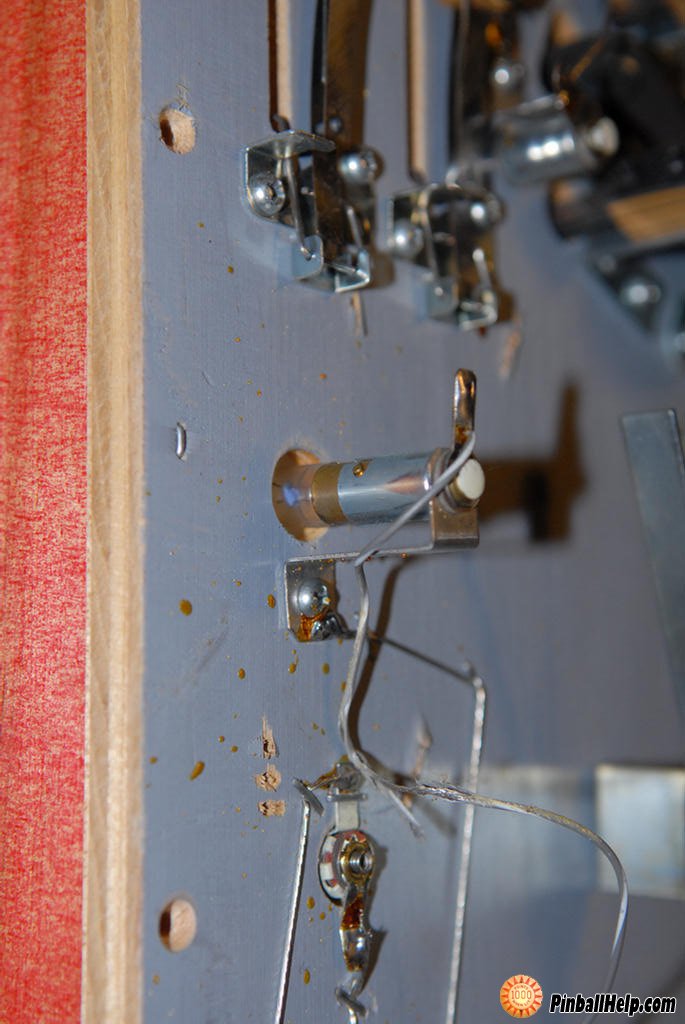
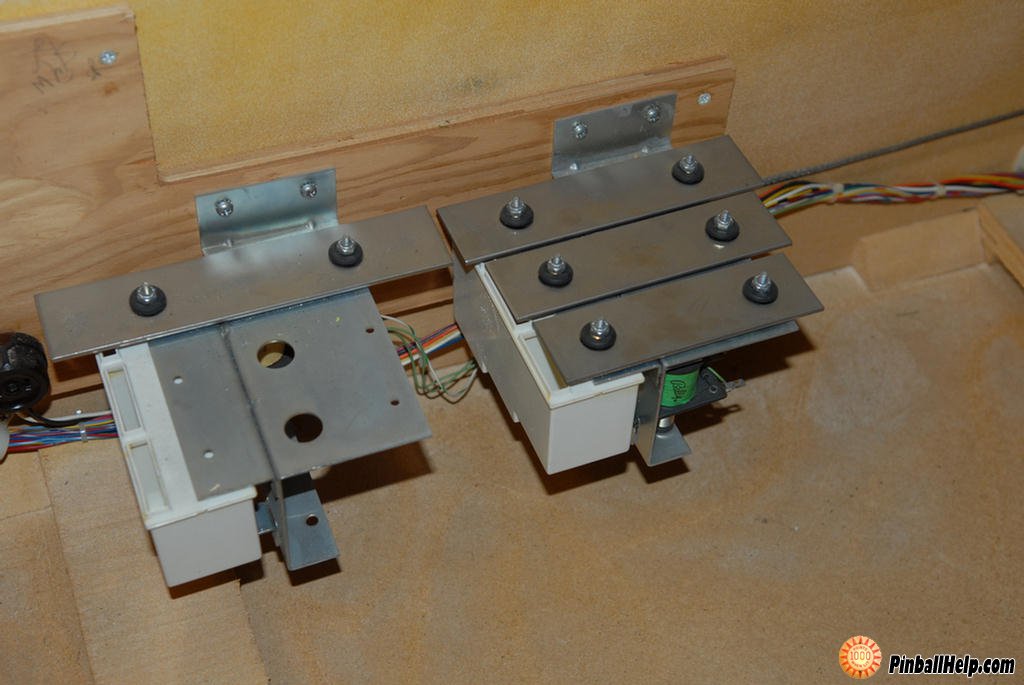
Here is a series of three short videos covering the process of removing and refurbishing the drop target assembly on early Stern/Bally games. This is done on the Trident I’m working on restoring.
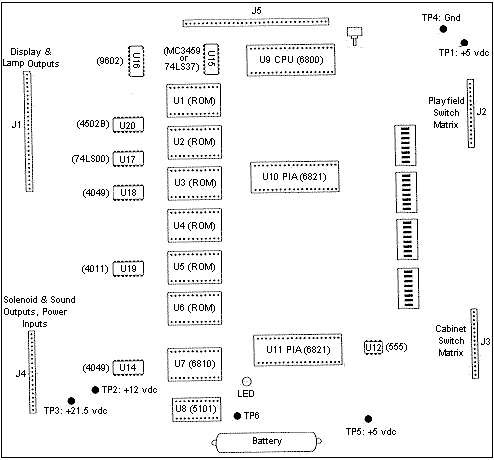
Pinball game not starting? Switches not working? Here’s a trick that may work!
I’ve run into this problem at least 3-4 times in the last month with different early Bally/Stern solid state games: The game boots and appears to work but you can’t start a game and/or many switches/buttons don’t seem to work? Before you dive deep, try this simple, easy trick.
Be sure to subscribe: https://youtube.com/pinballhelp?sub_confirmation=1
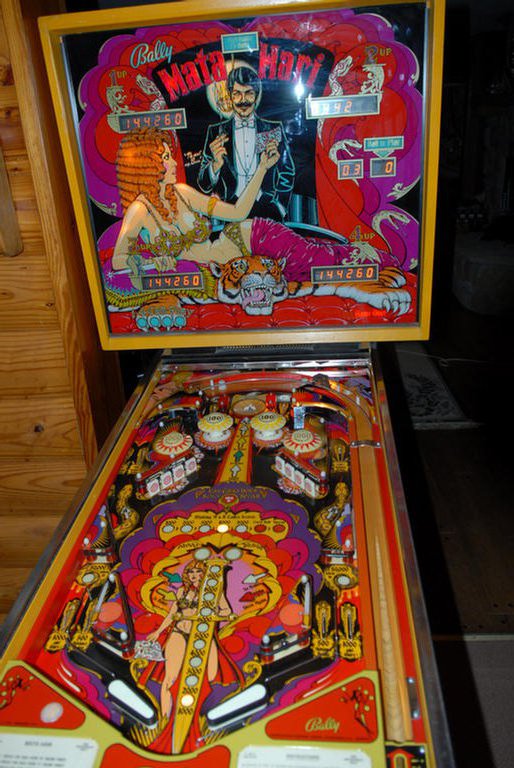
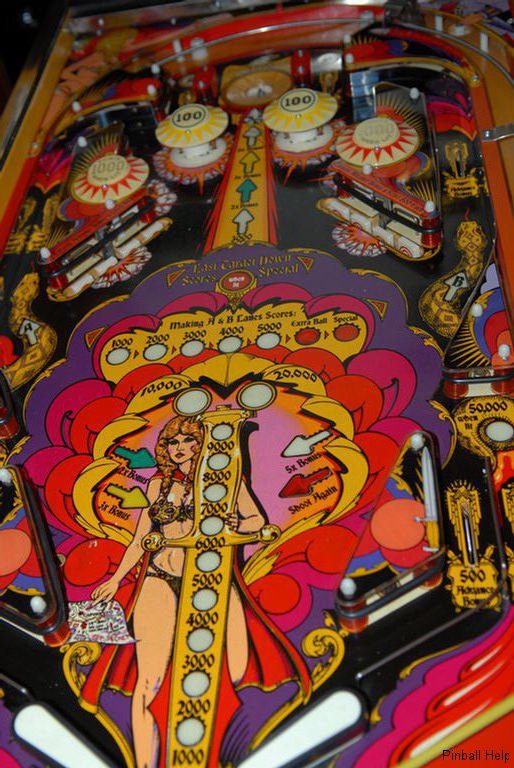
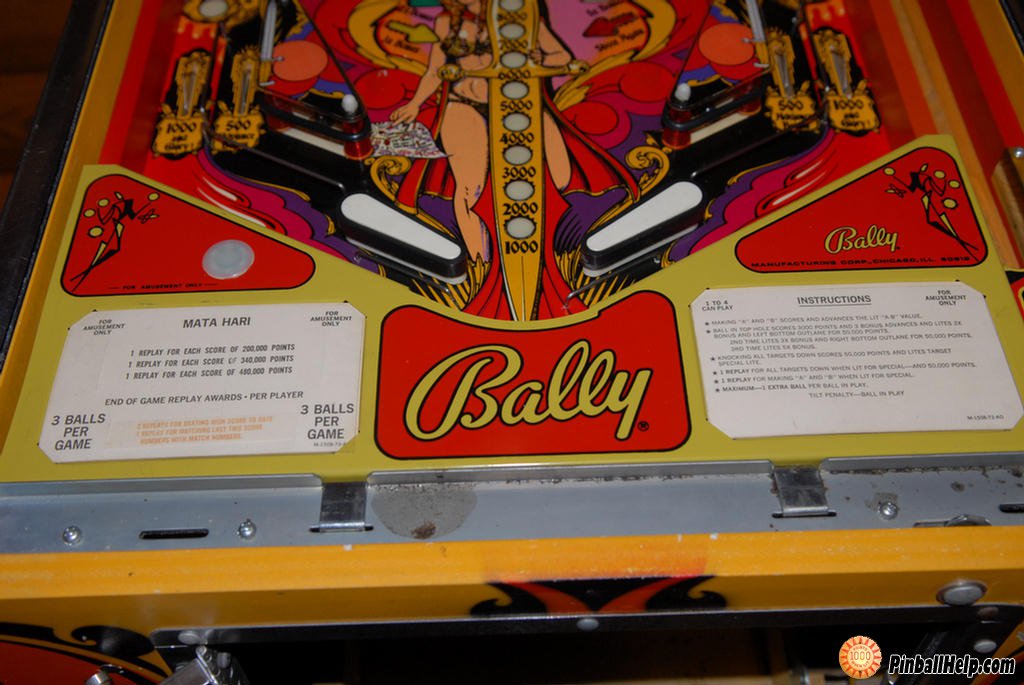
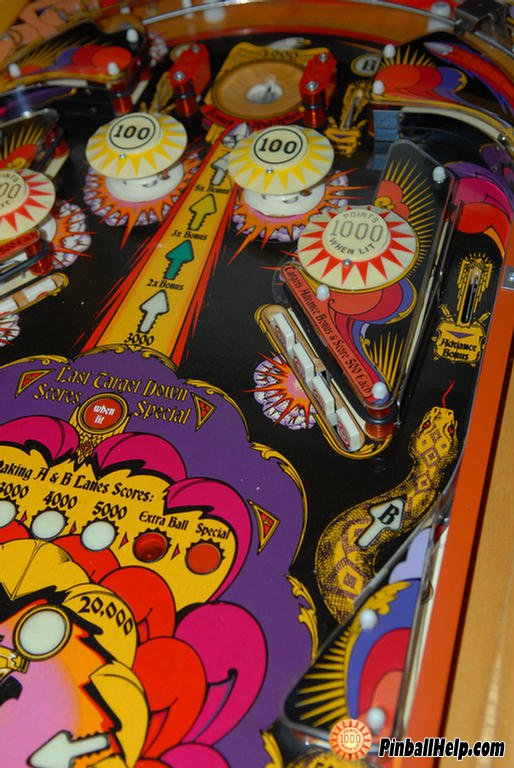
Prototyping A Brand New Mata Hari Ruleset!
I’ve been working on a new project that I’m very excited about. There’s been a movement to create an inexpensive, non-destructive and simple way to mod early Bally/Stern solid state games and add more features. In this video, I demonstrate an early prototype of the system used to modify a Bally Mata Hari pinball machine to include new features such as a skill shot, modes and even a wizard mode.
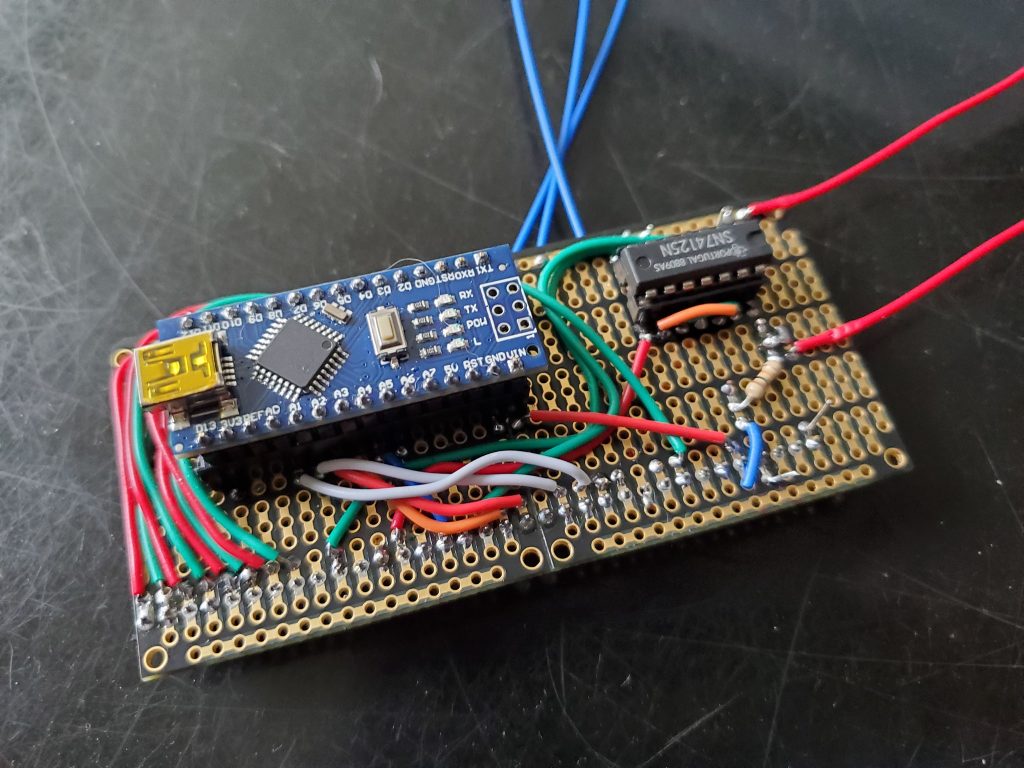
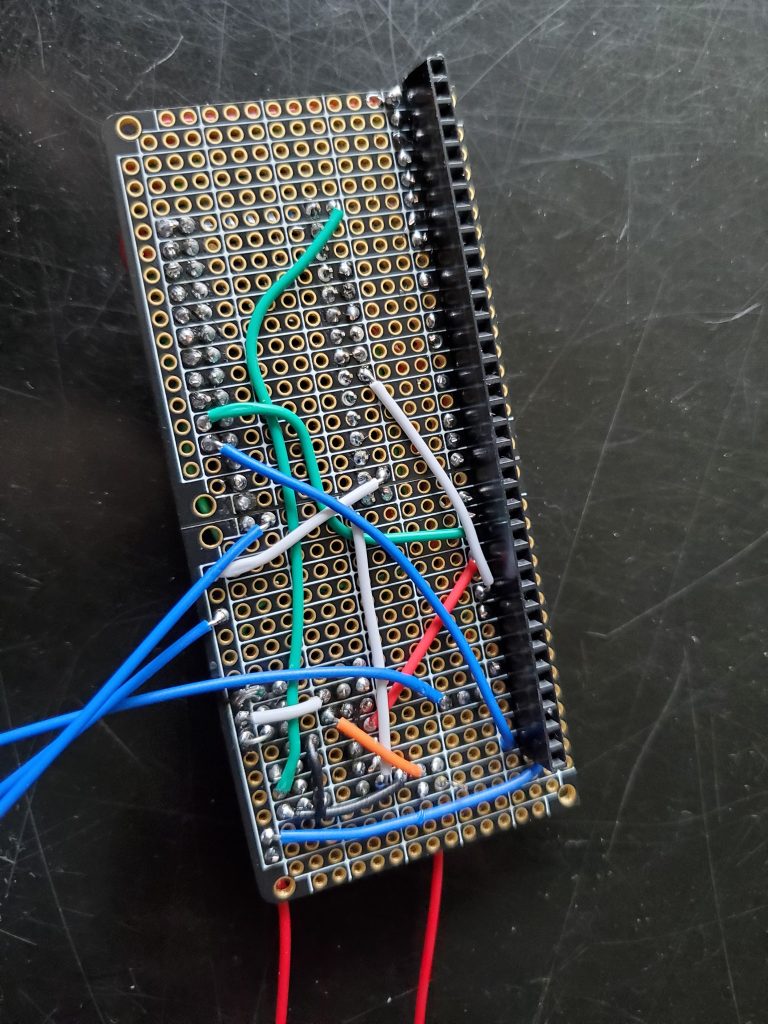
Want to learn more about this project? Visit: https://github.com/BallySternOS
Pinball Stories #25: Super Minty Mata Hara Dream Pickup – PinballHelp.com
You ever run across one of those pinball deals that turns out to be so sweet, you are afraid you’re going to get mugged getting the game into your vehicle? This is one of those deals. A really amazing find that I didn’t expect..
Pinball Stories #21 – A grail game from a special place!
I’m a firm believer of being patient in the pinball hunt. I’ve always wanted a Bally Wizard EM. It’s such a great game and has such beautiful artwork. They made a bunch of them so why has it taken so long? Because they’re an A-list game and often command A-list prices and I wanted a good deal. I waited and got more than what I wanted…
Here’s a video I did when I first picked the game up: https://youtu.be/kXVg88WqMIo

